booleansplit.com

photos, tips, tricks, and thoughts from an avid amateur photographer


Posts tagged Adobe Lightroom

Pentax K10D RAW noise reduction

I shoot a lot of long exposure shots with my Pentax K10D. One of my pet peeves is waiting for the built-in noise reduction to take a 1:1 dark frame subtraction exposure. This ends up doubling the length of time for each shot. Not that big of a deal if you are shooting 1 second exposures but a bit of a PITA if you’re shooting 5 minute bulb shots.

In-camera noise reduction is pretty critical for shooting JPEGs. Sure, you can always shoot your own series of dark frames at different ISOs and use them with 3rd party software to remove hot spots, etc. but this seems a bit extreme. So, I have just left the in-camera NR on and lived with the dark frame subtraction double exposure.

Many times I’ve noticed that there are hot spots in the initial Adobe Lightroom previews of my long exposure RAW files that disappear the first time I zoom in to 100%. This got me to thinking that maybe Lightroom could take care of long exposure noise on its own without the camera’s help. After searching Google in vain for a definitive answer, I decided a quick test was in order. I was pleased to learn that, now that I am shooting exclusively in RAW, I can turn off the in-camera noise reduction on my K10D and eliminate the wait between long exposure shots. (In-camera NR is still recommended for JPEG shooting).

Here’s what I found in the test. All shots are 30 seconds at f/16 and ISO 400 using my 50mm f/1.7 SMC-A lens with only LR’s default processing applied. Sorry for the crude composition…
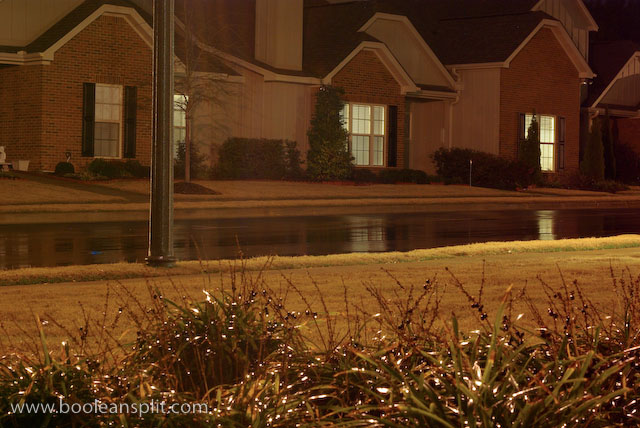
JPEG with NR OFF
JPEG with NR OFF

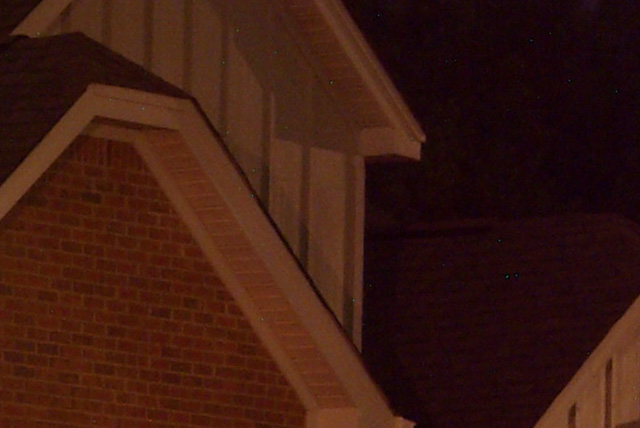
100% crop of JPEG w/ NR OFF
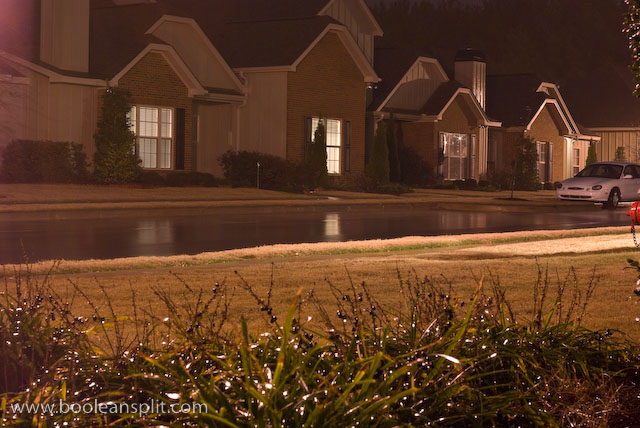
100% crop of JPEG w/ NR OFF

RAW with NR ON
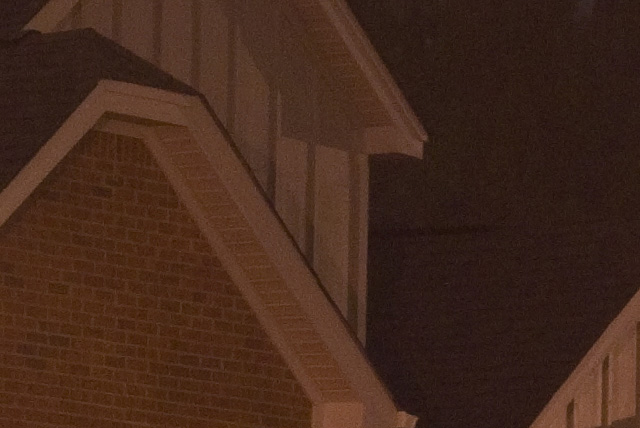
RAW with NR ON

100% crop of RAW w/ NR ON
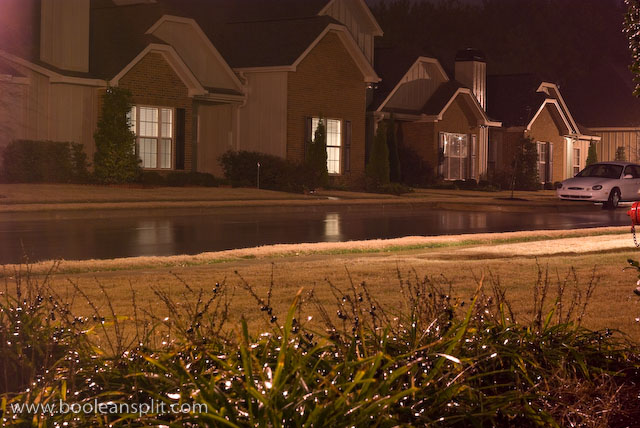
100% crop of RAW w/ NR ON

RAW with NR OFF
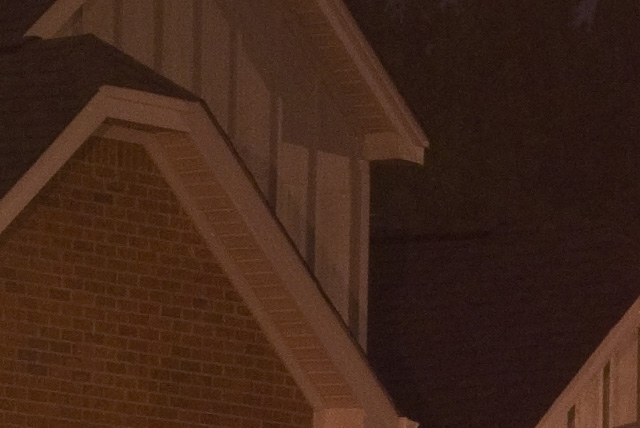
RAW with NR OFF

100% crop of RAW w/ NR OFF

100% crop of RAW w/ NR OFF

From what I could tell from this test, there is virtually no difference in noise between the RAW images with and without in-camera noise reduction. In fact, to me the images without the NR has slightly better contrast and more shadow detail. Keep in mind that these are unprocessed RAW files so I could easily get similar contrast and saturation as the JPEG image while maintaining the greater detail and dynamic range of the RAW images.
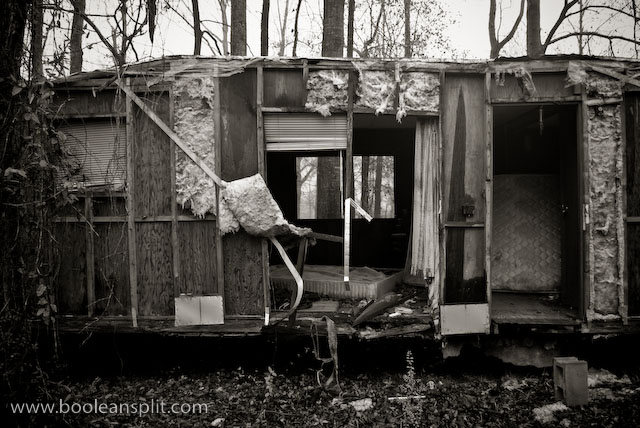
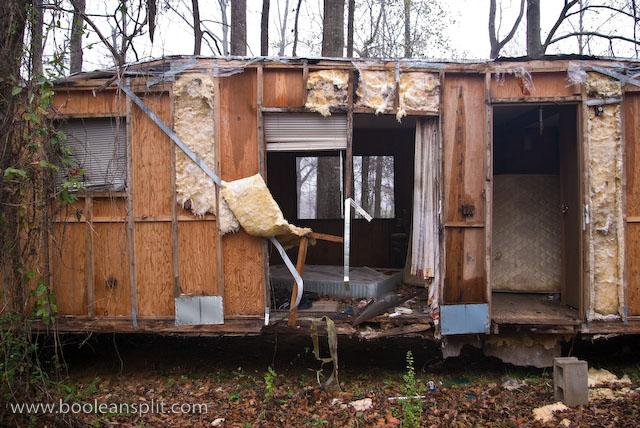
Abondoned trailer park

rotting trailer in B&W

I’ve driven past this place a number of times and often thought I should come back with my camera. This morning it was foggy and rainy and I thought “Ah ha! Perfect conditions for the trailer park!” ;-)

The picture above was heavily processed in grayscale mode in Lightroom. I tweaked just about every slider to get this image. I was going for maximum texture, grime and dynamic range. Here’s the original color version with only minor adjustments applied:

imgp7476-2

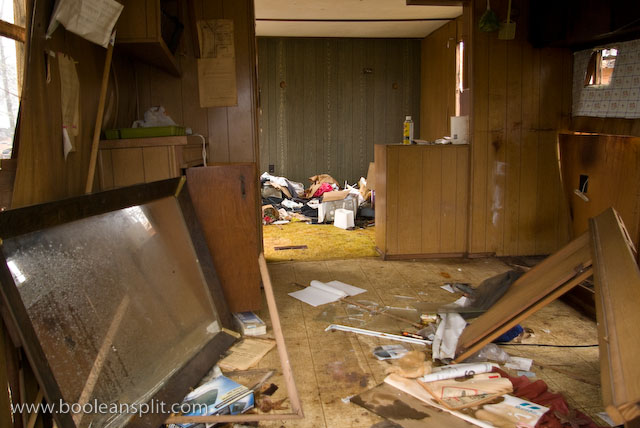
All these images were shot had-held with my Pentax K10D and kit lens at ISO 400 at between 1/13 second to 1/60 second with the IS on. I stopped the lens down to f/5.6-f/8 when I could for optimum sharpness. Here’s a close up of the interior of the trailer above. I did not venture inside as the floor was rotten to the point I was afraid of falling through.

imgp7477

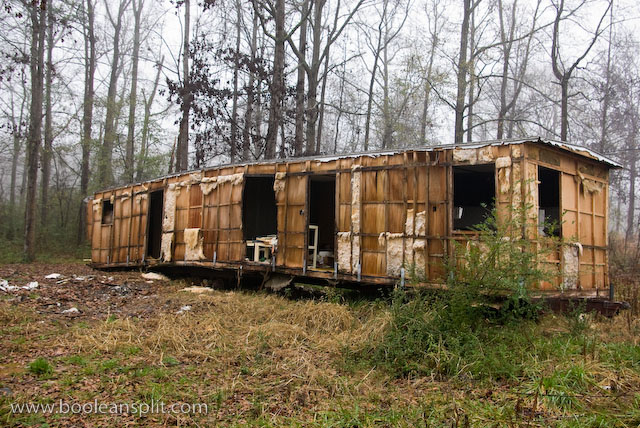
Here’s a wide shot of one of the trailers. The aluminum exterior skin had long been stripped and sold as scrap (I assume):

imgp7468

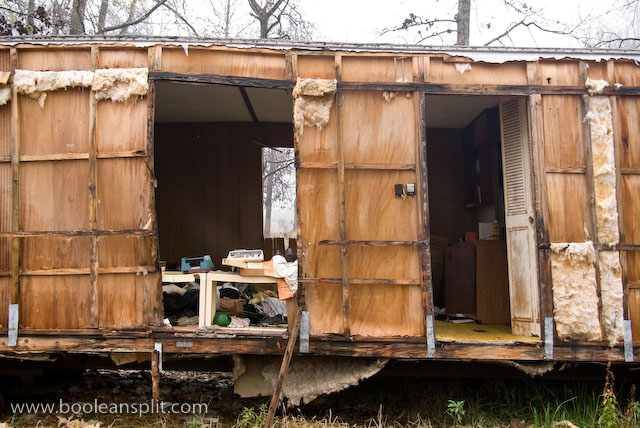
A detail of the trailer in the previous shot:

imgp7472

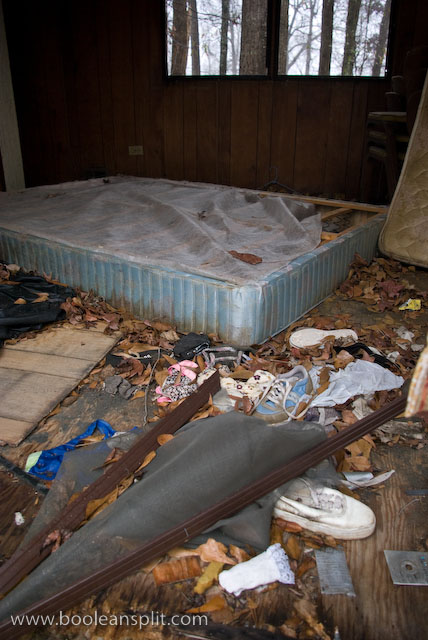
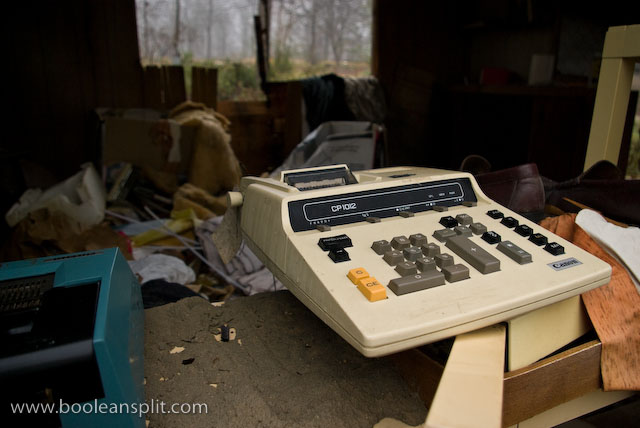
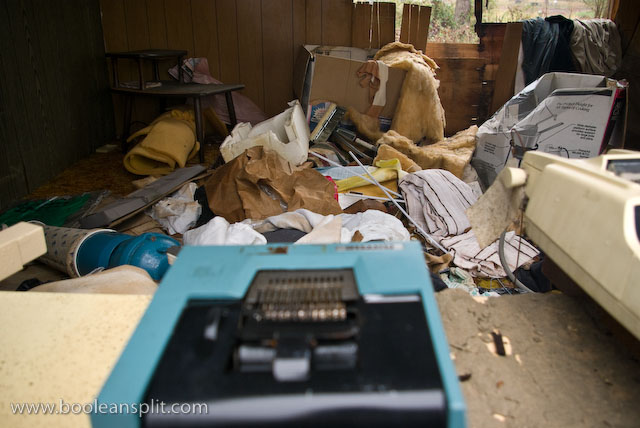
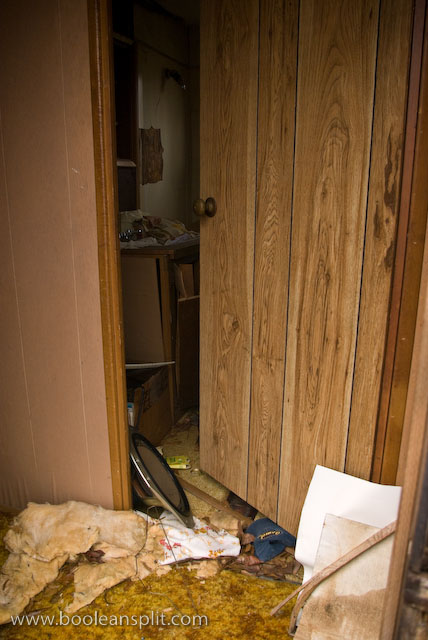
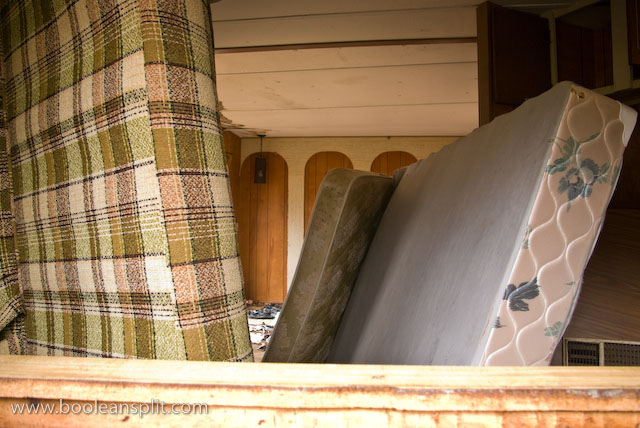
These trailers were surprisingly full of left behind personal possessions:

imgp7473

imgp7469

imgp7474

imgp7475

imgp74791

Twilight

twilight

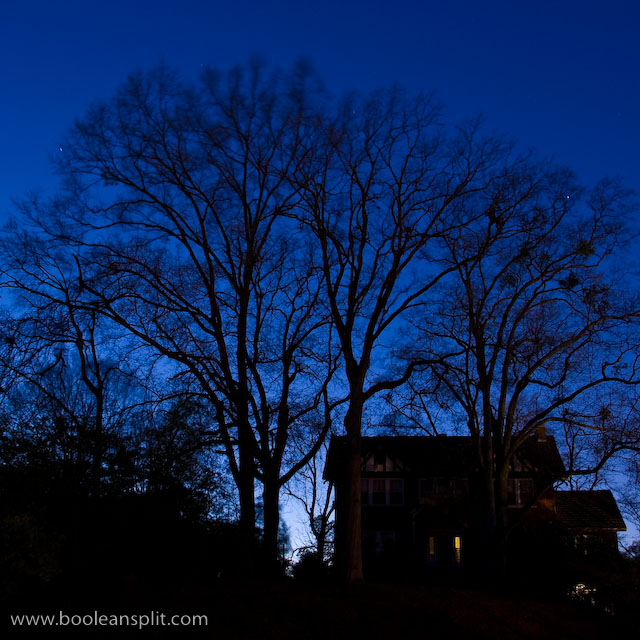
Dusk is my favorite time of day. I love the rich blues of the sky and the contrast of dark trees and such in the foreground. Normally, these shots require long exposures and a tripod to capture and a bit a tweaking post-process to get the lighting and color right.

This shot required a 30 second exposure at f/9 and ISO 100 with +1EV exposure compensation. I chose f/9 for two reasons. First, f/9 was the smallest aperture I could use and still keep the exposure under 30 seconds in Aperture Priority mode (maximum shutter time without switching to Bulb mode) at ISO 100. I wanted to keep the shot at ISO 100 to ensure tack sharp details, rich saturation and no noise. Second, I have found that my kit lens is its sharpest between f/8 and f/11, so f/9 was a logical place to start.

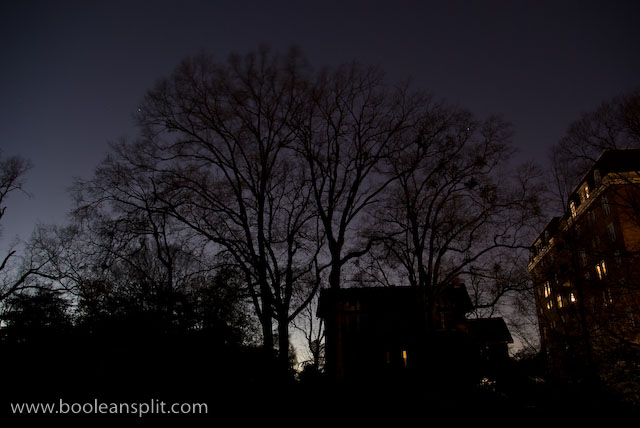
This photo was processed in Adobe Lightroom to look as close to what my eyes saw as possible. Here’s the original RAW shot straight out of the camera (SOOC) with nothing but my default import processing:

original SOOC unprocessed shot

Since I was shooting in RAW I left the white balance at Auto and simply used the histogram display on the LCD to verify a good mix of highlight and shadow detail. After downloading I started off by cropping and straightening the shot a bit. Next I tweaked the white balance to 3700K to get the blue to pop (the sky was too purple at the Daylight/5500 setting and too blue at Tungsten/2850). I then pushed the exposure up another +1EV and dropped the Black slider to 3. Nudging the Fill Light slider to 21 pulled even more shadow detail out. I set Clarity to 11, Vibrance to +25 and Saturation to +21. Finally, I added a touch of Sharpening and Detail (50 & 50) and Defringed all edges.

The Clarity, Vibrance, Sharpening, Detail, and Defringe settings are pretty standard for most of my shots with the Pentax K10D. I find the SOOC RAW files are a little flat color-wise and softer than I like. Also, the kit lens leaves a bit of color fringing on hard edges that Defringing seems to fix well.

The final result turned out very true to what I recall seeing that night in Birmingham. It was a bit windy so the tops of the tree branches are motion blured. The tiny star trails were an unexpected surprise.

The world through my eyes

The World through my eyes

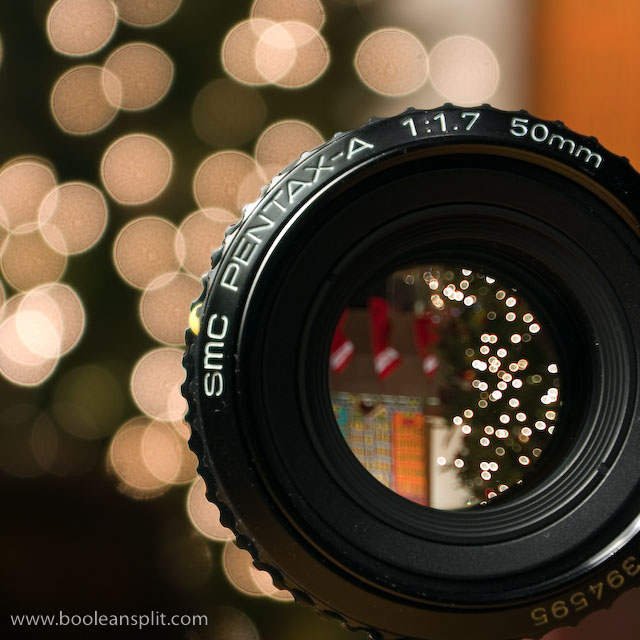
Following my experiment with shooting the Christmas tree lights reflecting in the front lens element of my 50mm f/1.7 I had the thought that it might be interesting to turn the lens around and see what things looked like through the lens. Again, this was in the interest of trying to find new ways to shoot Christmas tree bokeh (though, the old ways still work pretty well).

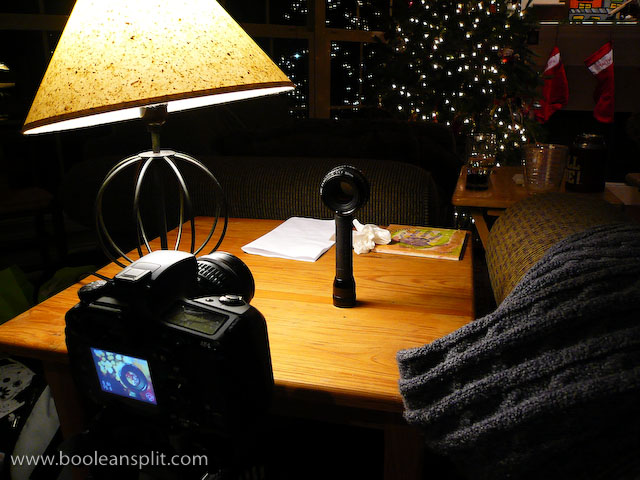
The set-up for this shot was pretty basic:

set-up shot

The 50mm lens is perched on top of a flashlight to get it up to the right height with the Pentax K10D on a tripod. The lamp to the left provides fill light for the front of the lens. I used the rule of thirds to frame the shot (knowing that I was going to crop to square later to eliminate the flashlight). I set the ISO to 100, zoomed to 55mm and selected an aperture of f/5.6 (the largest aperture my kit lens can achieve at 55mm). I dialed in the focus on the front of the lens manually before tripping the 0.6 second shutter with the 2 second delay self timer.

Post processing in Lightroom was limited to cropping, white balance (tungsten) and my usual mix of standard processing tweaks for this camera:

  • Clarity: 39
  • Vibrance: +25
  • Sharpening: 48
  • Detail: 49
  • Defringe: All Edges

Everything else was left at the Lightroom defaults.

The main thing to take away from this photo is that it doesn’t take much effort to do this kind of stuff. From start to finish this shot took me less than 5 minutes (including taking several test shots and set-up shots for this post with a 2nd camera). The only set-up required was balancing the lens on the end of the flashlight and tilting the lamp shade a touch to get the light right.

Flushed

ISO 200, 50mm, f/1.7, 1/60sec, IS on

ISO 200, 50mm, f/1.7, 1/60sec, +2 EV, IS on

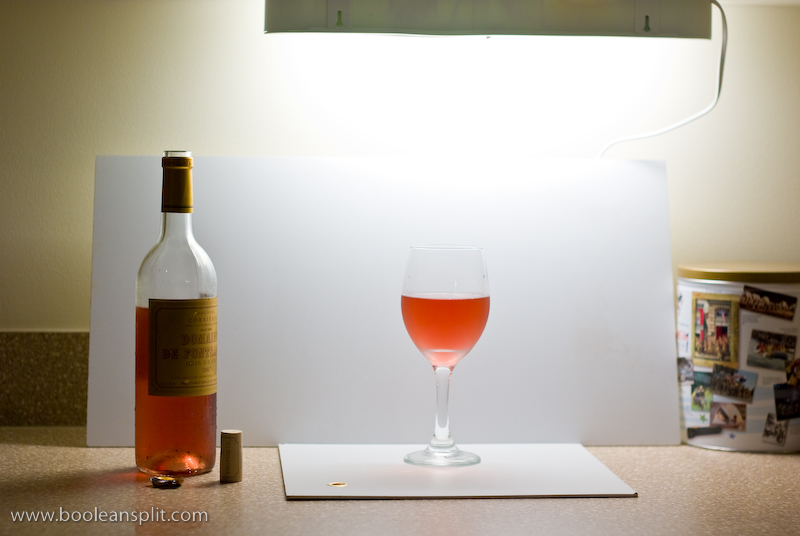
It’s quick and easy to get studio quality lighting in your home with almost no additional expense. Here’s a quick look behind the scenes of this photo:

set up

As you can see, all I did was set up a couple of white boards on the kitchen counter under a fluorescent light. I learned this trick when I was Design Director at Griffin Technology. Most of the pre-2007 product shots were done this way on a cubicle desk using the fluorescent light under the overhead storage bin. I’m happy to say that today Griffin employs a professional photographer and has a full photo studio.

For this shot I dialed in +2 EV exposure compensation to adjust for the all-white background. By shooting RAW I was able to simply click the white balance eye dropper tool in Lightroom on the white background to dial out the color cast of the fluorescent light. I pushed up the exposure an additional +0.83 to get the high key look I was going for. Other than that, all I did was tweak the Vibrance a touch and added a bit of sharpening.

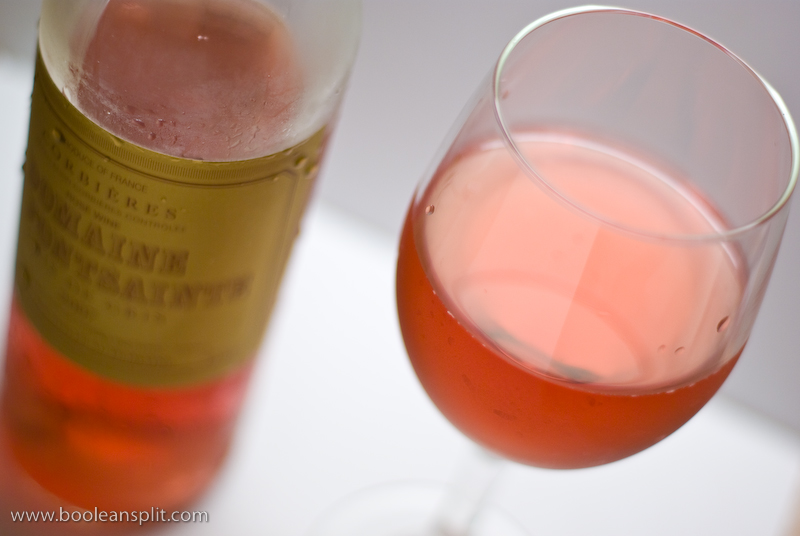
Here’s another composition using the same set up:

wine shot 2

By the way, the subject of these photos is the wonderful Corbières Domaine De Fontsainte Gris de Gris 2007 rosé imported by Kermit Lynch. This is one of my absolute favorite wines. It has a unique combination of dryness and intense fruit flavors. I picked it up for less than $10 at Kroger. Real men drink rosé ;-)

About

I'm an industrial designer and an avid hobbyist photographer. People are always asking me "how'd you do that?" So, I decided to create this site as a place to share my experiences and insights about photography, the gear and what it all means to me. I'm not sure if this site will make anyone besides myself a better photographer but I figure it's worth a try. Take a look around and let me know what you think. Thanks for stopping by!

Subscribe

Recent Posts

Categories

Pages

Flickr Friends

Links

My Sites

Archives