Pentax vs Canon AF Performance
I’m a little concerned about the focus performance of my Pentax K10D DSLR. Before I get too far into it, let me establish a little background first…

I’m a little concerned about the focus performance of my Pentax K10D DSLR. Before I get too far into it, let me establish a little background first…

Pentax K10D, Pentax SMCP DA 18-55mm f/3.5-5.6 AL @ 55mm, ISO 320, f/5.6, 1/60 sec, +0.7 EV, IS on
Outside the Planet Hollywood Hotel and Casino.

Pentax K10D, Pentax SMC-A 50mm f/1.7 (manual focus), ISO 400, f/1.7, 1/100 sec, +0.7 EV, IS off
Shaggy shoe fashion.

Pentax K10D, Pentax SMC-A 50mm f/1.7 (manual focus), ISO 100, f/1.7, 1/250 sec, +0.7 EV, IS on
The Venetian, Las Vegas, NV.
Check out more Bokeh Wednesday shots at the Bokeh Wednesday group on Flickr.
I have been thinking a lot lately about lenses and I thought I’d share some of my thoughts. I’m planning on doing a more specific lens comparison but I will save that for a later date. For now I just want to talk about my general thoughts about lenses and their applications. Why is this important? Well, as you begin to expand your collection of lenses you will soon learn that what you have really invested in is a lens system and not a camera system. Quality glass (lenses) will last a lifetime and will likely outlast the latest whiz bang technology of the latest DSLR you just bought. Hopefully by sharing my thoughts and experiences some of you will have an easier time of navigating the confusing quagmire that comes along with upgrading your DSLR’s optics and make the most out of your investment.
For this discussion I am going to primarily refer the standard 35mm film focal lengths of lenses. I will add APS-C (1.6X) focal length or 35mm equivalents in brackets [ ] where appropriate. In general, if I say 50mm I mean 50mm focal length on a 35mm film camera or full frame sensor DSLR. The reason I am doing it this way is that the 35mm equivalent focal length of a lens describes its field of view (FoV) more accurately than APS-C (or DX) format measurement does. If any of this is confusing to you I strongly suggest reading the Wikipedia page on the APS-C format before continuing.
What would I buy?
Let’s imagine for a moment that money is no object and I could fill my camera bag with whatever I wished. What would that be? While we’re in dreamland, let’s assume that the camera I’ll be shooting with all this fictional glass is Canon’s awesome new 5D Mark II. Here are the lenses I’d want to have available and why (I’m sure I could find similar choices for Nikon but I know the Canon stuff better):
OK, so back to reality for a second. Most of us are amateurs and can not justify dropping $15K on our camera gear. Therefore, what should you take away from all of this?
I hope this helps clear up the mystery of lens selection a bit for those of you who are just starting to wade into the hobby. Feel free to post specific questions in the comments or drop me an email. Those of you who are more experienced please take a moment to share your thoughts on the subject as well.
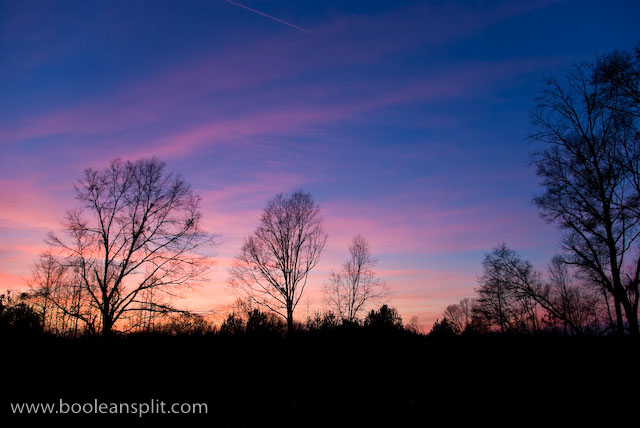
There are few things more beautiful than a good sunset or sunrise photograph. However, if you’ve ever tried to do it you know it can be frustrating. How many times have you seen a beautiful sunset like the one above only to have your photo turn out something like this?
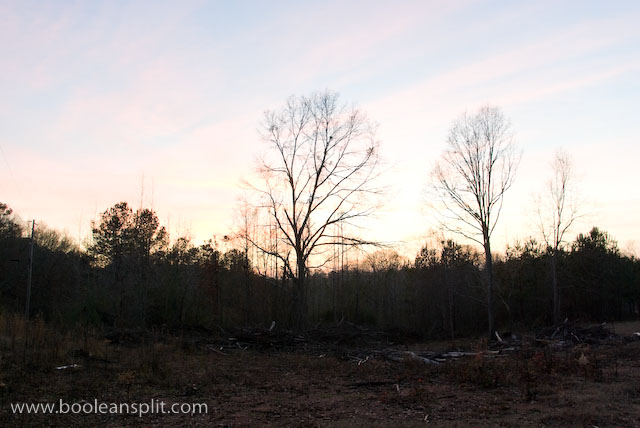
There are a couple of easy things you can do to get great sunset photos. First, turn off your flash. The only thing the flash is good for during a sunset is to add fill to illuminate a foreground subject. Unfortunately, getting the right mix of fill flash and background exposure can be very tricky:

Not a very inspiring photo (though after the number of rum punches I had I didn’t care). For now, let’s just turn the flash off and focus on capturing a brilliant sunset photo.
Next, set your white balance to auto. You can also try daylight but I have always found the auto setting gives the best mix of deep blues, pinks, reds and oranges.
I like to shoot sunsets with a wide angle lens to get as much of the sky in the picture as possible. This ensures a full mix of colors from the darkest indigo blues overhead to the brightest pinks and oranges at the horizon. Usually I leave only a strip of ground/foreground across the bottom to anchor the photo- letting the sky dominate the scene for maximum impact.
The main challenge with sunset photos is getting around the camera’s matrix metering’s natural tendency to balance exposure across the frame. The camera doesn’t know what’s going on and tries to balance the dark foreground with the bright background. The washed out example at the top is what you get when you just point-n-click. To get a decent sunset exposure you either need to dial in some negative exposure compensation (usually -2/3EV to -1EV). An easier method is to just aim the camera at an unobstructed portion of the sky, focus, lock exposure, recompose, and shoot. I typically use a little of both.
For the best sunset photos I typically like to wait for the sun to be fully below the horizon. That beautiful glowing orange ball of the sun absolutely wrecks exposure on a camera and typically results in pretty disappointing shots. Also, some cloud texture in the sky helps provide a good mix of colors. Be sure to look behind you as many times clouds away from the setting sun pick up some awesome colors. Finally, some good foreground silhouettes can help add additional visual interest (especially helpful if the sky itself is not as dramatic as it could be).
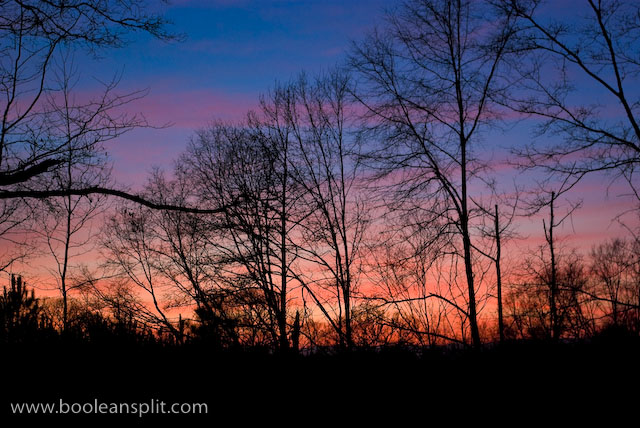
A medium aperture like f/8-f/10 is best to ensure the best detail and sharpness across the frame and eliminate vignetting typical at larger apertures when shooting at a wide zoom setting. Since I generally like to wait for the sun to drop fully, there’s typically not very much ambient light. This means I either need to be shooting on a tripod at a low ISO and slow shutter speed or bump the ISO up to prevent camera shake. These samples were all shot hand-held at ISO 200-400 and f/8 and f/10 at around 1/4 second. The combination of the K10D’s in-body IS and the wide focal length meant it only took a few tries to get sharp shots (wider zoom angles can be hand held at slower shutter speeds than longer ones).
Typically a properly shot sunset photo doesn’t require much post-processing. Since I shoot everything in RAW I have to tweak sharpness and saturation on all my photos in Lightroom. I can also play around with the white balance a bit to get the best pop from my images- though the as-shot (Auto) setting worked best for these images. Often I find the fluorescent WB preset works well for sunsets for some reason.
While a DSLR gives the most control over all of these settings, I have gotten wonderful sunset photos with a pocket camera by simply turning off the flash and using the focus, recompose and shoot method. Here is a collection of some of my other sunset photos on Flickr.
The most difficult part about getting good sunset shots is being at the right place at the right time with your camera. I hope this helps you get that great shot the next time that happens!
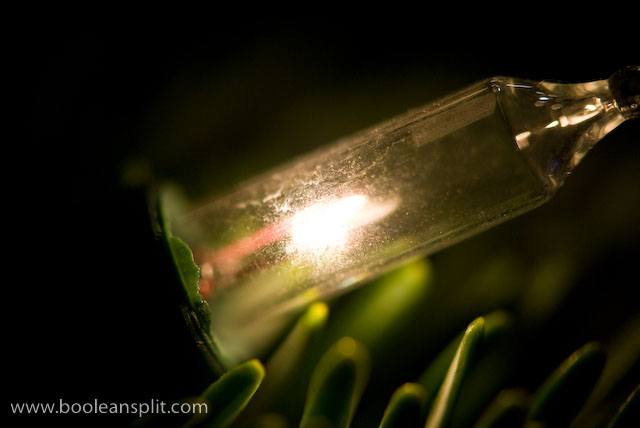
I got this idea from my Flickr friend Jim. I’ve played with this idea in the past but didn’t have the right combination of lenses to really make it work. Seems the kit lens on my Pentax K10D and my 20 year old Pentax-A 50mm f/1.7 make a pretty super duper super macro lens.
The trick is to shoot through a second lens, thus dramatically shortening the minimum focus distance of the combined lenses. This works best with a medium focal length primary lens (attached to the camera) and a fast secondary lens held (typically backwards) in front of the primary lens.
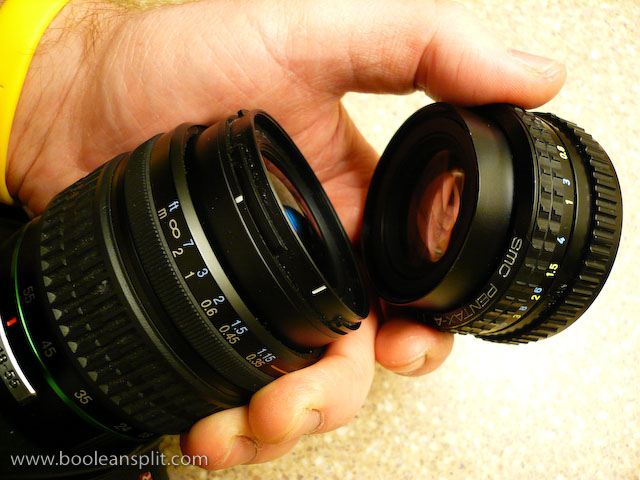
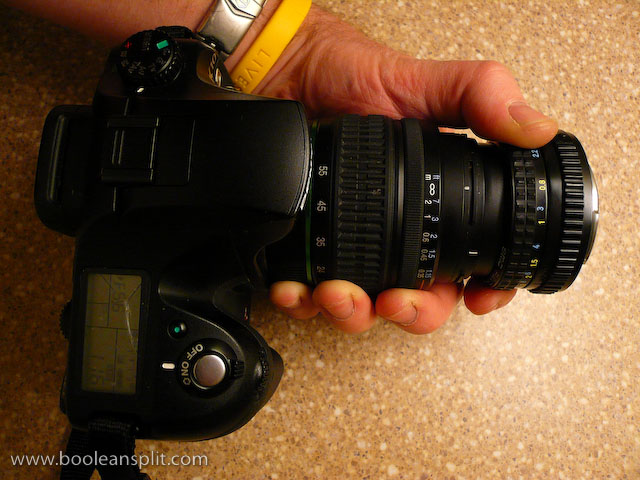
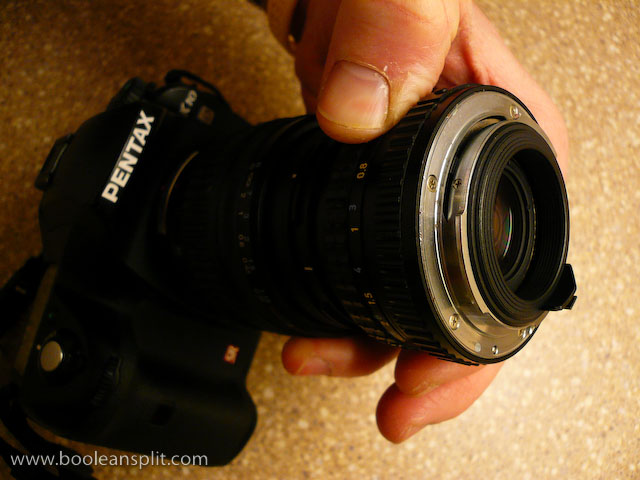
In this case, the 49mm diameter front element on the 50mm fits perfectly inside the 52mm diameter of the 18-55mm Pentax kit lens. I found that I had to zoom the kit lens all the way out to 55mm to eliminate vignetting. I tried reversing the set-up but the 18-55’s smaller maximum aperture resulted in vignetting at all focal lengths (hence the need for a fast secondary lens). For the shot above I simply switched the camera into manual focus, dialed in a handful of positive exposure compensation and got up close on a bulb on our Christmas tree:
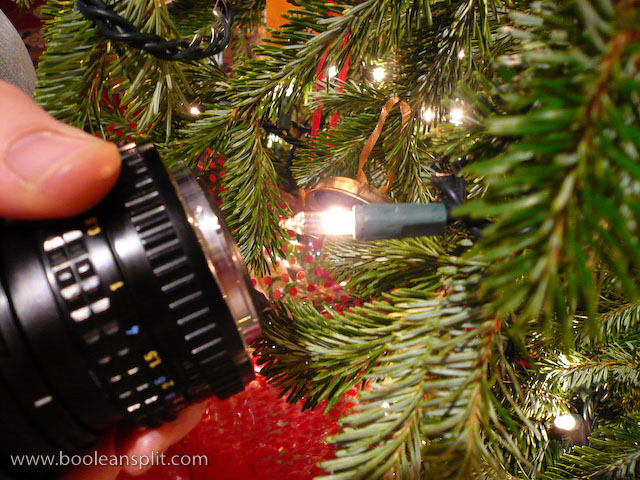
Depth of field is essentially non-existent- as is typically the case with all macro lenses. Changing the focus of ether lens had very little effect on the focal distance to the subject. To achieve focus you have to simply move the camera back and forth while composing through the viewfinder. The problem is that with such a micro thin slice of DOF any movement will throw off your composition. I ended up dialing up the ISO to 800 so that I could get a decently fast shutter speed (around 1/100 sec) and taking a bunch of hand held shots to get a couple of winners. Use of a tripod would have certainly helped, though holding the secondary lens in position while composing the shot on a tripod might be tricky.
A couple of additional shots taken with this set-up:
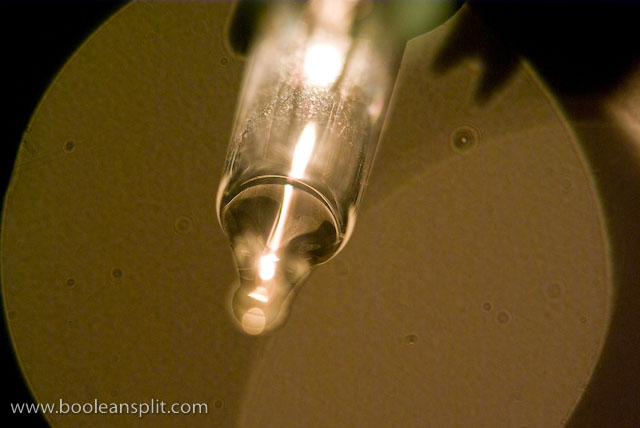
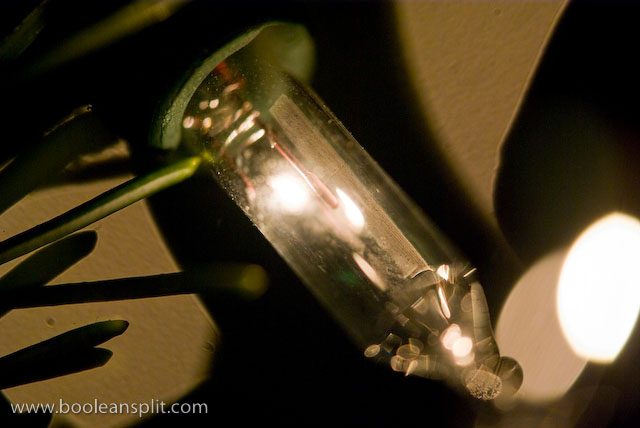
My understanding is that you can get similar results by simply reverse mounting certain types of lenses. There are accessories available to do this. Also, I think you may be able to use a threaded step-up adapter ring to attach the two lenses like in my set-up. The $20 screw-on close-up lens adapters (the kind that look like filters) IMO are pretty worthless unless you buy very nice quality ones but you might as well put that cash towards a dedicated macro lens.
The most popular macro accessories (besides a dedicated macro lens, of course) are extension tubes. Again, the price of entry here comes close to a decent dedicated macro lens (or zoom lens with macro capibility). There are cheaper alternatives and quality is less important if you are OK with losing auto focus and communication with your lens. I got some very nice results with my old Canon 5D and 85mm f/1.8 + 12mm Canon extension tube:
Keep in mind that all of these options will limit your focus distance to macro applications. A dedicated macro lens typically will be able to focus to infinity, making it usable as a regular lens in addition to a macro. However, if you have a couple of the right kind of lenses laying around and you want to take some close-up shots, now you know how. Thanks, Jim!
UPDATE:
Playing around a bit more with this set-up and I got these shots:


It also occurred to me that one of the reasons my set-up works so well is that my old manual focus 50mm lens has an aperture ring. This means I can crank it open to f/1.7 to get a clear shot through. More modern lenses often lack an aperture ring and default to the smallest aperture when removed from the camera body. If this happens to you, look for the aperture lever on the inside face of the lens and try sliding the aperture open to get a clear view through your secondary lens.