booleansplit.com

photos, tips, tricks, and thoughts from an avid amateur photographer


Posts tagged long exposure

’round back

'round back

Pentax K10D, Pentax SMC-A 50mm f/1.7 (manual focus), ISO 100, f/8, 30 sec, +/-0 EV, IS off

Taken in an alley behind an apartment building on Historic Highland Avenue in Birmingham, AL. I was drawn to the combination of lighting (sodium vapor and mercury vapor), the texture of the brick and the arrangement of the trash cans. This photo was taken with my Pentax K10D and my old manual focus 50mm f/1.7 lens on a Joby Gorillapod. I set the camera to manual mode, selected ISO 100 (for minimum noise), Auto white balance, 30 second shutter (maximum shutter time in manual mode), f/8 aperture (for maximum sharpness), and set the self timer to the 2 second delay position (to eliminate camera shake when the shutter opens). I manually set the focus at infinity and didn’t bother checking the light meter reading. Since I shoot these shots with the long exposure noise reduction turned off, I was able to review the shot immediately and saw that it was good on the first try. The alley was a lot darker and creepier than this photo suggests so after one shot I grabbed up my camera and kept moving… More »

asian-esque

asian-esque
Pentax K10D, Pentax SMCP DA 18-55mm f/3.5-5.6 AL @ 18mm, ISO 100, f/16, 30 sec, +/-0 EV, IS off

Benihana Japanese Steak House, Las Vegas Hilton Hotel and Casino.

I had lunch today in the noodle shop in the back of the Benihana restaurant. The main part of the restaurant was closed and I was leaving I was struck by all the decor all lit up for nobody. I stopped, switched my camera to manual mode, dialed in f/16, ISO 100, and 30 seconds of exposure. I set the self timer to the 2 second delay and set the camera on a flat top of a wooden handrail support post. I didn’t compose the shot with the viewfinder (due to the low height of the railing) nor did I review the shot after taking this single exposure. Later, in Lightroom I dialed back the exposure -0.42 EV and set the white balance to tungsten. Not bad for a “snap shot” :-)

Pentax K10D RAW noise reduction

I shoot a lot of long exposure shots with my Pentax K10D. One of my pet peeves is waiting for the built-in noise reduction to take a 1:1 dark frame subtraction exposure. This ends up doubling the length of time for each shot. Not that big of a deal if you are shooting 1 second exposures but a bit of a PITA if you’re shooting 5 minute bulb shots.

In-camera noise reduction is pretty critical for shooting JPEGs. Sure, you can always shoot your own series of dark frames at different ISOs and use them with 3rd party software to remove hot spots, etc. but this seems a bit extreme. So, I have just left the in-camera NR on and lived with the dark frame subtraction double exposure.

Many times I’ve noticed that there are hot spots in the initial Adobe Lightroom previews of my long exposure RAW files that disappear the first time I zoom in to 100%. This got me to thinking that maybe Lightroom could take care of long exposure noise on its own without the camera’s help. After searching Google in vain for a definitive answer, I decided a quick test was in order. I was pleased to learn that, now that I am shooting exclusively in RAW, I can turn off the in-camera noise reduction on my K10D and eliminate the wait between long exposure shots. (In-camera NR is still recommended for JPEG shooting).

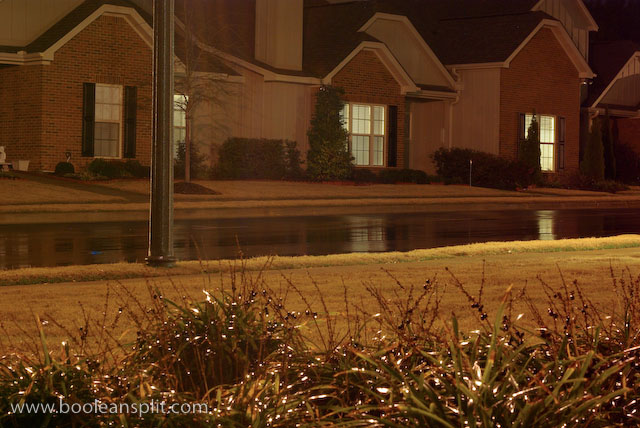
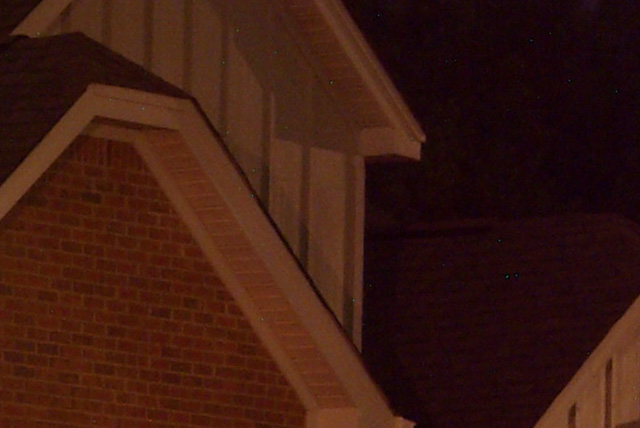
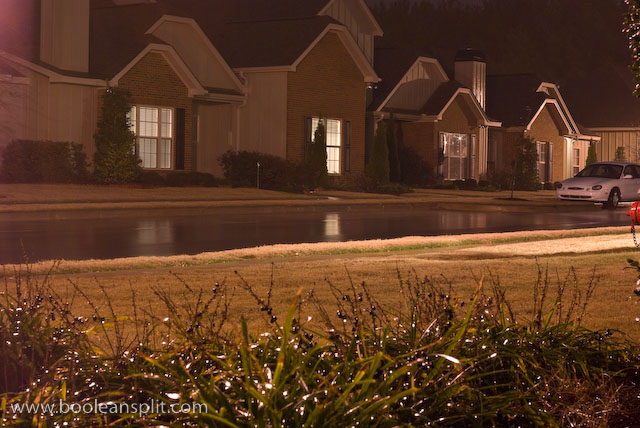
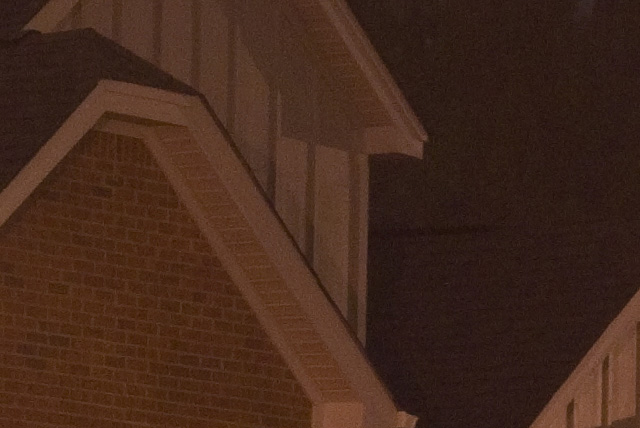
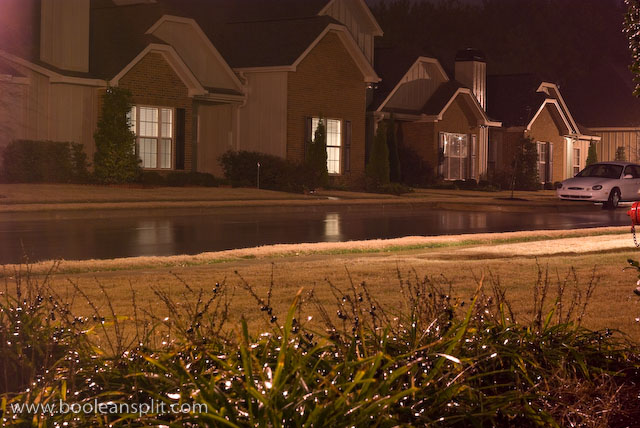
Here’s what I found in the test. All shots are 30 seconds at f/16 and ISO 400 using my 50mm f/1.7 SMC-A lens with only LR’s default processing applied. Sorry for the crude composition…

JPEG with NR OFF

JPEG with NR OFF

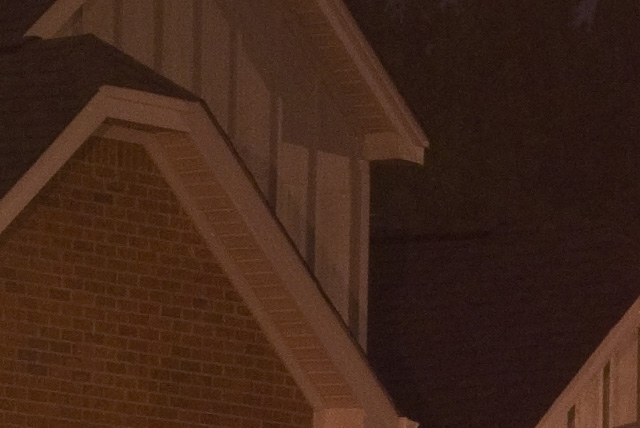
100% crop of JPEG w/ NR OFF

100% crop of JPEG w/ NR OFF

RAW with NR ON

RAW with NR ON

100% crop of RAW w/ NR ON

100% crop of RAW w/ NR ON

RAW with NR OFF

RAW with NR OFF

100% crop of RAW w/ NR OFF

100% crop of RAW w/ NR OFF

From what I could tell from this test, there is virtually no difference in noise between the RAW images with and without in-camera noise reduction. In fact, to me the images without the NR has slightly better contrast and more shadow detail. Keep in mind that these are unprocessed RAW files so I could easily get similar contrast and saturation as the JPEG image while maintaining the greater detail and dynamic range of the RAW images.

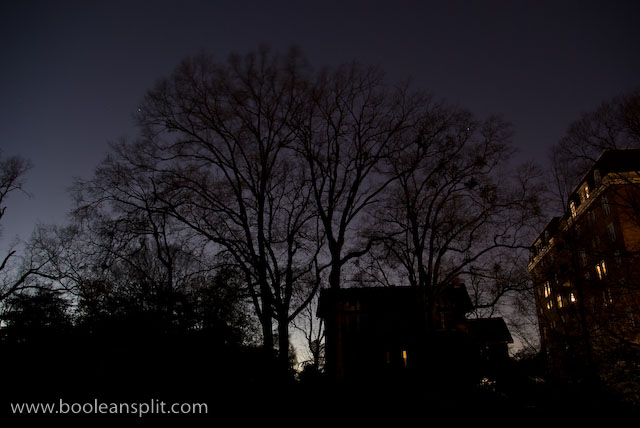
Twilight

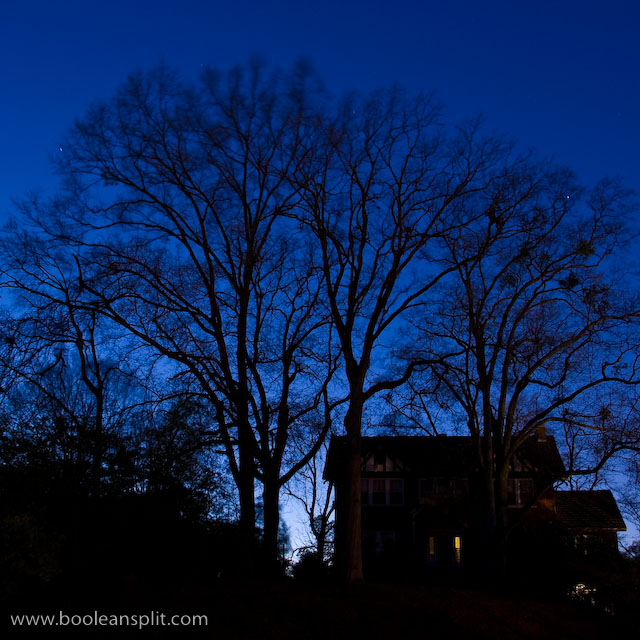
twilight

Dusk is my favorite time of day. I love the rich blues of the sky and the contrast of dark trees and such in the foreground. Normally, these shots require long exposures and a tripod to capture and a bit a tweaking post-process to get the lighting and color right.

This shot required a 30 second exposure at f/9 and ISO 100 with +1EV exposure compensation. I chose f/9 for two reasons. First, f/9 was the smallest aperture I could use and still keep the exposure under 30 seconds in Aperture Priority mode (maximum shutter time without switching to Bulb mode) at ISO 100. I wanted to keep the shot at ISO 100 to ensure tack sharp details, rich saturation and no noise. Second, I have found that my kit lens is its sharpest between f/8 and f/11, so f/9 was a logical place to start.

This photo was processed in Adobe Lightroom to look as close to what my eyes saw as possible. Here’s the original RAW shot straight out of the camera (SOOC) with nothing but my default import processing:
original SOOC unprocessed shot

Since I was shooting in RAW I left the white balance at Auto and simply used the histogram display on the LCD to verify a good mix of highlight and shadow detail. After downloading I started off by cropping and straightening the shot a bit. Next I tweaked the white balance to 3700K to get the blue to pop (the sky was too purple at the Daylight/5500 setting and too blue at Tungsten/2850). I then pushed the exposure up another +1EV and dropped the Black slider to 3. Nudging the Fill Light slider to 21 pulled even more shadow detail out. I set Clarity to 11, Vibrance to +25 and Saturation to +21. Finally, I added a touch of Sharpening and Detail (50 & 50) and Defringed all edges.

The Clarity, Vibrance, Sharpening, Detail, and Defringe settings are pretty standard for most of my shots with the Pentax K10D. I find the SOOC RAW files are a little flat color-wise and softer than I like. Also, the kit lens leaves a bit of color fringing on hard edges that Defringing seems to fix well.

The final result turned out very true to what I recall seeing that night in Birmingham. It was a bit windy so the tops of the tree branches are motion blured. The tiny star trails were an unexpected surprise.

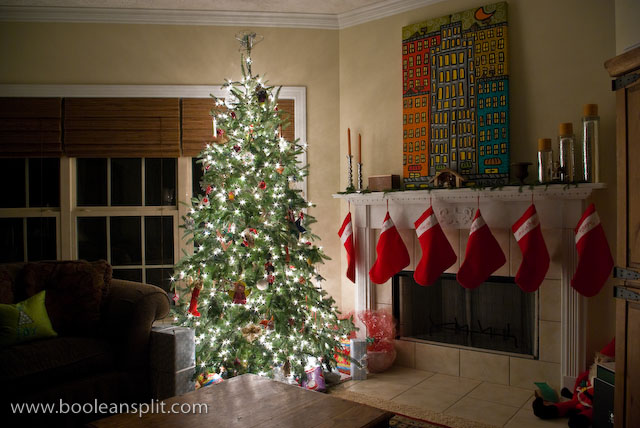
Merry Christmas!

Christmas tree

Just a quick note to say Merry Christmas and thank you for your support. I started this blog less than 3 weeks ago and I have already had over 1,100 views! I hope everyone is enjoying this site and getting something out of it. I’ve got some new topics I’m working on that I’ll be posting over the next few days as time permits. Meanwhile, have a very merry Christmas, safe travels and take lots of pictures!

About

I'm an industrial designer and an avid hobbyist photographer. People are always asking me "how'd you do that?" So, I decided to create this site as a place to share my experiences and insights about photography, the gear and what it all means to me. I'm not sure if this site will make anyone besides myself a better photographer but I figure it's worth a try. Take a look around and let me know what you think. Thanks for stopping by!

Subscribe

Recent Posts

Categories

Pages

Flickr Friends

Links

My Sites

Archives