booleansplit.com

photos, tips, tricks, and thoughts from an avid amateur photographer


Posts tagged white balance

studio shoot

imgp31251

My industrial design class just completed their semester-long power equipment design project culminating with the building of full-scale appearance models. I set up a make-shift photo studio in a lightly used classroom and over the past 24 hours shot over 600 images. All were taken in RAW format (DNG) with my Pentax K10D and my 18-55mm kit lens and FA 35mm f/2 AL and processed in Adobe Lightroom. By shooting in RAW I was able to set the white balance for all the shots with one click by selecting an underexposed portion of the white backdrop with the eye dropper tool in Lightroom and then copying and pasting that setting to all images.

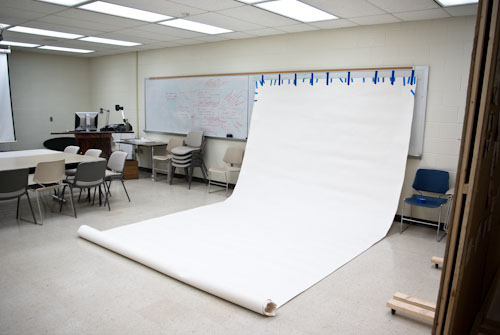
Most of the shots required a heavy dose of positive exposure compensation while shooting to keep the white backdrop white and not grey. I was pretty diligent with the use of the histogram while shooting so there wasn’t much need for exposure adjustment. I just made sure there was a good spike on the right hand side of the graph without going very far into the mid tones. Here’s a shot of the “studio” set-up:
imgp2988

I positioned the white paper backdrop centered under a row of fluorescent lights so that there was a row flanking the backdrop on either side. This provided nice even lighting front to back and reduced shadows to a minimum.

For each of the 14 students I took anywhere from 40-70 shots (all hand-held @ ISO 400). I started with low-angle orthographic views at a medium focal length (35-45mm) followed by eye-level perspective shots at a wider angle (35-24mm), short depth of field detail shots (to hide any imperfections), and specialty shots as required (use, high angle, ultra-wide low angle perspective, etc.). All in all I was really pleased with the results right out of the camera and I think the students ended up with great shots for their portfolios.

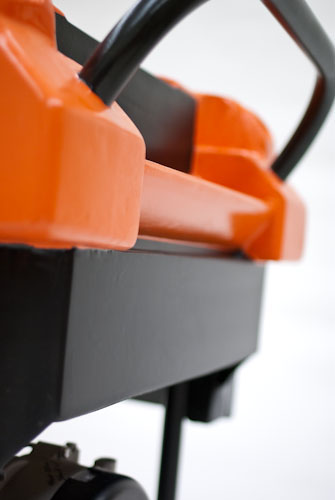
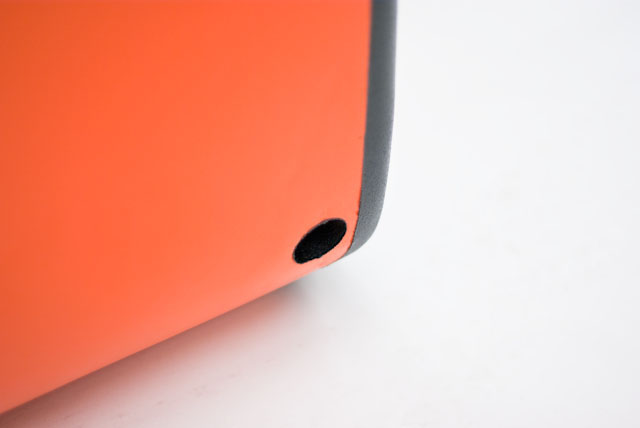
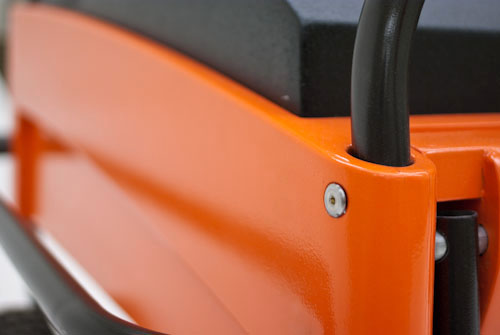
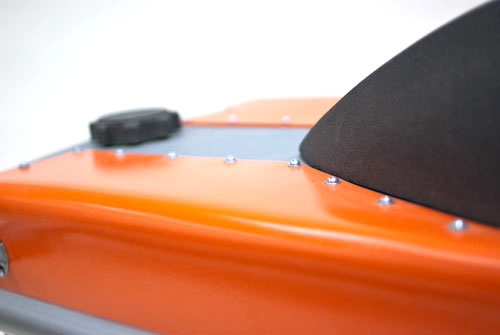
Unfortunately, the confidentiality agreement I signed prevents me from showing most of the shots or even revealing the client or other interesting project details, but here are a few ambiguous detail shots of the final models to show what I was able to achieve with this make shift DIY studio set-up:
imgp3197

imgp3246

imgp3343

Oh, and I have over 2,000 photos that I have taken of the students working on their projects this semester that I need to burn off onto DVDs within the next week!
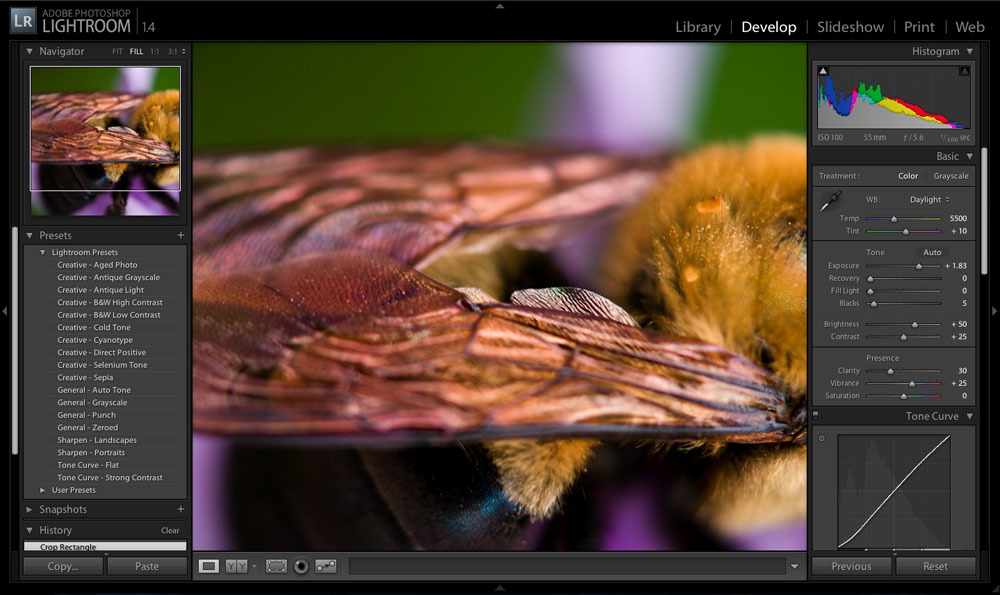
Pentax K10D Lightroom custom develop settings

lr_large_screenshot

After shooting digital for 10 years I finally started shooting RAW exclusively in September 2008. What took me so long? Probably the same thing that keeps most amateur photographers from shooting RAW: the added time and complexity of post-processing RAW images. That all changed when I discovered Adobe Photoshop Lightroom’s customizable default development settings. By creating a custom set of image adjustments I get Lightroom to do most of the work for me as I import my images. I often refer to my “default import settings” in my blog posts so I figured I should share what those settings are. Here are the settings that I have found that work best for me and my Pentax K10D in Lightroom v1.4 and make shooting RAW work so well for me: More »

Why do I shoot RAW?

Here’s a recent quote from Ken Rockwell’s blog:

The Canon 5D Mark II’s in-camera JPG processing is awful if you’re making huge prints. The in-camera processing of the raw data oversharpens harsh edges, adds too much contrast and smudges subtle textures into mush.

For the Canon 5D Mark II, if you’re making huge enlargements, shooting CR2 files and processing them with Adobe Lightroom 2.2 makes a world of improvement over in-camera processing. Shooting CR2 files in the 5D Mark II and processing them in Lightroom 2.2 makes files almost indistinguishable from the JPGs that come directly out of the Nikon D3X.

I find this quite amusing as Ken is infamous for bashing anyone who shoots RAW as a hack. Read his article on RAW vs. JPEG to see what I mean. If you can get beyond all of his opinions there is some pretty useful information in there.

Personally, I pretty much agreed with Ken and shot JPEG exclusively up until last year. I switched to shooting RAW with my Pentax K10D and post processing with Adobe Lightroom when I discovered how much better the RAW images looked coming out of Lightroom as JPEGs than they ever did coming out of the camera. The thing that makes it work for me is that I know the camera so well that I can picture what post processing adjustments I am going to need to do to an image as I’m peering through the viewfinder… much the same way a good film photographer considers how they will later develop and print an image in the darkroom.

I have lens specific import presets for my K10D’s RAW files that automatically apply my preferred adjustments during import (Sharpening, Detail, Clarity, Vibrance, Noise Reduction, Defringing, etc.). I shoot in auto white balance mode so all the post processing I have to do is make any required adjustments to the WB where the camera missed (which happens more often than not. Often, I can do this quite simply with a large number of images shot in the same light with less than 3 clicks (click on the first image, shift-click on the last, click on the WB pull-down tab, scroll to the correct WB preset and release). I certainly fail to see how this can be any more time consuming than fiddling with the in-camera WB settings while shooting.

I don’t recommend shooting RAW for beginners. Post processing can be a quagmire where inexperienced photographers often get lost and discouraged. However, once you get to the point that you can see what kinds of adjustments an image might need before you even release the shutter, shooting RAW starts to make a lot of sense. Used wisely, RAW images can open up a whole new world of creative and critical control. Best of all, you can always reset the image back to the default as-shot capture and do it all over again- all without creating multiple JPEG files to keep track of and store.

If you want to get an idea of what shooting RAW will do for your core image quality, look up the review of your camera on dpreview.com and navigate to the “Compared to (JPEG)” and “Compared to (RAW)” sections.

Camera Dojo just posted a pretty in-depth article on the same subject that is worth taking a look at.

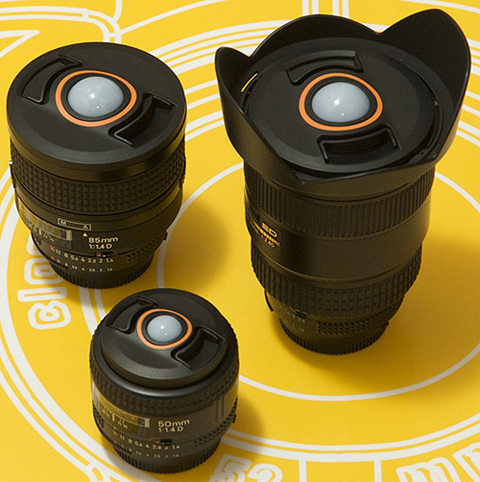
White balance lens cap

Interesting concept from BRNO- lens caps that facilitate the setting of white balance for DSLR users. As a product designer I admit that this is a very clever idea that is well executed. However, the photographer in me suggests pocketing the $54.00 and just shoot RAW. Available from B&H photo if you are so inclined (shoot RAW!). –via www.woohome.com

UPDATE: Seems this is nothing really new. Pick one up at Amazon for a video camera for $7 if you still think it’s something you need.

Twilight

twilight

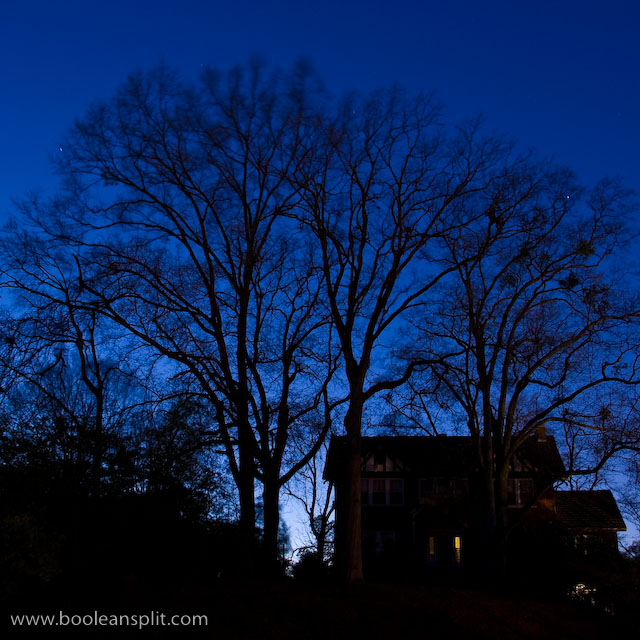
Dusk is my favorite time of day. I love the rich blues of the sky and the contrast of dark trees and such in the foreground. Normally, these shots require long exposures and a tripod to capture and a bit a tweaking post-process to get the lighting and color right.

This shot required a 30 second exposure at f/9 and ISO 100 with +1EV exposure compensation. I chose f/9 for two reasons. First, f/9 was the smallest aperture I could use and still keep the exposure under 30 seconds in Aperture Priority mode (maximum shutter time without switching to Bulb mode) at ISO 100. I wanted to keep the shot at ISO 100 to ensure tack sharp details, rich saturation and no noise. Second, I have found that my kit lens is its sharpest between f/8 and f/11, so f/9 was a logical place to start.

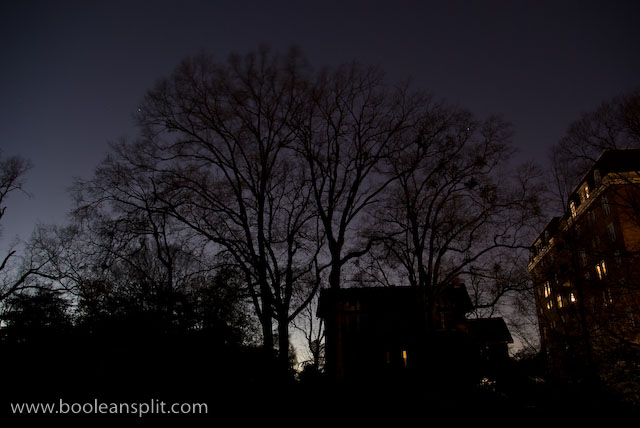
This photo was processed in Adobe Lightroom to look as close to what my eyes saw as possible. Here’s the original RAW shot straight out of the camera (SOOC) with nothing but my default import processing:

original SOOC unprocessed shot

Since I was shooting in RAW I left the white balance at Auto and simply used the histogram display on the LCD to verify a good mix of highlight and shadow detail. After downloading I started off by cropping and straightening the shot a bit. Next I tweaked the white balance to 3700K to get the blue to pop (the sky was too purple at the Daylight/5500 setting and too blue at Tungsten/2850). I then pushed the exposure up another +1EV and dropped the Black slider to 3. Nudging the Fill Light slider to 21 pulled even more shadow detail out. I set Clarity to 11, Vibrance to +25 and Saturation to +21. Finally, I added a touch of Sharpening and Detail (50 & 50) and Defringed all edges.

The Clarity, Vibrance, Sharpening, Detail, and Defringe settings are pretty standard for most of my shots with the Pentax K10D. I find the SOOC RAW files are a little flat color-wise and softer than I like. Also, the kit lens leaves a bit of color fringing on hard edges that Defringing seems to fix well.

The final result turned out very true to what I recall seeing that night in Birmingham. It was a bit windy so the tops of the tree branches are motion blured. The tiny star trails were an unexpected surprise.

About

I'm an industrial designer and an avid hobbyist photographer. People are always asking me "how'd you do that?" So, I decided to create this site as a place to share my experiences and insights about photography, the gear and what it all means to me. I'm not sure if this site will make anyone besides myself a better photographer but I figure it's worth a try. Take a look around and let me know what you think. Thanks for stopping by!

Subscribe

Recent Posts

Categories

Pages

Flickr Friends

Links

My Sites

Archives