booleansplit.com

photos, tips, tricks, and thoughts from an avid amateur photographer


Posts tagged lights

speak to me

speak to me

Pentax K10D, Pentax SMC-A 50mm f/1.7 (manual focus), ISO 800, f/1.7, 1/50 sec, +0.7 EV, IS on

Speak to me…as in little green men from outer space ;-) This image makes me think of Close Encounters of the Third Kind. Taken in the bar at the MGM Grand casino in Las Vegas. The Centrifuge bar (as it is known) is designed around a central cylinderical tower covered in tiny color changing LED or fiber optic lights. I was sitting about 12-15′ away from the bar when I took this relaxing from 3 days of walking the show floor at PMA. I simply manually set the focus on my 50mm lens (at f/1.7) to around 3′ and let the camera do the rest. Shooting bokeh is really one of the easiest things to do once you understand the technique. The hard part becomes making an actual composition out of the bokeh. In this case the arrangeent of the lights themselves was all I needed. Tomorrow I’ll have another example shot in the same place.

Merry Christmas!

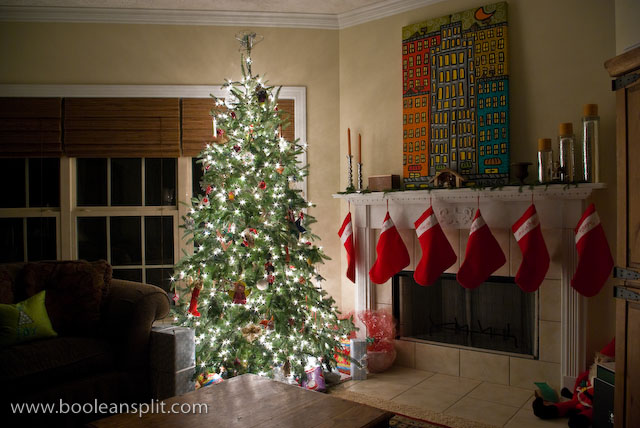
Christmas tree

Just a quick note to say Merry Christmas and thank you for your support. I started this blog less than 3 weeks ago and I have already had over 1,100 views! I hope everyone is enjoying this site and getting something out of it. I’ve got some new topics I’m working on that I’ll be posting over the next few days as time permits. Meanwhile, have a very merry Christmas, safe travels and take lots of pictures!

DIY super macro DSLR lens

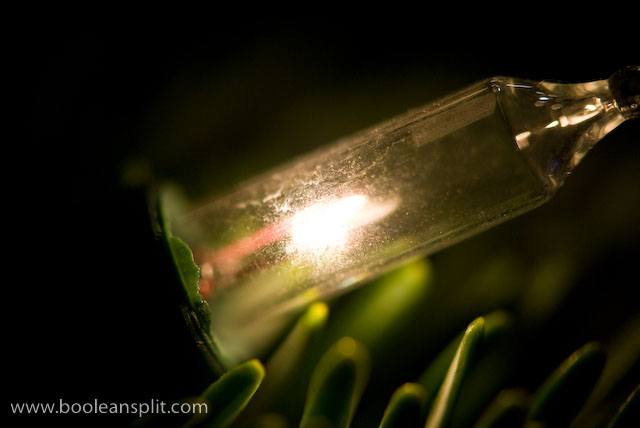
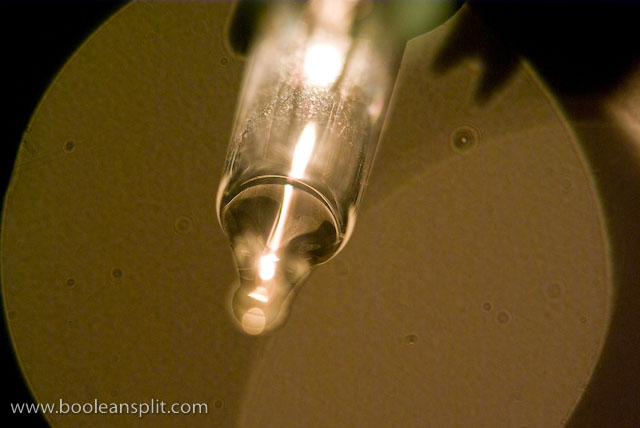
Christmas light super close-up

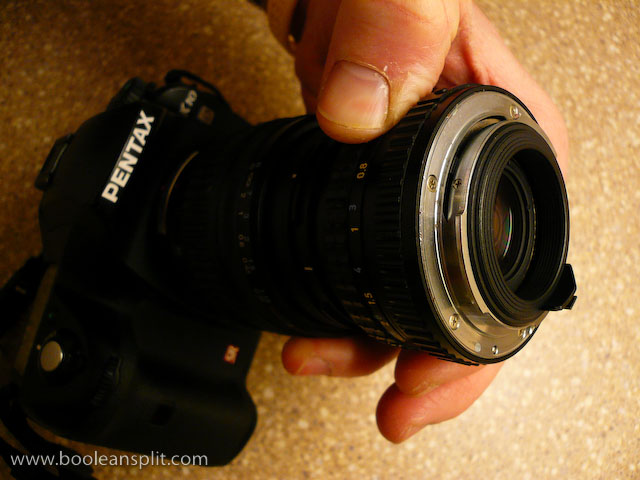
I got this idea from my Flickr friend Jim. I’ve played with this idea in the past but didn’t have the right combination of lenses to really make it work. Seems the kit lens on my Pentax K10D and my 20 year old Pentax-A 50mm f/1.7 make a pretty super duper super macro lens.

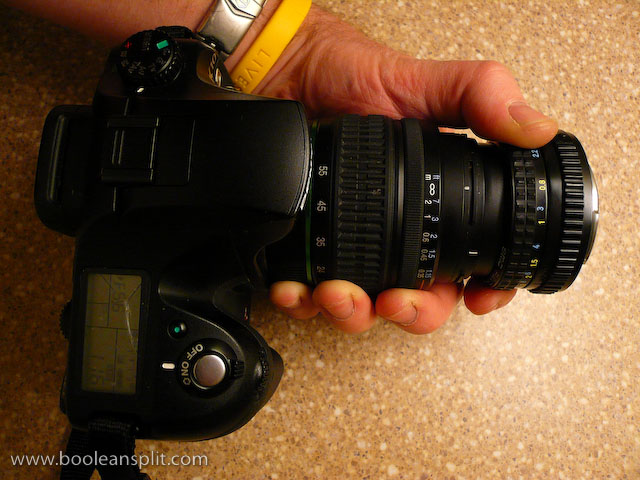
The trick is to shoot through a second lens, thus dramatically shortening the minimum focus distance of the combined lenses. This works best with a medium focal length primary lens (attached to the camera) and a fast secondary lens held (typically backwards) in front of the primary lens.

super macro lens assembly

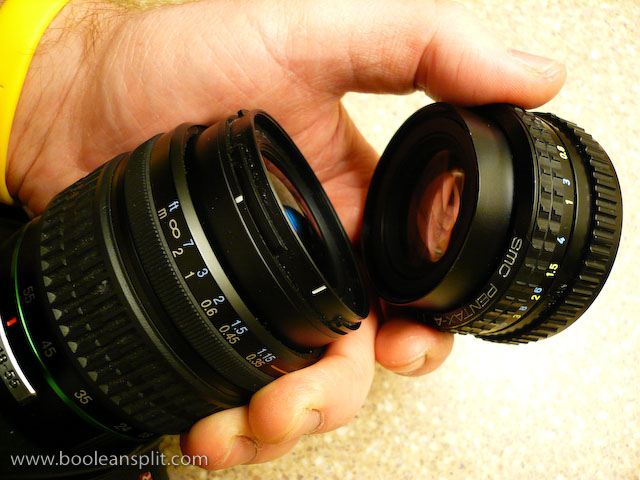
Pentax 18-55mm kit lens with 50mm f/1.7 on front

business end

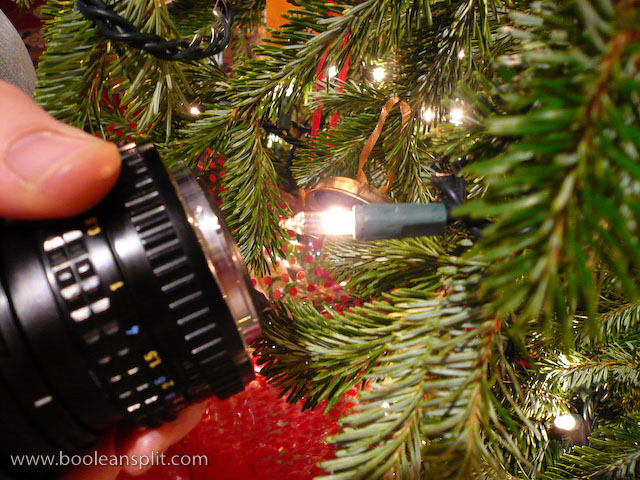
In this case, the 49mm diameter front element on the 50mm fits perfectly inside the 52mm diameter of the 18-55mm Pentax kit lens. I found that I had to zoom the kit lens all the way out to 55mm to eliminate vignetting. I tried reversing the set-up but the 18-55’s  smaller maximum aperture resulted in vignetting at all focal lengths (hence the need for a fast secondary lens). For the shot above I simply switched the camera into manual focus, dialed in a handful of positive exposure compensation and got up close on a bulb on our Christmas tree:

taking the shot

Depth of field is essentially non-existent- as is typically the case with all macro lenses. Changing the focus of ether lens had very little effect on the focal distance to the subject. To achieve focus you have to simply move the camera back and forth while composing through the viewfinder. The problem is that with such a micro thin slice of DOF any movement will throw off your composition. I ended up dialing up the ISO to 800 so that I could get a decently fast shutter speed (around 1/100 sec) and taking a bunch of hand held shots to get a couple of winners. Use of a tripod would have certainly helped, though holding the secondary lens in position while composing the shot on a tripod might be tricky.

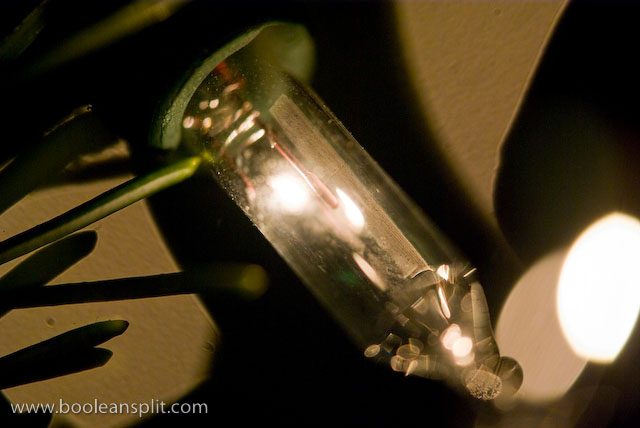
A couple of additional shots taken with this set-up:

imgp6272

ISO 800, 50mm, f/5.6, 1/250sec

My understanding is that you can get similar results by simply reverse mounting certain types of lenses. There are accessories available to do this. Also, I think you may be able to use a threaded step-up adapter ring to attach the two lenses like in my set-up. The $20 screw-on close-up lens adapters (the kind that look like filters) IMO are pretty worthless unless you buy very nice quality ones but you might as well put that cash towards a dedicated macro lens.

The most popular macro accessories (besides a dedicated macro lens, of course) are extension tubes. Again, the price of entry here comes close to a decent dedicated macro lens (or zoom lens with macro capibility). There are cheaper alternatives and quality is less important if you are OK with losing auto focus and communication with your lens. I got some very nice results with my old Canon 5D and 85mm f/1.8 + 12mm Canon extension tube:

Keep in mind that all of these options will limit your focus distance to macro applications. A dedicated macro lens typically will be able to focus to infinity, making it usable as a regular lens in addition to a macro. However, if you have a couple of the right kind of lenses laying around and you want to take some close-up shots, now you know how. Thanks, Jim!

UPDATE:

Playing around a bit more with this set-up and I got these shots:

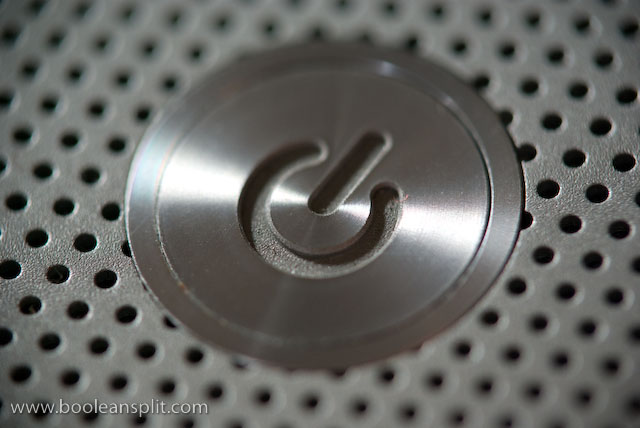
MacBook Pro power button

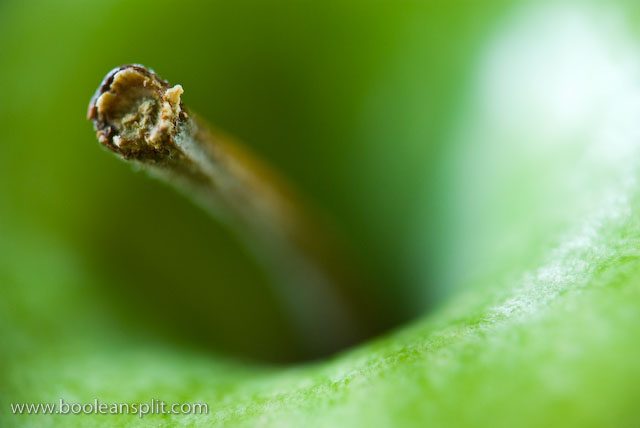
granny smith apple stem

It also occurred to me that one of the reasons my set-up works so well is that my old manual focus 50mm lens has an aperture ring. This means I can crank it open to f/1.7 to get a clear shot through. More modern lenses often lack an aperture ring and default to the smallest aperture when removed from the camera body. If this happens to you, look for the aperture lever on the inside face of the lens and try sliding the aperture open to get a clear view through your secondary lens.

Pocket Camera Bokeh Tutorial

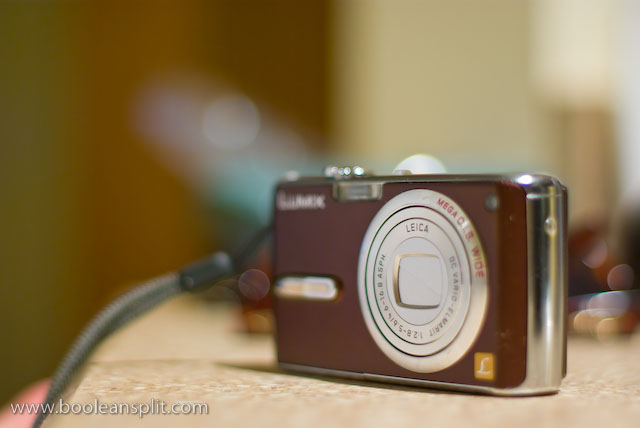
Panasonic Lumix FX07

Yesterday I posted a tutorial on photographing bokeh with a DSLR. Today I am going to attempt to do the same about pocket cameras. Please take a minute to read over the first part of my DSLR Bokeh Tutorial to familiarize yourself with the basic concepts of what bokeh is and how it is typically created. The photo above (taken with my Pentax K10D & 50mm f/1.7 SMC-A lens) is the closest most people think you can get to photographing bokeh with a compact pocket camera ;-)

The truth is you can shoot bokeh with a pocket or “push here dummy” (PhD) camera, but there are a few things you need to understand about the way they work first so you can set the camera up and compose your shot properly. The two biggest hurdles for getting good bokeh shots on the typical pocket camera are the extremely small objective lens (and resulting small aperture) and the auto focus system. At this point I should mention that there are “pocket” cameras with manual controls. Users of these cameras will have to read both tutorials and combine steps and settings to find what works with their cameras.
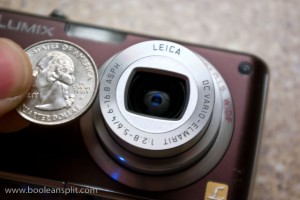
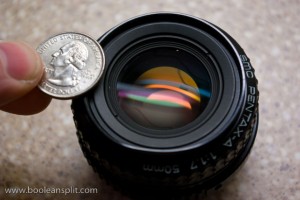
typical p&s lens & aperture size typical DSLR lens and aperture size

The first rule of bokeh is the bigger and rounder the aperture opening, the bigger and rounder the bokeh. The photos above do a pretty good job of illustrating the challenge facing PhD camera bokeh seekers. Also, since we don’t typically have control over the aperture setting used by the PhD camera, we have to be sure the camera is set up to give us the desired results.

The second challenge to overcome is the PhD camera’s fully-automatic-do-everything-for-you mindset. If you recall from my DSLR tutorial, to get good bokeh you need:

  • out of focus pin point light sources in the background
  • the largest possible aperture setting your lens will provide (f number)
  • a medium to long focal length (zoom in)
  • a short focal distance to the foreground subject
  • significant distance between the foreground subject and background points of light

Trying to get all of this in combination at the same time can be very frustrating with a PhD camera. PhD cameras are typically programmed to produce photographs where everything is in focus and evenly exposed. To get decent bokeh out of your pocket camera you have to play a few tricks on it’s single-minded little silicon brain. I did a little playing around with the trusty little Panasonic Lumix FX07 above this afternoon to illustrate this tutorial.

TUTORIAL:

First, we need to set up the camera. Most PhD cameras come out of the box in full-on idiot mode. These “Auto” settings are great for taking snapshots but leave very little room for creative control. There is usually a “Manual” or other mode that allows greater control over the camera’s settings. I suggest that you use this mode for this exercise (and everything else). However, since there are so many PhD cameras out there (with each having its own user interface) I’m going to stick to settings that should be universally addressable. If you are unsure how to change any of these settings please refer to your camera’s user manual.

Step 1: Turn off the flash (IMO you’ll be a better photographer if you never turn it back on).
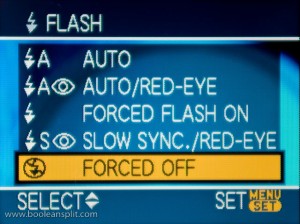
flash off

The PhD camera is going to try and fire the flash to fill in all the darkness between your bokeh balls. Not very helpful.

Step 2: Set the ISO to 200.
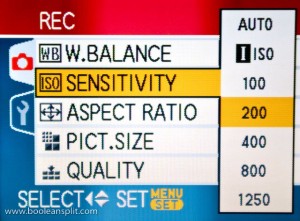
ISO 200

By forcing the camera to use a relatively slow ISO speed we ensure that the PhD’s brain will dial up the largest aperture opening to try and compensate for the lack of light while keeping the shutter speed as fast as possible.

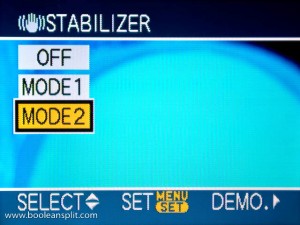
Step 3: Turn on Image Stabilization (if available).
IS on

Image stabilization will help compensate for camera shake in what is bound to be a rather slow exposure. If you do not have IS you may have to play around with your ISO setting and/or use a tripod.

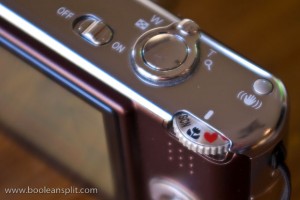
Step 4: Select MACRO focus mode.
MACRO focus mode

Macro focus mode will enable us to dial in a very short focal distance to maximize depth of field.

Now that the camera is properly set up you need some nice pin point sources of light. Again, a Christmas tree on the far side of your living room makes an excellent subject this time of year. As we have not yet decorated our tree, some Christmas tree lights on the kitchen counter will have to do for this tutorial. Remember the Golden Rule of tutorials: “do as I say, not as I do” :D

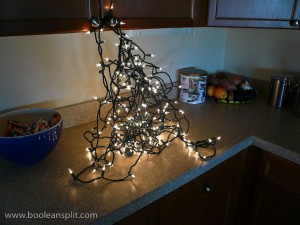
Step 5: Find some pin point sources of light in a relatively dark setting.
Christmas lights

My Lumix has a 3X zoom but the macro setting only works in the widest zoom position so these series of shots are at the widest zoom setting. If your camera can still focus in macro mode within about 6″ of the front of the lens when zoomed out then try zooming out for this tutorial. Otherwise, just do what I did and play with the distance to the lights (I was only 4-5′ away from this small section of lights- 10-12′ is likely a better distance from a full-on Christmas tree).

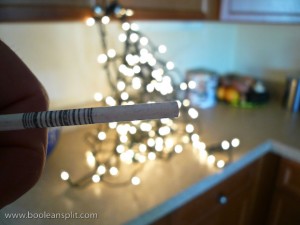
Step 6: Focus on something small up as close to the front of the camera lens as possible (half press and HOLD of the shutter button only-do not take the picture yet).
focus the camera

Here I’m using the stick from a Dum Dums lollipop. I like the sucker stick because it is small and white but its round shape provides enough highlight and shadow for the contrast detect auto focus to lock onto it. If you use your finger the camera will have difficulty focusing and the exposure will likely be blown out. Since PhD cameras lock exposure and focus at the same time, the trick here is to pre-focus on something very small in the foreground while not blocking too much light from the background and ruining the exposure of the bokeh.

Step 7: Move the foreground object from in front of the camera and fully depress the shutter button to take the picture.
pocket camera bokeh

Admittedly this has a lot to be desired as it has not reached the heights of bokeh-dom as are possible with a DSLR and large aperture lens. However, it is bokeh and it was shot with a PhD pocket camera. Adding a subject back into the foreground after pre-focusing on the small foreground object (using the LCD viewfinder to achieve focus by manually moving the camera and/or subject in front of the lens while continuing to hold the shutter button at the halfway point) can make for some pretty interesting bokeh shots that will impress your friends and neighbors (unlike this example).
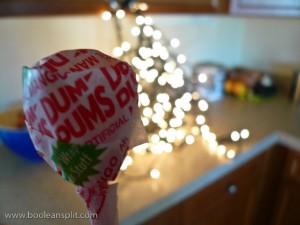
Dum-Dum bokeh

Happy pocket camera bokeh-ing! Let me know how it goes.

UPDATE:

So, we finally got our tree up and I took the opportunity to try my technique out for reals. This is the best I could get with my Panasonic Lumix FX07:
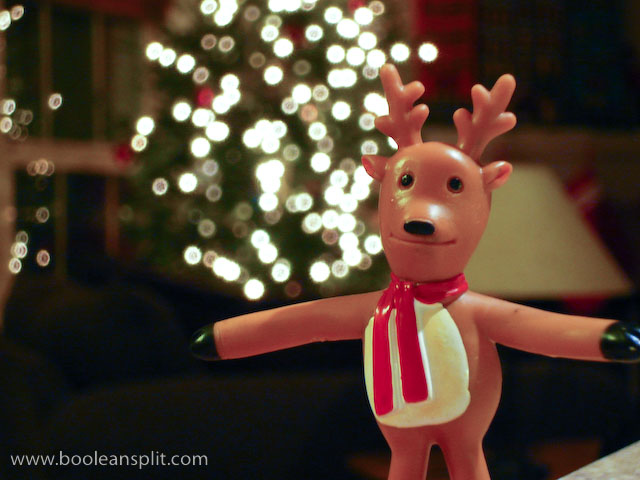
Panasonic Lumix FX07 bokeh

Not bad, but I figured the limited macro capability of my Lumix might be holding things up a bit so I borrowed the wife’s 3 year old Canon PowerShot SD400. Canon PhDs tend to feature extremely close macro focus capability. Sure enough, the results this time around were really not half bad:
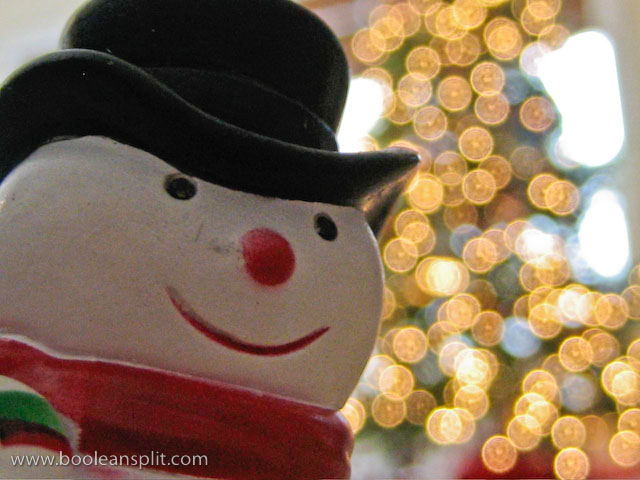
Canon SD450 bokeh

Merry Christmas!

Make wonderland out of this concrete jungle

ISO 100, 18mm, f/20, 30 seconds, IS off

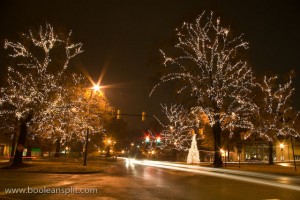
I grew up in Mountain Brook, Alabama and these Christmas decorations always put me into the holiday spirit. I took this 30 second exposure back during Thanksgiving. I used a tripod and the 2 second self timer delay to prevent camera shake. I experimented with a few settings while in manual mode to get the right balance of ISO, aperture and shutter speed. I love all the starbursts from the small aperture and the way the wet streets reflect all the lights. I had another shot with no headlight trails but I liked they way they added some motion to this otherwise static shot.

This photo is a good illustration of where shooting RAW pays the most dividends. I know that you can get wonderful JPEGs straight out of the camera (SOOC), but I hate standing around in the rain tweaking white balance presets and hoping I got it right. Here, I just played around with my WB settings in Lightroom in the heated comfort of my living room until I got the right mix of white for the twinkle lights and blue for the sky. This is especially useful when you are shooting in mixed lighting conditions like this. I hate the orange cast sodium vapor lights give to everything. It is very difficult to remove this color cast in a JPEG but one click of the Temp slider in Lightroom and it’s all gone! (This shot = 2250 on Temp and 0 on Tint).

Here’s the original unedited shot. You can also see that I had to straighten it a bit as I didn’t realize that my tripod was a little cock-eyed on the sloping sidewalk where I was shooting.

original unedited shot

original unedited RAW shot

Anything else you want to know?

About

I'm an industrial designer and an avid hobbyist photographer. People are always asking me "how'd you do that?" So, I decided to create this site as a place to share my experiences and insights about photography, the gear and what it all means to me. I'm not sure if this site will make anyone besides myself a better photographer but I figure it's worth a try. Take a look around and let me know what you think. Thanks for stopping by!

Subscribe

Recent Posts

Categories

Pages

Flickr Friends

Links

My Sites

Archives