booleansplit.com

photos, tips, tricks, and thoughts from an avid amateur photographer


Archive for December, 2008

The world through my eyes

The World through my eyes

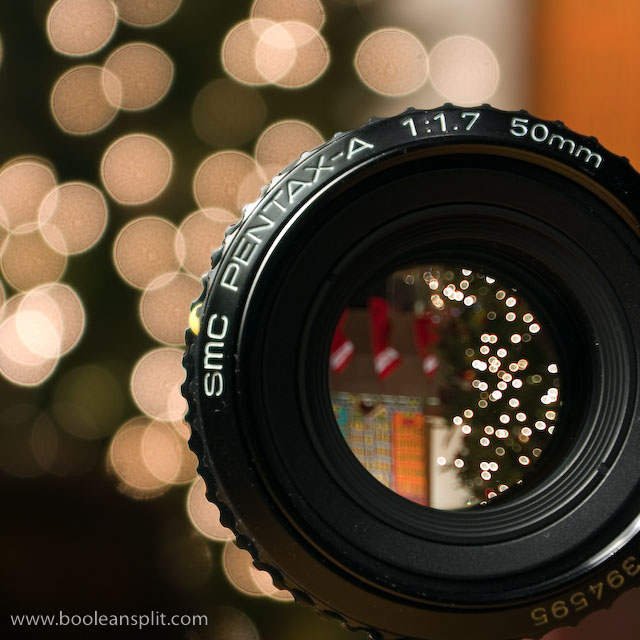
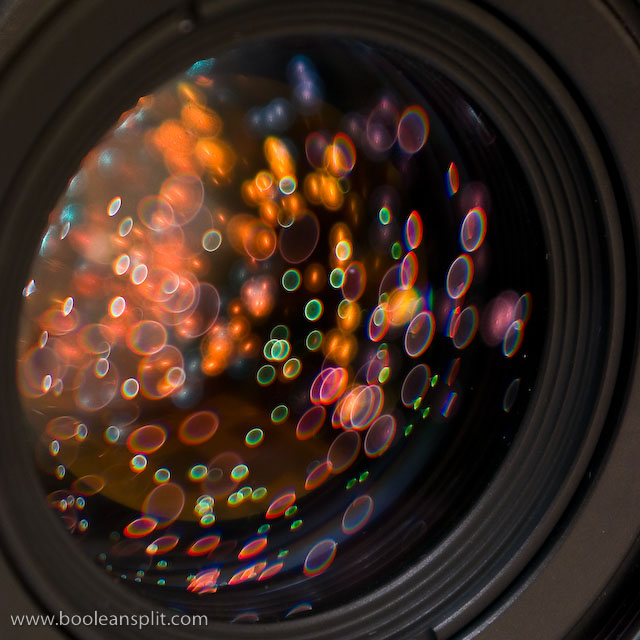
Following my experiment with shooting the Christmas tree lights reflecting in the front lens element of my 50mm f/1.7 I had the thought that it might be interesting to turn the lens around and see what things looked like through the lens. Again, this was in the interest of trying to find new ways to shoot Christmas tree bokeh (though, the old ways still work pretty well).

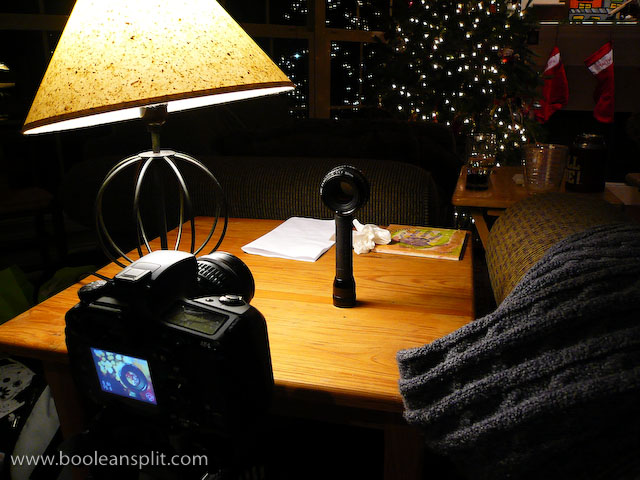
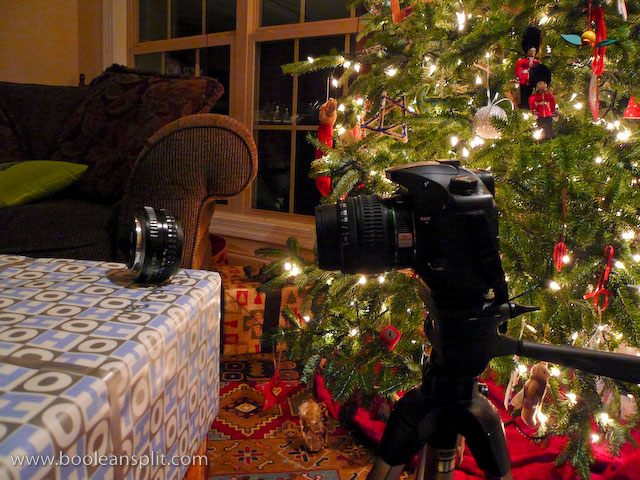
The set-up for this shot was pretty basic:

set-up shot

The 50mm lens is perched on top of a flashlight to get it up to the right height with the Pentax K10D on a tripod. The lamp to the left provides fill light for the front of the lens. I used the rule of thirds to frame the shot (knowing that I was going to crop to square later to eliminate the flashlight). I set the ISO to 100, zoomed to 55mm and selected an aperture of f/5.6 (the largest aperture my kit lens can achieve at 55mm). I dialed in the focus on the front of the lens manually before tripping the 0.6 second shutter with the 2 second delay self timer.

Post processing in Lightroom was limited to cropping, white balance (tungsten) and my usual mix of standard processing tweaks for this camera:

  • Clarity: 39
  • Vibrance: +25
  • Sharpening: 48
  • Detail: 49
  • Defringe: All Edges

Everything else was left at the Lightroom defaults.

The main thing to take away from this photo is that it doesn’t take much effort to do this kind of stuff. From start to finish this shot took me less than 5 minutes (including taking several test shots and set-up shots for this post with a 2nd camera). The only set-up required was balancing the lens on the end of the flashlight and tilting the lamp shade a touch to get the light right.

Oh the bokeh I have seen

Oh the bokeh I have seen

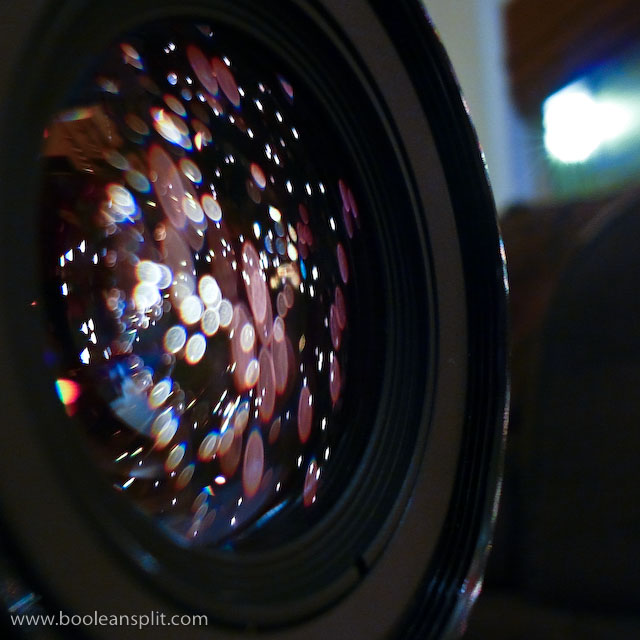
Sometimes cool pictures just come from thinking outside the box a bit. Here I was sitting in front of the Christmas tree contemplating what kind of unique Christmas tree bokeh photo I could take when I thought of my recent experience capturing bokeh with my pocket camera. I got to thinking that my 50mm f/1.7 lens might make a good subject for a shot, rather than simply the tool for capturing them.

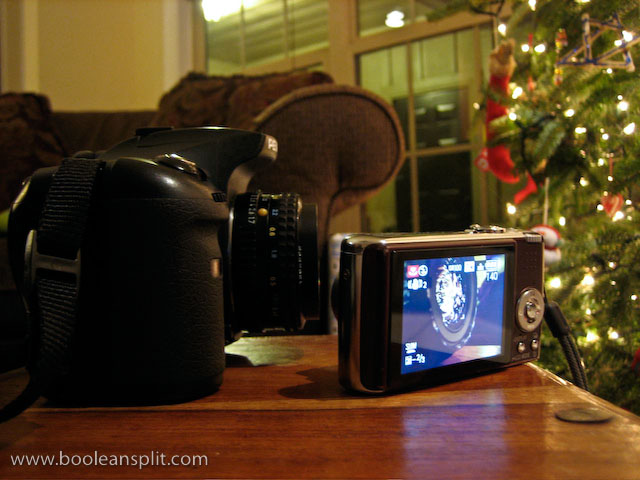
The set-up for this shot was pretty simple. I placed my Pentax K10D DSLR with the 50 attached on the coffee table in front of the Christmas tree. Next, I set my Panasonic Lumix FX07 on the table in front of the K10D and framed up the shot. I wasn’t happy with the vertical angle so I placed a quarter under the front edge of the bottom of the Lumix to prop it up a bit.

set-up shot

As you may be able to see, I also dialed in -2/3EV in exposure compensation. I’ll save it for another post, but understanding and properly using exposure compensation is one of the most important steps to good photography. Anyway, at this point all that was left was to do was fire, download, crop, and post.

In my opinion, the photo turned out pretty nice. I may try and re-shoot it with my K10D and 18-55 kit lens (with the 50mm not attached to the camera). If I do I’ll post the result here.

UPDATE:

Re-shoot with the K10D and processed through Lightroom. This was one of those shots where when you see the image for the first time you say “whoa”. Pretty cool stuff!

Oh the bokeh I have seen II

Behind the scenes:

Oh the bokeh I have seen II set up

Photo stats: ISO 100, f/5.6, 55mm, 4.0sec, IS off (tripod), 2 sec self timer release. Cropped, adjusted white balance and added a bit of sharpening in Lightroom.

DIY Pentax DSLR cable release

[Originally posted on my personal blog on Oct. 8, 2008]

There are a number of resources out there for creating your own electronic remote shutter release for Pentax DSLRs with a 2.5mm remote port. I don’t use a remote very often as the 2 second self timer seems to work fine for 99% of my photos under 30 seconds. However, longer bulb exposures require a remote. So, I picked up a generic cellphone headset at the dollar store and wired it up to a toggle switch I had laying around. (It seems this design also works for Canon Digital Rebel cameras with 2.5mm remote ports.)

There are 3 wires inside one of these cables: white, red & black. (Four conductor versions will not work with a Pentax so make sure the 2.5mm plug has 2 silver bands and not 4). All I did was cut the cord, strip back the outer jacket to expose the 3 conductors then plugged it in to the remote port on the camera and shorted the red and white wires to the black one to figure out which controlled what function on the camera. In this case the white wire triggered the shutter and the red caused the camera to auto focus. I connected the white wire to one side of the toggle switch with a small acorn nut and the black to the other side. I drilled a couple of holes in an old pill bottle to make a housing for the assembly.

superior ergonomics of the pill bottle housing

In standard shooting mode flipping the switch to the “on” position releases the shutter. You have to return the switch to the “off” position to review the shot and take another (ie: the shutter only fires when the switch is in the “on” position). For bulb exposures you simply flip the switch to “on” to open the shutter then flip it back to “off” to close it. A momentary switch would facilitate non-bulb shutter releases but I found the toggle switch to be perfectly workable as long as you remember to turn it off after the shot. There’s no auto focus function with this set up but that’s not typically a concern for the long exposure shots I take as I usually manually focus anyway. You can add a momentary switch to the focus wire if that’s important to you. Also, you could wire in both a toggle switch and a momentary switch to the shutter release to make non-bulb shots more convenient.

1 minute exposure using DIY remote release switch

1 minute bulb exposure using DIY remote release switch

Typically I have seen these DIY releases installed in an old film canister. Seeing as how I haven’t shot film in about 10 years I didn’t have one handy and figured the pill bottle was a good substitute. All was good with the use of my $1 release during my first outing until I was stopped and questioned by a policeman while shooting long exposures in downtown Auburn, AL. Seems he was less concerned with my skulking around in shadows taking pictures and just wanted to know what was in the pill bottle :D

UPDATE:

Shot the family Christmas card photo today and needed a little more reach than the original 12″ cord provided. 50′ of old speaker wire from the garage and a couple of extra wire nuts and voila!

DIY Pentax cable release with 50' cord.

DIY Pentax cable release with 50' cord.

Vacant school building photo shoot

Wallace Center hallway

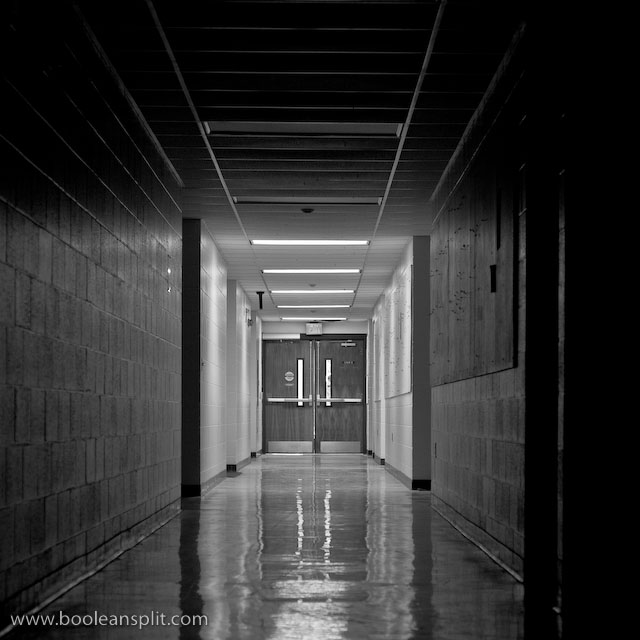
I had to make a run to the recycling center today and decided to stop by Wallace Center (the building on Auburn University’s campus that houses the Industrial and Graphic Design programs). I thought the place might be deserted on a Saturday during Christmas break. I was right and got some very cool photos with my Pentax K10D and Pentax-A 50mm f/1.7 SMC lens. Lucky thing I always have my camera handy!

The photo above was shot hand-held at ISO 400, f/4.0 at 1/25 second. The K10D’s in-body IS helped ensure a sharp shot. I later processed the image as black and white in Adobe Lightroom.

When I first entered the building I came in just on the other side of the doors at the end of this hall and headed up stairs. The motion activated light switches automatically turned on the lights at the end of the hall where I came in. Later, I came down another set of stairs at the opposite end of the building and entered this hallway on my way out. The automatic lights took a second to react to my presence before flooding the entire corridor in fluorescent light. I really liked the way the light at the end of the hall played off the walls and polished floor when half the lights were off, so I found the switch and turned off the lights at this end of the hallway before taking this shot.

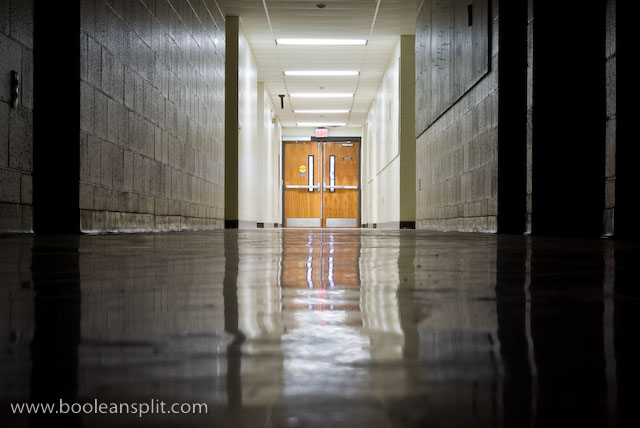
Wallace Center hallway in color

After taking the black and white picture of the hallway, I decided to try a long exposure deep focus shot. Having not brought my tripod I had to improvise and simply set my camera on the floor. I got this shot by simply selecting  f/22 and ISO 100 in Aperture Priority mode and the camera dialed in 10 seconds for the exposure. I used the 2 second self timer to release the shutter without touching the camera. All I did in Lightroom was tweak the white balance and add a little sharpening.

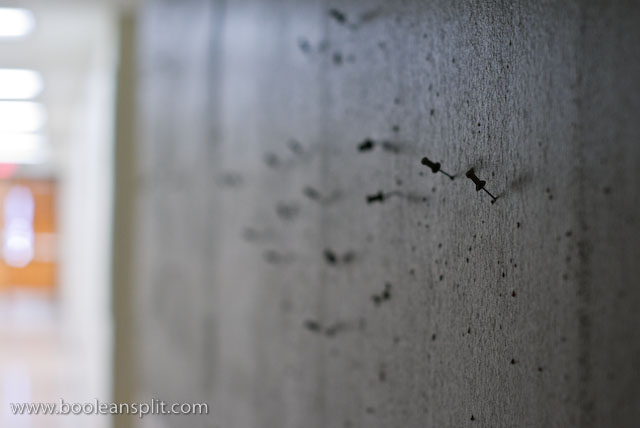
push pins

These push pins adorn the gallery wall used by the Graphic Design program. Normally they are holding up student artwork and photography. Now they patiently await next semester. Hand-held, ISO 400, f/2.8, at 1/15 second. I tried f/1.7 but couldn’t get the focus on the push pin in the dim light of the hallway. Plus, I found the slightly greater DOF of f/2.8 did a better job of keeping the push pins in the distance recognizable.

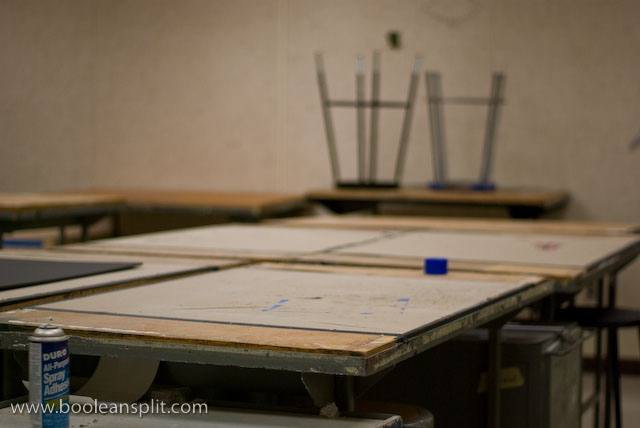
empty studio

This is the studio where I have spent the last 3 1/2 months. It’s a lot cleaner and quieter than it has been. I love the feeling of the vignetting this lens produces wide open. Hand-held, ISO 400, f/1.7, at 1/500 second.

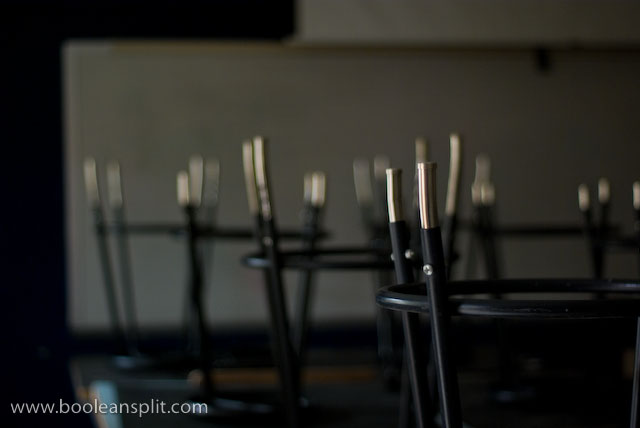
stools

One of the 3rd year studios. All the stools where upside down on the desks and the light filtering in through the windows facing the hallway was mesmerizing. I shot this hand-held at ISO 400, f/1.7 and 1/8 second. 1/8 second is starting to push the envelope of what the built-in IS can do on the Pentax. I could have bumped up the ISO but instead I just braced myself up against a wall and controlled my breathing. It took a few tries but I got a number of clear shots with some wonderful bokeh.

I love taking pictures in vacant and deserted buildings. I always find myself wondering what stories the things left behind could tell. Of course, it’s also pretty easy to creep one’s self out…

Pocket Camera Bokeh Tutorial

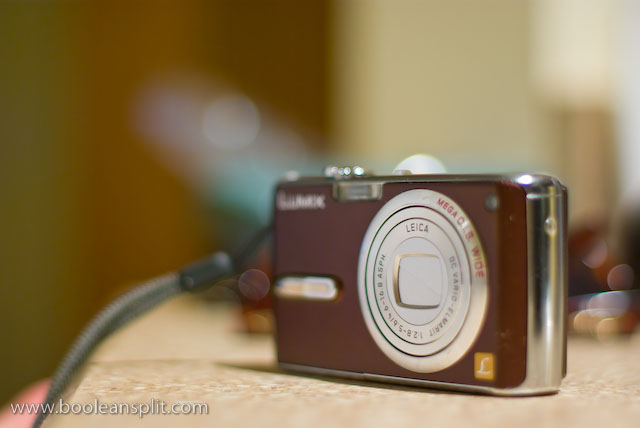
Panasonic Lumix FX07

Yesterday I posted a tutorial on photographing bokeh with a DSLR. Today I am going to attempt to do the same about pocket cameras. Please take a minute to read over the first part of my DSLR Bokeh Tutorial to familiarize yourself with the basic concepts of what bokeh is and how it is typically created. The photo above (taken with my Pentax K10D & 50mm f/1.7 SMC-A lens) is the closest most people think you can get to photographing bokeh with a compact pocket camera ;-)

The truth is you can shoot bokeh with a pocket or “push here dummy” (PhD) camera, but there are a few things you need to understand about the way they work first so you can set the camera up and compose your shot properly. The two biggest hurdles for getting good bokeh shots on the typical pocket camera are the extremely small objective lens (and resulting small aperture) and the auto focus system. At this point I should mention that there are “pocket” cameras with manual controls. Users of these cameras will have to read both tutorials and combine steps and settings to find what works with their cameras.
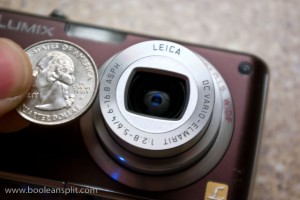
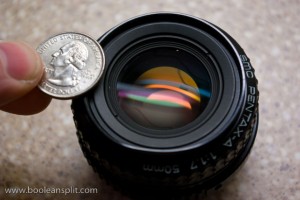
typical p&s lens & aperture size typical DSLR lens and aperture size

The first rule of bokeh is the bigger and rounder the aperture opening, the bigger and rounder the bokeh. The photos above do a pretty good job of illustrating the challenge facing PhD camera bokeh seekers. Also, since we don’t typically have control over the aperture setting used by the PhD camera, we have to be sure the camera is set up to give us the desired results.

The second challenge to overcome is the PhD camera’s fully-automatic-do-everything-for-you mindset. If you recall from my DSLR tutorial, to get good bokeh you need:

  • out of focus pin point light sources in the background
  • the largest possible aperture setting your lens will provide (f number)
  • a medium to long focal length (zoom in)
  • a short focal distance to the foreground subject
  • significant distance between the foreground subject and background points of light

Trying to get all of this in combination at the same time can be very frustrating with a PhD camera. PhD cameras are typically programmed to produce photographs where everything is in focus and evenly exposed. To get decent bokeh out of your pocket camera you have to play a few tricks on it’s single-minded little silicon brain. I did a little playing around with the trusty little Panasonic Lumix FX07 above this afternoon to illustrate this tutorial.

TUTORIAL:

First, we need to set up the camera. Most PhD cameras come out of the box in full-on idiot mode. These “Auto” settings are great for taking snapshots but leave very little room for creative control. There is usually a “Manual” or other mode that allows greater control over the camera’s settings. I suggest that you use this mode for this exercise (and everything else). However, since there are so many PhD cameras out there (with each having its own user interface) I’m going to stick to settings that should be universally addressable. If you are unsure how to change any of these settings please refer to your camera’s user manual.

Step 1: Turn off the flash (IMO you’ll be a better photographer if you never turn it back on).
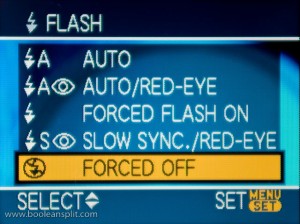
flash off

The PhD camera is going to try and fire the flash to fill in all the darkness between your bokeh balls. Not very helpful.

Step 2: Set the ISO to 200.
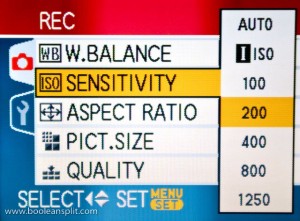
ISO 200

By forcing the camera to use a relatively slow ISO speed we ensure that the PhD’s brain will dial up the largest aperture opening to try and compensate for the lack of light while keeping the shutter speed as fast as possible.

Step 3: Turn on Image Stabilization (if available).
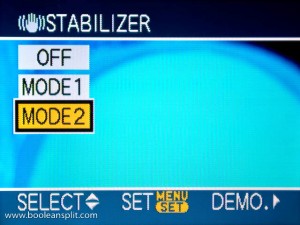
IS on

Image stabilization will help compensate for camera shake in what is bound to be a rather slow exposure. If you do not have IS you may have to play around with your ISO setting and/or use a tripod.

Step 4: Select MACRO focus mode.
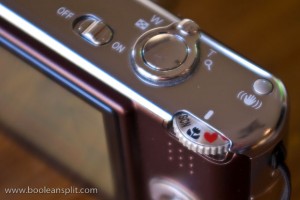
MACRO focus mode

Macro focus mode will enable us to dial in a very short focal distance to maximize depth of field.

Now that the camera is properly set up you need some nice pin point sources of light. Again, a Christmas tree on the far side of your living room makes an excellent subject this time of year. As we have not yet decorated our tree, some Christmas tree lights on the kitchen counter will have to do for this tutorial. Remember the Golden Rule of tutorials: “do as I say, not as I do” :D

Step 5: Find some pin point sources of light in a relatively dark setting.
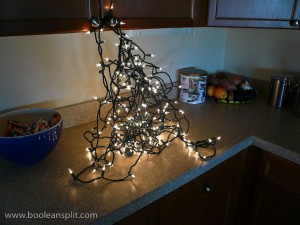
Christmas lights

My Lumix has a 3X zoom but the macro setting only works in the widest zoom position so these series of shots are at the widest zoom setting. If your camera can still focus in macro mode within about 6″ of the front of the lens when zoomed out then try zooming out for this tutorial. Otherwise, just do what I did and play with the distance to the lights (I was only 4-5′ away from this small section of lights- 10-12′ is likely a better distance from a full-on Christmas tree).

Step 6: Focus on something small up as close to the front of the camera lens as possible (half press and HOLD of the shutter button only-do not take the picture yet).
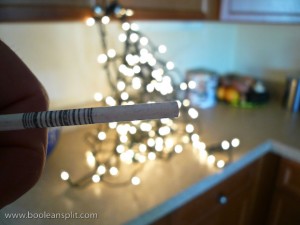
focus the camera

Here I’m using the stick from a Dum Dums lollipop. I like the sucker stick because it is small and white but its round shape provides enough highlight and shadow for the contrast detect auto focus to lock onto it. If you use your finger the camera will have difficulty focusing and the exposure will likely be blown out. Since PhD cameras lock exposure and focus at the same time, the trick here is to pre-focus on something very small in the foreground while not blocking too much light from the background and ruining the exposure of the bokeh.

Step 7: Move the foreground object from in front of the camera and fully depress the shutter button to take the picture.
pocket camera bokeh

Admittedly this has a lot to be desired as it has not reached the heights of bokeh-dom as are possible with a DSLR and large aperture lens. However, it is bokeh and it was shot with a PhD pocket camera. Adding a subject back into the foreground after pre-focusing on the small foreground object (using the LCD viewfinder to achieve focus by manually moving the camera and/or subject in front of the lens while continuing to hold the shutter button at the halfway point) can make for some pretty interesting bokeh shots that will impress your friends and neighbors (unlike this example).
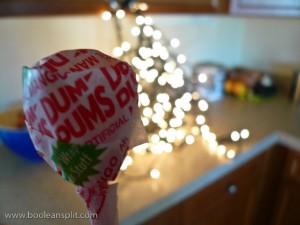
Dum-Dum bokeh

Happy pocket camera bokeh-ing! Let me know how it goes.

UPDATE:

So, we finally got our tree up and I took the opportunity to try my technique out for reals. This is the best I could get with my Panasonic Lumix FX07:
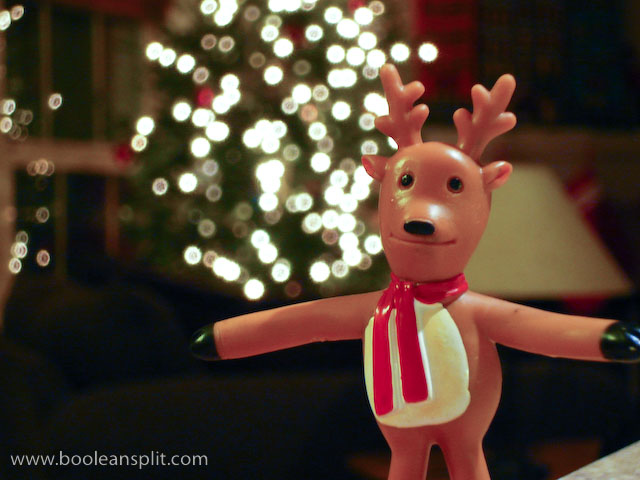
Panasonic Lumix FX07 bokeh

Not bad, but I figured the limited macro capability of my Lumix might be holding things up a bit so I borrowed the wife’s 3 year old Canon PowerShot SD400. Canon PhDs tend to feature extremely close macro focus capability. Sure enough, the results this time around were really not half bad:

Canon SD450 bokeh

Merry Christmas!

About

I'm an industrial designer and an avid hobbyist photographer. People are always asking me "how'd you do that?" So, I decided to create this site as a place to share my experiences and insights about photography, the gear and what it all means to me. I'm not sure if this site will make anyone besides myself a better photographer but I figure it's worth a try. Take a look around and let me know what you think. Thanks for stopping by!

Subscribe

Recent Posts

Categories

Pages

Flickr Friends

Links

My Sites

Archives