booleansplit.com

photos, tips, tricks, and thoughts from an avid amateur photographer


Posts tagged exposure

studio shoot

imgp31251

My industrial design class just completed their semester-long power equipment design project culminating with the building of full-scale appearance models. I set up a make-shift photo studio in a lightly used classroom and over the past 24 hours shot over 600 images. All were taken in RAW format (DNG) with my Pentax K10D and my 18-55mm kit lens and FA 35mm f/2 AL and processed in Adobe Lightroom. By shooting in RAW I was able to set the white balance for all the shots with one click by selecting an underexposed portion of the white backdrop with the eye dropper tool in Lightroom and then copying and pasting that setting to all images.

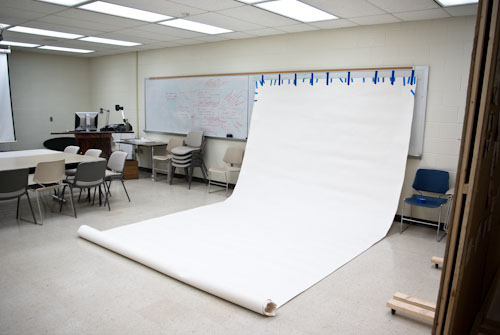
Most of the shots required a heavy dose of positive exposure compensation while shooting to keep the white backdrop white and not grey. I was pretty diligent with the use of the histogram while shooting so there wasn’t much need for exposure adjustment. I just made sure there was a good spike on the right hand side of the graph without going very far into the mid tones. Here’s a shot of the “studio” set-up:
imgp2988

I positioned the white paper backdrop centered under a row of fluorescent lights so that there was a row flanking the backdrop on either side. This provided nice even lighting front to back and reduced shadows to a minimum.

For each of the 14 students I took anywhere from 40-70 shots (all hand-held @ ISO 400). I started with low-angle orthographic views at a medium focal length (35-45mm) followed by eye-level perspective shots at a wider angle (35-24mm), short depth of field detail shots (to hide any imperfections), and specialty shots as required (use, high angle, ultra-wide low angle perspective, etc.). All in all I was really pleased with the results right out of the camera and I think the students ended up with great shots for their portfolios.

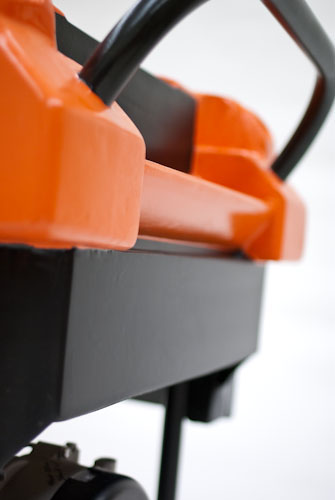
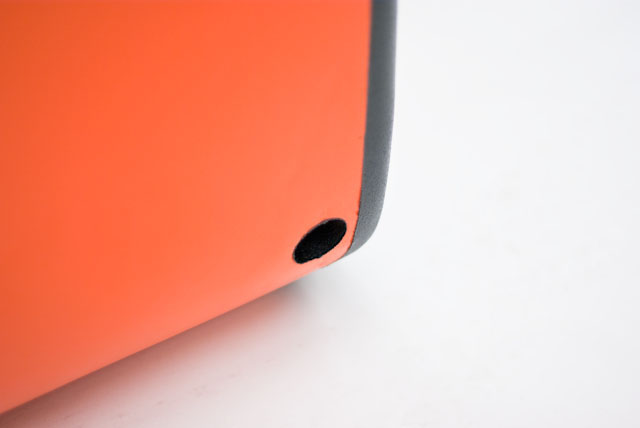
Unfortunately, the confidentiality agreement I signed prevents me from showing most of the shots or even revealing the client or other interesting project details, but here are a few ambiguous detail shots of the final models to show what I was able to achieve with this make shift DIY studio set-up:
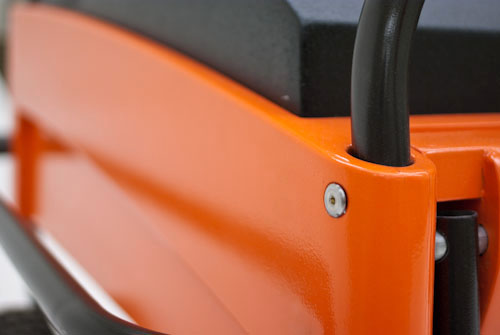
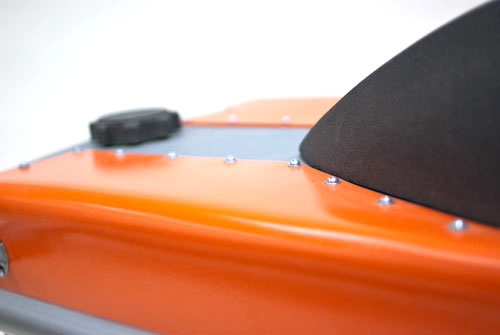
imgp3197

imgp3246

imgp3343

Oh, and I have over 2,000 photos that I have taken of the students working on their projects this semester that I need to burn off onto DVDs within the next week!
Blue Hour made simple

Magic City sunset

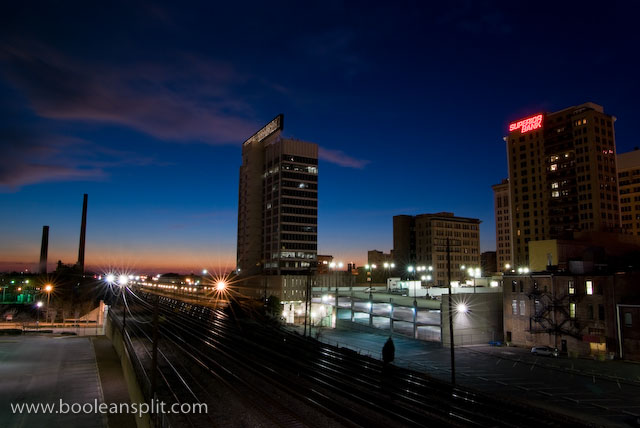
I’ve already blogged here once about taking sunset photos but after taking this blue hour shot tonight I just had to share how easy this is.

I had to run downtown around 6pm to pick up some fresh oysters from the Fish Market. On the way out the door I grabbed my Pentax K10D, 16-50 f/2.8 DA* (borrowed) and tripod. I made a bee line down 21st Street South (past the Fish Market) to the viaduct that goes over the railroad tracks into downtown. From this elevated vantage point over the tracks I knew I would have a decent view west with enough streetlights for some killer starburst action.

Here’s the set-up for this shot:

  • camera mode: MANUAL (you can’t do this in AUTO!)
  • aperture: f/22
  • shutter speed: 30 seconds
  • ISO: 100*
  • white balance: AUTO
  • flash: OFF (!!)
  • IS: OFF
  • auto focus: OFF (manually set focus to ∞)
  • self timer: ON (2 second delay)
  • focal length: widest setting (here: 16mm)
  • battery: fully charged (!)

*Nikon users with ISO 200 as the lowest setting may have to back off the shutter to 15-20 seconds.

That’s it. Mount the camera on a tripod, compose the shot, trip the shutter (using the self timer prevents camera shake), step back, and wait. If you time the light right that’s all you’ll ever have to do. The small aperture ensures everything is in focus and creates dazzling starbursts. The long exposure pulls in all kinds of light and colors and the low ISO keeps things s-m-o-o-t-h. I did shoot this photo in RAW but all I did in Lightroom to this shot is apply my standard import settings and touch up a little sensor dust.

Truthfully, I rarely look at the exposure meeter for these shots. I usually just take a 30 second f/22 shot at ISO 100 and check the LCD. If it’s too dark I’ve probably missed the magic blue hour and it’s either time to pack it up or break out the DIY bulb switch (though I usually try a few in vain at f/16 and f/8 just to be sure). If the shot is too bright I’ll just back off the shutter to 15 seconds and try again. If that doesn’t work I just wait a bit until the light drops off some more. The only real hard part is getting the timing right (most people are packing up to leave about the time I’m setting up for my best shots) and being patient (30 second exposures can seem like an eternity sometimes).

It’s really one of the few never-fail shots if you use these settings. Trick is you pretty much have to use all of these settings to get decent results. Break out the tripod and give it a try tomorrow night!

Here are a few more examples on my Flickr stream if you’re interested.

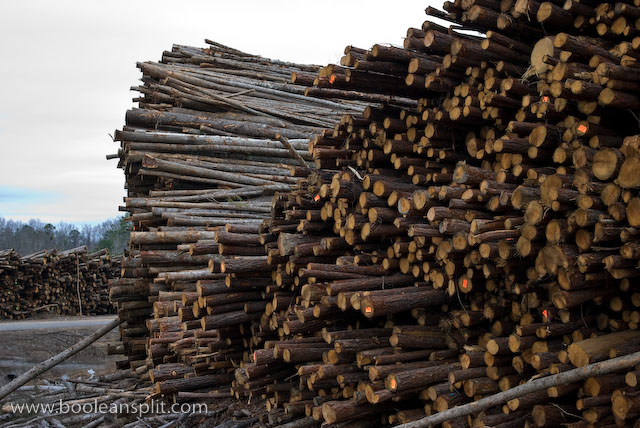
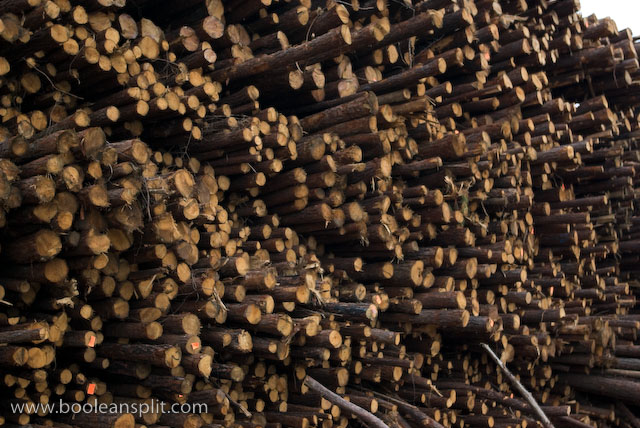
chip mill photos

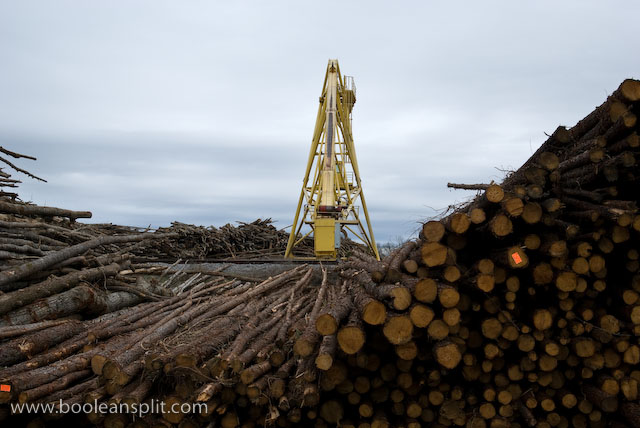
chip mill

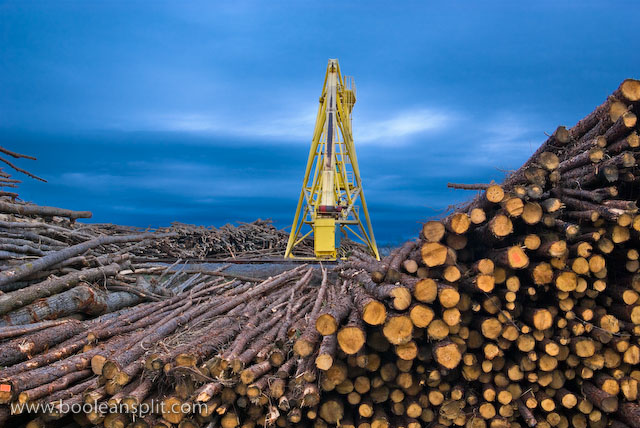
Here’s the above image without processing in Lightroom:

chip mill unprocessed

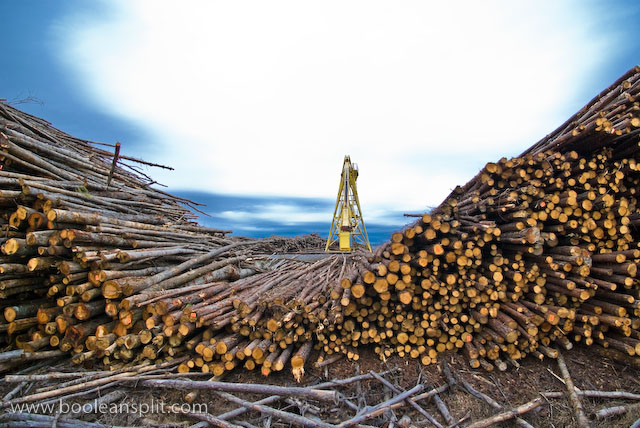
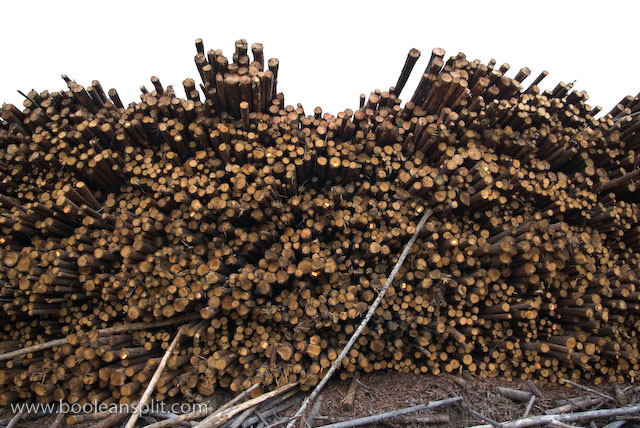
As you can see it was a grey and dreary day. I tried to manage the exposure to make sure I kept some cloud detail in the highlights of this photo. However, this meant the foreground was a bit dark. It got even darker when I pulled back the Exposure to -1 to really get the sky to pop. So, I dialed in a big handful of Fill Light and a touch of Recovery. Finally, I tweaked the individual color Luminance sliders to get the blue sky and the yellow crane to really pop. I applied similar settings to the rest of the photos I took with varying results:

imgp7705

imgp7699

imgp7700

imgp7702

Unfortunately there was a locked fence around the facility which greatly limited my composition options. I’ll have to try again sometime when there is better light.

no plastic

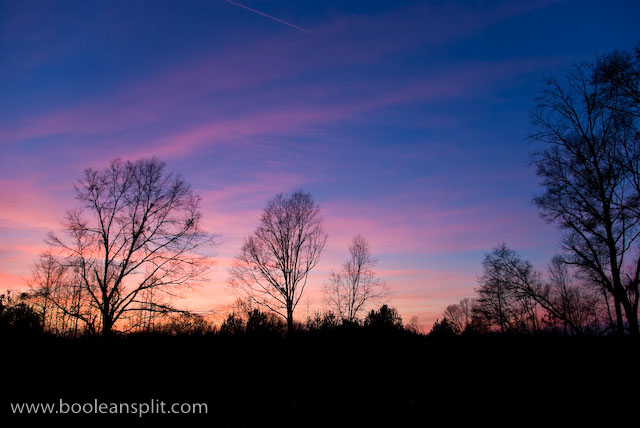
Take better sunset pictures

Alabama sunset

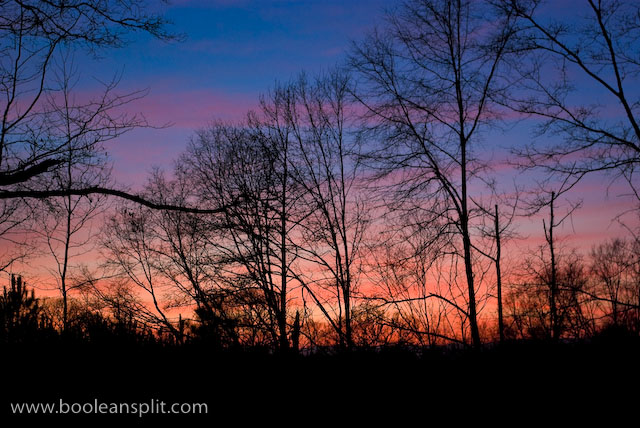
There are few things more beautiful than a good sunset or sunrise photograph. However, if you’ve ever tried to do it you know it can be frustrating. How many times have you seen a beautiful sunset like the one above only to have your photo turn out something like this?

overexposed sunset

There are a couple of easy things you can do to get great sunset photos. First, turn off your flash. The only thing the flash is good for during a sunset is to add fill to illuminate a foreground subject. Unfortunately, getting the right mix of fill flash and background exposure can be very tricky:

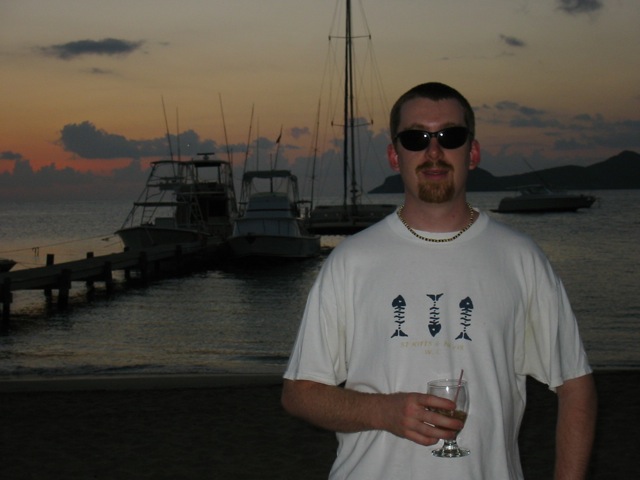
Nevis sunset flash

Not a very inspiring photo (though after the number of rum punches I had I didn’t care). For now, let’s just turn the flash off and focus on capturing a brilliant sunset photo.

Next, set your white balance to auto. You can also try daylight but I have always found the auto setting gives the best mix of deep blues, pinks, reds and oranges.

I like to shoot sunsets with a wide angle lens to get as much of the sky in the picture as possible. This ensures a full mix of colors from the darkest indigo blues overhead to the brightest pinks and oranges at the horizon. Usually I leave only a strip of ground/foreground across the bottom to anchor the photo- letting the sky dominate the scene for maximum impact.

The main challenge with sunset photos is getting around the camera’s matrix metering’s natural tendency to balance exposure across the frame. The camera doesn’t know what’s going on and tries to balance the dark foreground with the bright background. The washed out example at the top is what you get when you just point-n-click. To get a decent sunset exposure you either need to dial in some negative exposure compensation (usually -2/3EV to -1EV). An easier method is to just aim the camera at an unobstructed portion of the sky, focus, lock exposure, recompose, and shoot. I typically use a little of both.

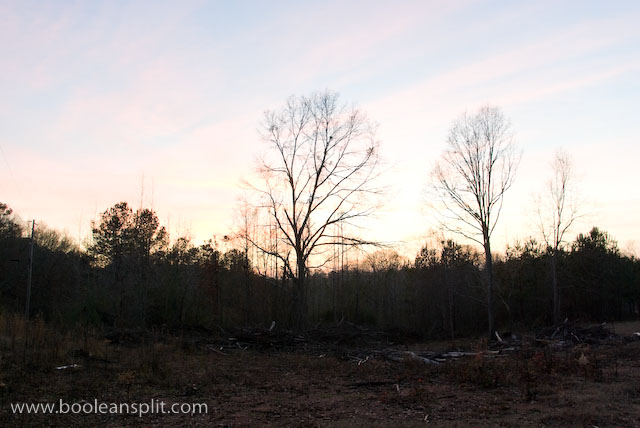
For the best sunset photos I typically like to wait for the sun to be fully below the horizon. That beautiful glowing orange ball of the sun absolutely wrecks exposure on a camera and typically results in pretty disappointing shots. Also, some cloud texture in the sky helps provide a good mix of colors. Be sure to look behind you as many times clouds away from the setting sun pick up some awesome colors. Finally, some good foreground silhouettes can help add additional visual interest (especially helpful if the sky itself is not as dramatic as it could be).

foreground texture sunset

A medium aperture like f/8-f/10 is best to ensure the best detail and sharpness across the frame and eliminate vignetting typical at larger apertures when shooting at a wide zoom setting. Since I generally like to wait for the sun to drop fully, there’s typically not very much ambient light. This means I either need to be shooting on a tripod at a low ISO and slow shutter speed or bump the ISO up to prevent camera shake. These samples were all shot hand-held at ISO 200-400 and f/8 and f/10 at around 1/4 second. The combination of the K10D’s in-body IS and the wide focal length meant it only took a few tries to get sharp shots (wider zoom angles can be hand held at slower shutter speeds than longer ones).

Typically a properly shot sunset photo doesn’t require much post-processing. Since I shoot everything in RAW I have to tweak sharpness and saturation on all my photos in Lightroom. I can also play around with the white balance a bit to get the best pop from my images- though the as-shot (Auto) setting worked best for these images. Often I find the fluorescent WB preset works well for sunsets for some reason.

While a DSLR gives the most control over all of these settings, I have gotten wonderful sunset photos with a pocket camera by simply turning off the flash and using the focus, recompose and shoot method. Here is a collection of some of my other sunset photos on Flickr.

The most difficult part about getting good sunset shots is being at the right place at the right time with your camera. I hope this helps you get that great shot the next time that happens!

About

I'm an industrial designer and an avid hobbyist photographer. People are always asking me "how'd you do that?" So, I decided to create this site as a place to share my experiences and insights about photography, the gear and what it all means to me. I'm not sure if this site will make anyone besides myself a better photographer but I figure it's worth a try. Take a look around and let me know what you think. Thanks for stopping by!

Subscribe

Recent Posts

Categories

Pages

Flickr Friends

Links

My Sites

Archives