booleansplit.com

photos, tips, tricks, and thoughts from an avid amateur photographer


Archive for photos

(f)light reading

(f)light reading

Pentax K10D, Pentax-A SMC 50mm f/1.7 (manual focus), ISO 640 (auto), f/1.7, 1/100 sec, +/-0 EV, IS: ON (converted to b/w and toned in Adobe Lightroom)

Snapped on my way back from Milwaukee Friday. I’m going to start posting more of my Flickr photos here in an effort to make it easier for those of you who follow my blog to follow my pictures as well. I’m planning on posting the large version of my photos but would appreciate feedback on that decision. Please feel free to post any questions about my photos in the comments here or on Flickr (photo links back to Flickr page).

chip mill photos

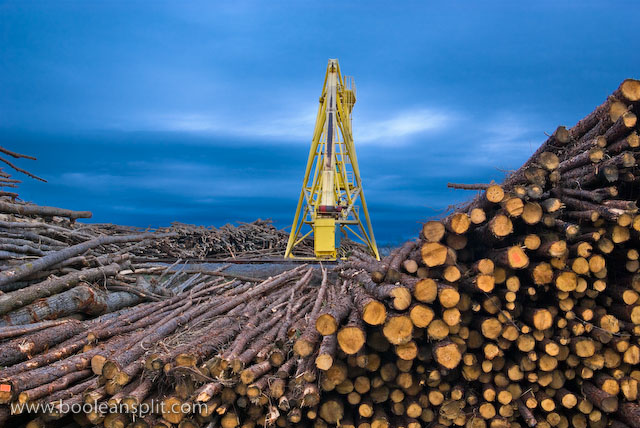
chip mill

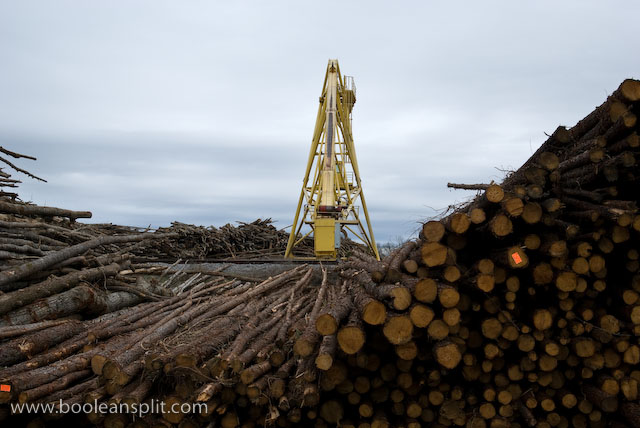
Here’s the above image without processing in Lightroom:

chip mill unprocessed

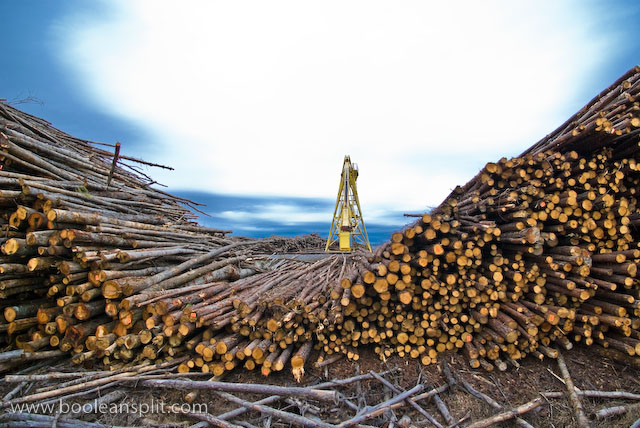
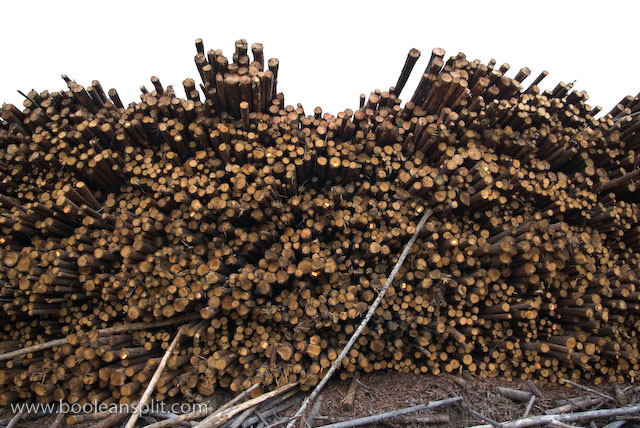
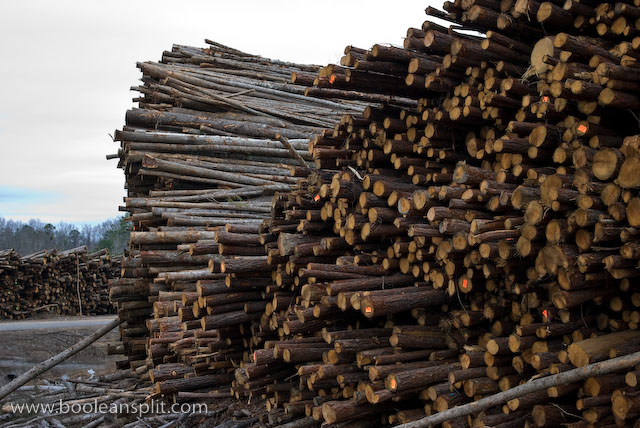
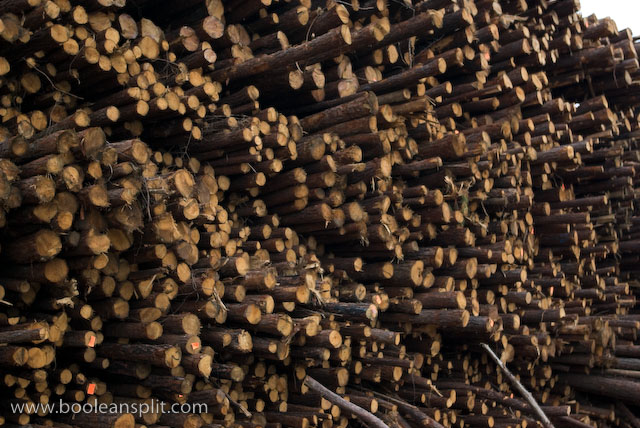
As you can see it was a grey and dreary day. I tried to manage the exposure to make sure I kept some cloud detail in the highlights of this photo. However, this meant the foreground was a bit dark. It got even darker when I pulled back the Exposure to -1 to really get the sky to pop. So, I dialed in a big handful of Fill Light and a touch of Recovery. Finally, I tweaked the individual color Luminance sliders to get the blue sky and the yellow crane to really pop. I applied similar settings to the rest of the photos I took with varying results:

imgp7705

imgp7699

imgp7700

imgp7702

Unfortunately there was a locked fence around the facility which greatly limited my composition options. I’ll have to try again sometime when there is better light.

no plastic

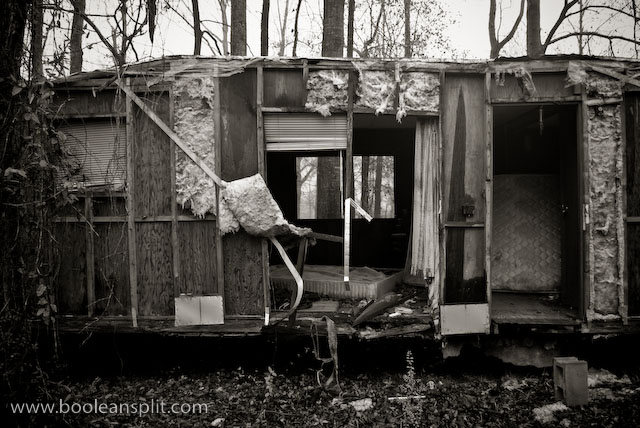
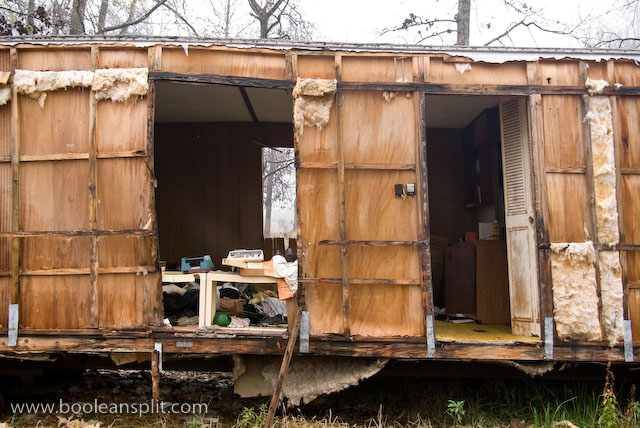
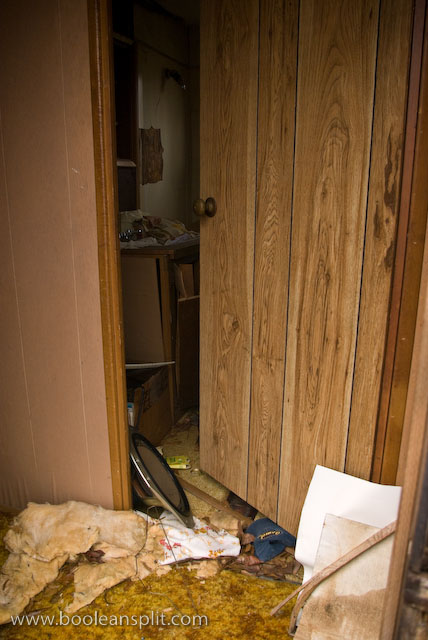
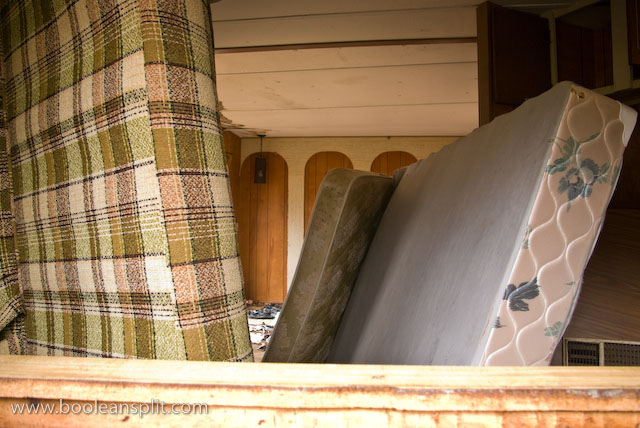
Abondoned trailer park

rotting trailer in B&W

I’ve driven past this place a number of times and often thought I should come back with my camera. This morning it was foggy and rainy and I thought “Ah ha! Perfect conditions for the trailer park!” ;-)

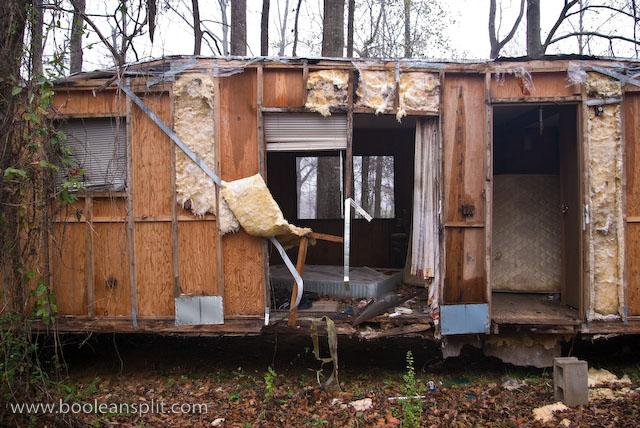
The picture above was heavily processed in grayscale mode in Lightroom. I tweaked just about every slider to get this image. I was going for maximum texture, grime and dynamic range. Here’s the original color version with only minor adjustments applied:

imgp7476-2

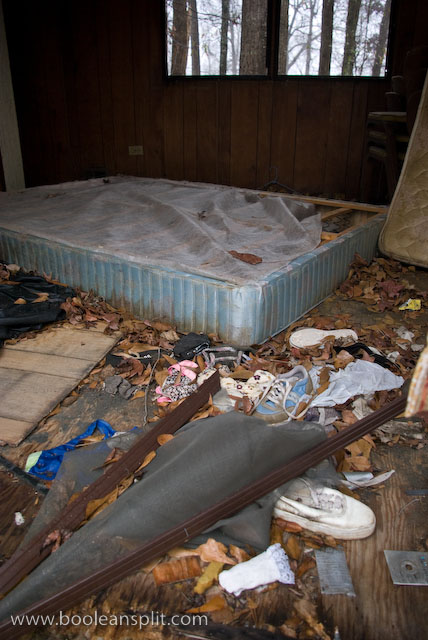
All these images were shot had-held with my Pentax K10D and kit lens at ISO 400 at between 1/13 second to 1/60 second with the IS on. I stopped the lens down to f/5.6-f/8 when I could for optimum sharpness. Here’s a close up of the interior of the trailer above. I did not venture inside as the floor was rotten to the point I was afraid of falling through.

imgp7477

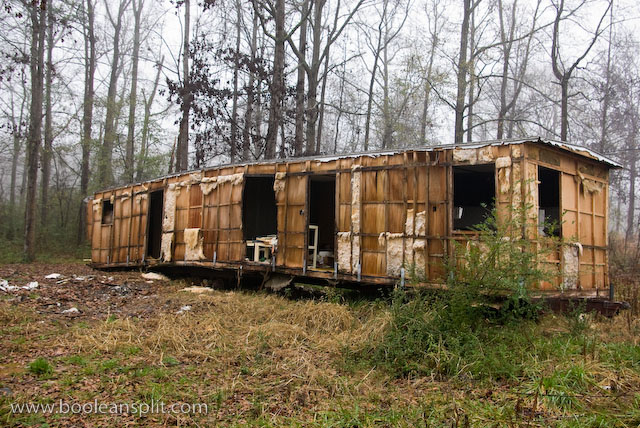
Here’s a wide shot of one of the trailers. The aluminum exterior skin had long been stripped and sold as scrap (I assume):

imgp7468

A detail of the trailer in the previous shot:

imgp7472

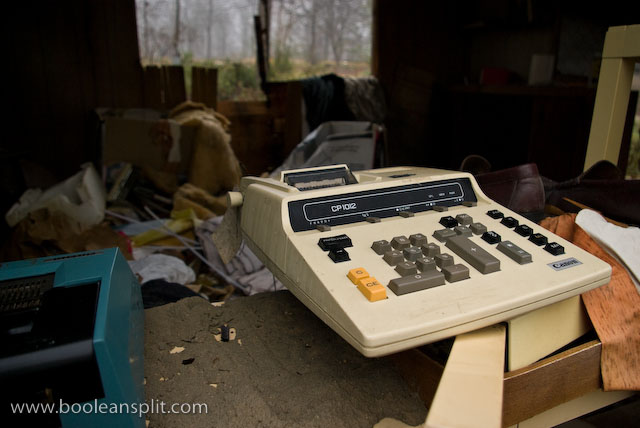
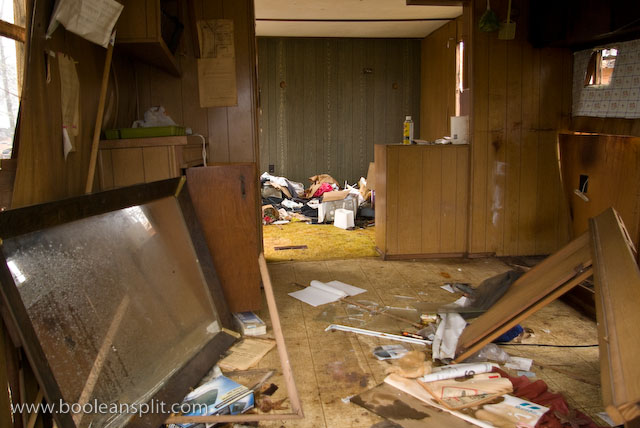
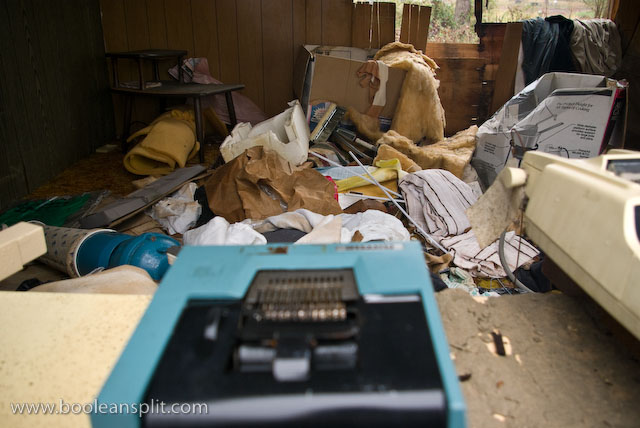
These trailers were surprisingly full of left behind personal possessions:

imgp7473

imgp7469

imgp7474

imgp7475

imgp74791

Twilight

twilight

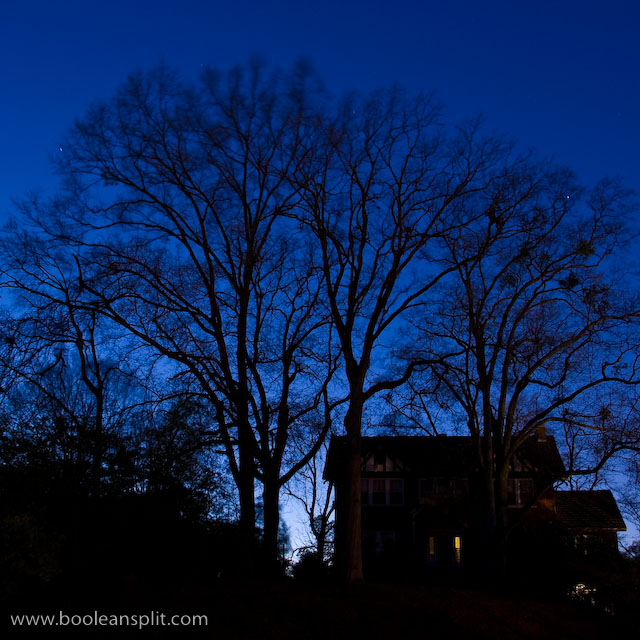
Dusk is my favorite time of day. I love the rich blues of the sky and the contrast of dark trees and such in the foreground. Normally, these shots require long exposures and a tripod to capture and a bit a tweaking post-process to get the lighting and color right.

This shot required a 30 second exposure at f/9 and ISO 100 with +1EV exposure compensation. I chose f/9 for two reasons. First, f/9 was the smallest aperture I could use and still keep the exposure under 30 seconds in Aperture Priority mode (maximum shutter time without switching to Bulb mode) at ISO 100. I wanted to keep the shot at ISO 100 to ensure tack sharp details, rich saturation and no noise. Second, I have found that my kit lens is its sharpest between f/8 and f/11, so f/9 was a logical place to start.

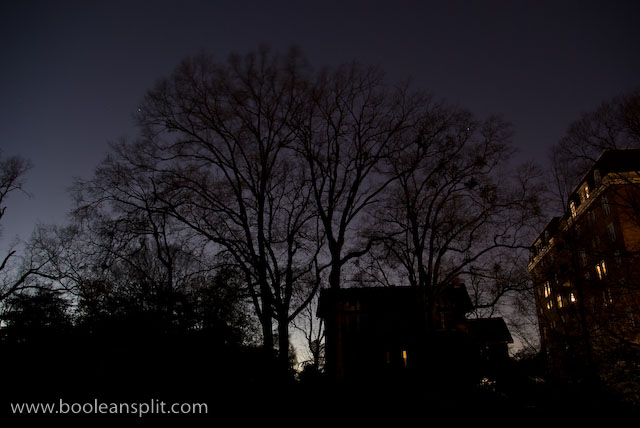
This photo was processed in Adobe Lightroom to look as close to what my eyes saw as possible. Here’s the original RAW shot straight out of the camera (SOOC) with nothing but my default import processing:

original SOOC unprocessed shot

Since I was shooting in RAW I left the white balance at Auto and simply used the histogram display on the LCD to verify a good mix of highlight and shadow detail. After downloading I started off by cropping and straightening the shot a bit. Next I tweaked the white balance to 3700K to get the blue to pop (the sky was too purple at the Daylight/5500 setting and too blue at Tungsten/2850). I then pushed the exposure up another +1EV and dropped the Black slider to 3. Nudging the Fill Light slider to 21 pulled even more shadow detail out. I set Clarity to 11, Vibrance to +25 and Saturation to +21. Finally, I added a touch of Sharpening and Detail (50 & 50) and Defringed all edges.

The Clarity, Vibrance, Sharpening, Detail, and Defringe settings are pretty standard for most of my shots with the Pentax K10D. I find the SOOC RAW files are a little flat color-wise and softer than I like. Also, the kit lens leaves a bit of color fringing on hard edges that Defringing seems to fix well.

The final result turned out very true to what I recall seeing that night in Birmingham. It was a bit windy so the tops of the tree branches are motion blured. The tiny star trails were an unexpected surprise.

DIY super macro DSLR lens

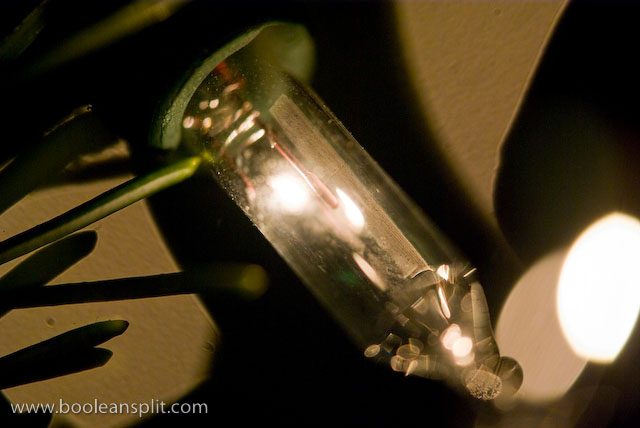
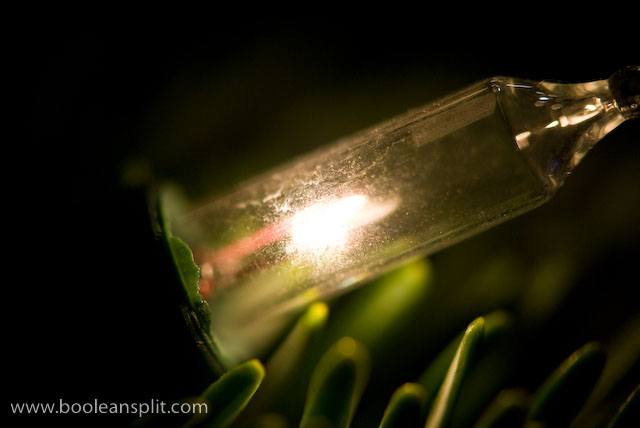
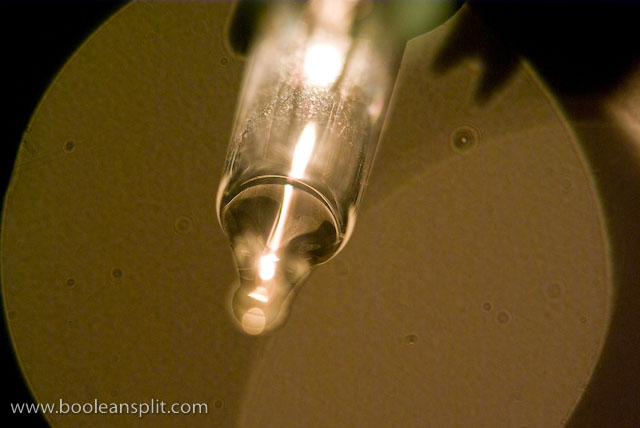
Christmas light super close-up

I got this idea from my Flickr friend Jim. I’ve played with this idea in the past but didn’t have the right combination of lenses to really make it work. Seems the kit lens on my Pentax K10D and my 20 year old Pentax-A 50mm f/1.7 make a pretty super duper super macro lens.

The trick is to shoot through a second lens, thus dramatically shortening the minimum focus distance of the combined lenses. This works best with a medium focal length primary lens (attached to the camera) and a fast secondary lens held (typically backwards) in front of the primary lens.
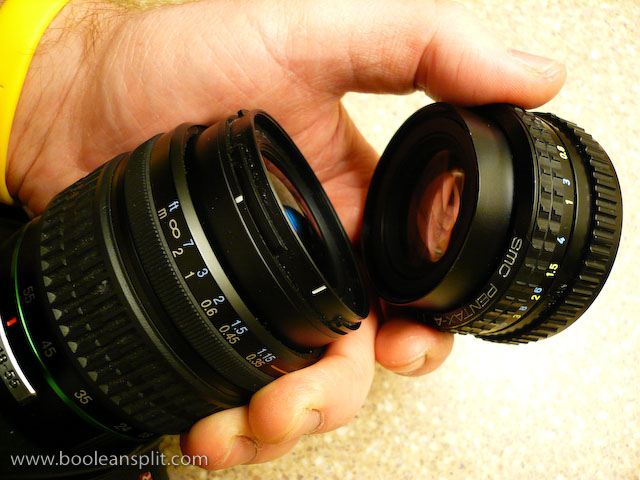
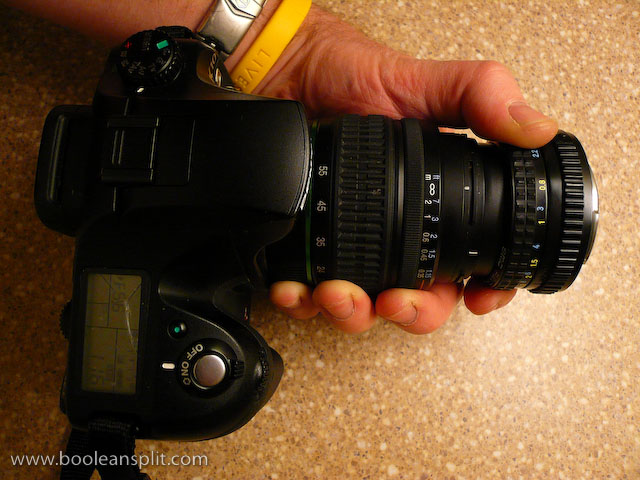
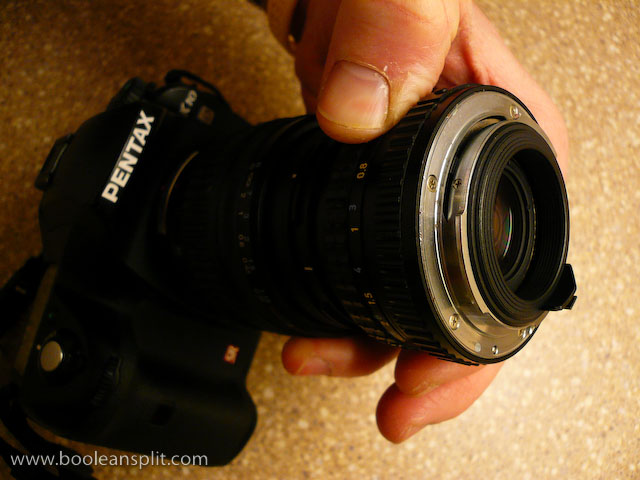
super macro lens assembly

Pentax 18-55mm kit lens with 50mm f/1.7 on front

business end

In this case, the 49mm diameter front element on the 50mm fits perfectly inside the 52mm diameter of the 18-55mm Pentax kit lens. I found that I had to zoom the kit lens all the way out to 55mm to eliminate vignetting. I tried reversing the set-up but the 18-55’s  smaller maximum aperture resulted in vignetting at all focal lengths (hence the need for a fast secondary lens). For the shot above I simply switched the camera into manual focus, dialed in a handful of positive exposure compensation and got up close on a bulb on our Christmas tree:
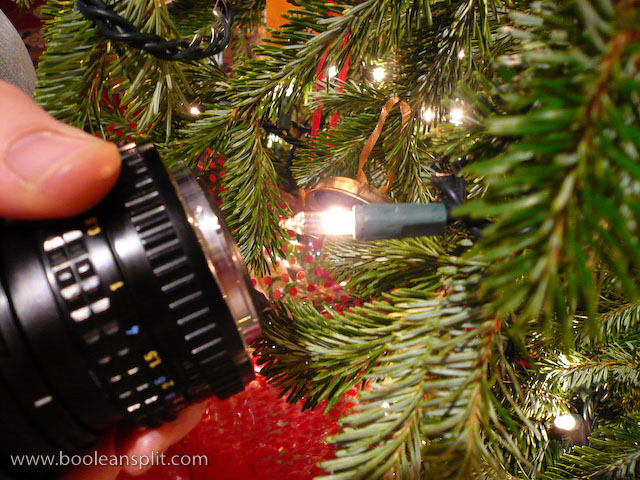
taking the shot

Depth of field is essentially non-existent- as is typically the case with all macro lenses. Changing the focus of ether lens had very little effect on the focal distance to the subject. To achieve focus you have to simply move the camera back and forth while composing through the viewfinder. The problem is that with such a micro thin slice of DOF any movement will throw off your composition. I ended up dialing up the ISO to 800 so that I could get a decently fast shutter speed (around 1/100 sec) and taking a bunch of hand held shots to get a couple of winners. Use of a tripod would have certainly helped, though holding the secondary lens in position while composing the shot on a tripod might be tricky.

A couple of additional shots taken with this set-up:
imgp6272

ISO 800, 50mm, f/5.6, 1/250sec

My understanding is that you can get similar results by simply reverse mounting certain types of lenses. There are accessories available to do this. Also, I think you may be able to use a threaded step-up adapter ring to attach the two lenses like in my set-up. The $20 screw-on close-up lens adapters (the kind that look like filters) IMO are pretty worthless unless you buy very nice quality ones but you might as well put that cash towards a dedicated macro lens.

The most popular macro accessories (besides a dedicated macro lens, of course) are extension tubes. Again, the price of entry here comes close to a decent dedicated macro lens (or zoom lens with macro capibility). There are cheaper alternatives and quality is less important if you are OK with losing auto focus and communication with your lens. I got some very nice results with my old Canon 5D and 85mm f/1.8 + 12mm Canon extension tube:

Keep in mind that all of these options will limit your focus distance to macro applications. A dedicated macro lens typically will be able to focus to infinity, making it usable as a regular lens in addition to a macro. However, if you have a couple of the right kind of lenses laying around and you want to take some close-up shots, now you know how. Thanks, Jim!

UPDATE:

Playing around a bit more with this set-up and I got these shots:
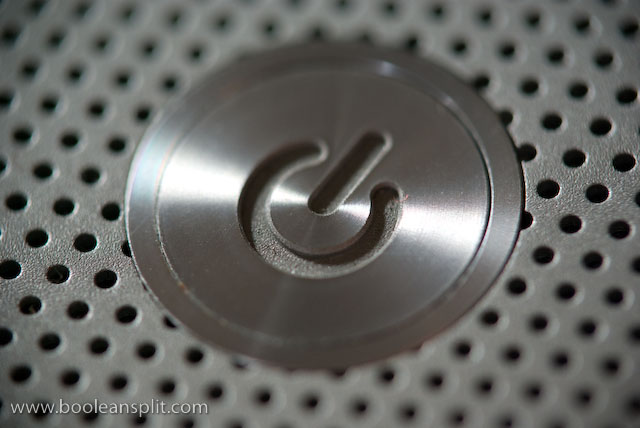
MacBook Pro power button

granny smith apple stem

It also occurred to me that one of the reasons my set-up works so well is that my old manual focus 50mm lens has an aperture ring. This means I can crank it open to f/1.7 to get a clear shot through. More modern lenses often lack an aperture ring and default to the smallest aperture when removed from the camera body. If this happens to you, look for the aperture lever on the inside face of the lens and try sliding the aperture open to get a clear view through your secondary lens.

About

I'm an industrial designer and an avid hobbyist photographer. People are always asking me "how'd you do that?" So, I decided to create this site as a place to share my experiences and insights about photography, the gear and what it all means to me. I'm not sure if this site will make anyone besides myself a better photographer but I figure it's worth a try. Take a look around and let me know what you think. Thanks for stopping by!

Subscribe

Recent Posts

Categories

Pages

Flickr Friends

Links

My Sites

Archives