booleansplit.com

photos, tips, tricks, and thoughts from an avid amateur photographer


Posts tagged long exposure

Christmas tree photo tutorial
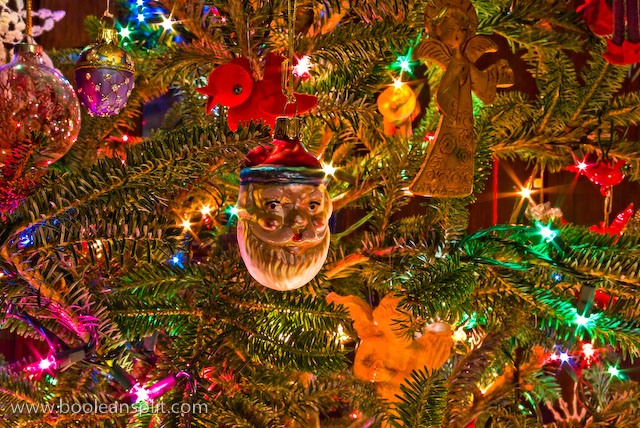
Christmas ornament detail

With Christmas just a couple of days away there is no doubt that many of you have been enjoying taking artistic photos of your Christmas tree and other Holiday decor. All those colorful and tiny lights make perfect bokeh fodder. And highly processed detail shots like this are also fun.

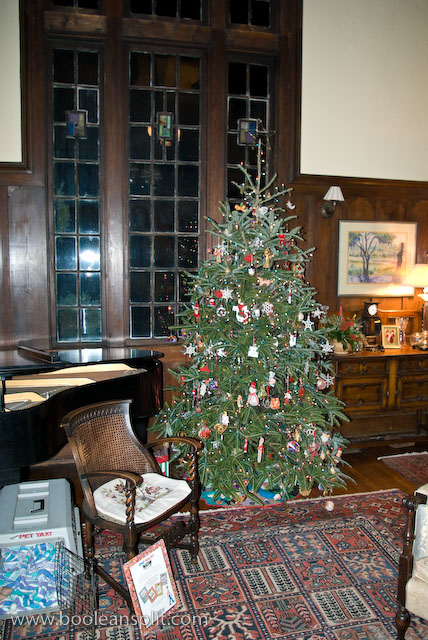
Problem is, many of us (present company included) forget to take good documentary photos of our holiday decor that we can pull out and reminisce over with the grand kids 30 years from now. While all those artsy detail shots are nice, none of them capture the full majesty of your 2008 Holiday decor. Going through my photos a few days ago I ran across this image I took of my mom’s Christmas tree back in 2005:

IMG_0096_2

This is one of my favorite Christmas photos of all time. Even in black and white (shot in B&W mode so there is no color version) I can totally feel the warmth of the twinkle lights and even smell the fresh pine fragrance of the Frasier fir tree. With this in mind I decided to figure out what makes good Christmas tree photos and do a bit of a tutorial aimed at DSLR users while I was at it.

Step 1: Turn off your flash!
flash tree

Out of the box in Program Auto mode just about all DSLRs are going to pop the flash in an attempt to achieve “proper” exposure. While this may accurately capture the image, I doubt that anyone will find the results very warm and inviting.

Switch your camera into Program mode and turn off the flash. With the flash off you’re likely to get something like this:
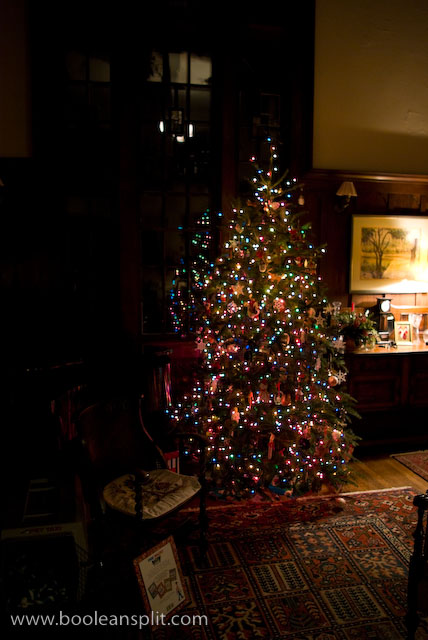
no flash, default settings

This is a 1/8 second hand-held exposure at f/3.5 and ISO 400. I actually had to dial in +1EV of exposure compensation because my Pentax K10D’s matrix metering was underexposing the image considerably trying to compensate for the brightness of the tree lights and lamp to the right just off frame. While the image more accurately captures the look and feel of the decorated tree, it isn’t very dynamic and compelling.

Steps 2 & 3: Get out the tripod and close down the aperture.
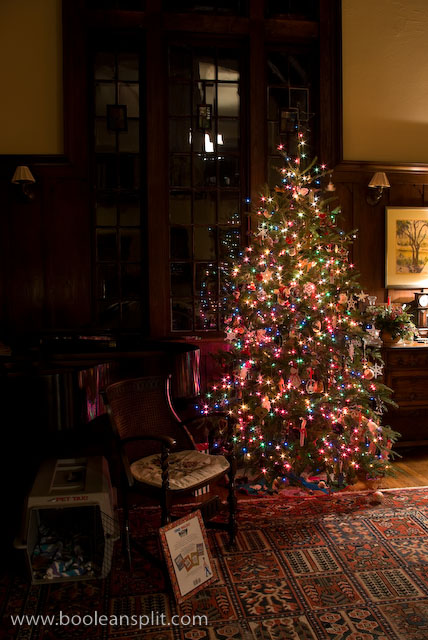
small aperture, long exposure

This shot is essentially identical to the previous shot except it is a 15 second exposure at f/16 and ISO 100 (shot in Aperture Priority mode). The small aperture does three things here. First it creates all those dreamy starbursts. Second, and more notably, it forces a long exposure. This long exposure time pulls in more ambient light, giving the entire scene more apparent dynamic range. Finally, it sharpens up the details. Zooming into this image you will find much crisper detail than the rather soft previous f/3.5 shot. As a bonus, using a lower ISO means richer colors, better detail, smoother gradients, and less noise.

Step 4: Attend to the details.
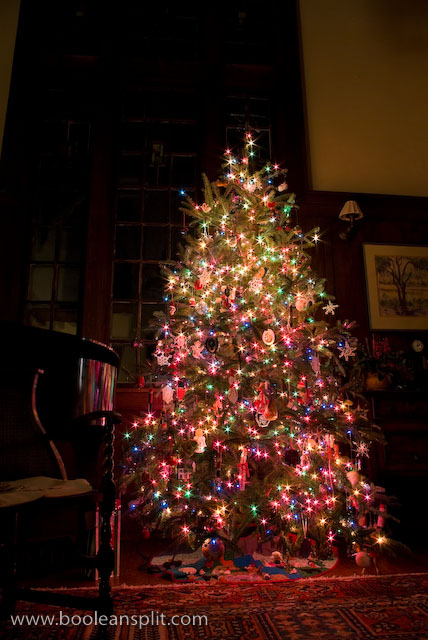
improved details

While the previous shot had come a long way from the Program Automatic blown-out flash shot, I felt there was still room for improvement. I didn’t like the reflections in the windows behind the tree coming from the upstairs lights and the lamp to the right was a bit harsh. Also, there were a few unsightly items cluttering up the foreground of the earlier shots and I wanted to add a better sense of grandeur to the shot.

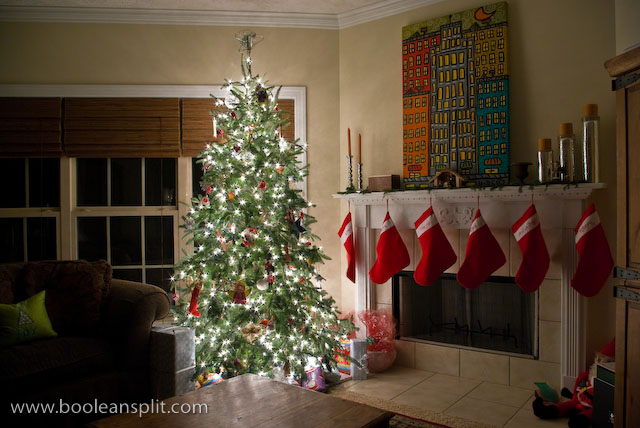
For this final shot I turned off all the lights in the house except for a single 60 watt desk lamp behind the camera to add just a tad of ambient fill to the high ceilings. I moved the dog kennel and Where’s Waldo book. I then repositioned the tripod closer to the tree and lower before zooming out wider to exaggerate the scale of the tree and height of the room. This ended up being a 10 second exposure at f/16 and ISO 200- I bumped the ISO to 200 because the rest of the family was complaining about sitting in the dark during all my 20+ second shots ;-)

RAW file post processing in Lightroom was limited to setting the white balance (tungsten) and dialing in a bit of Sharpness, Clarity and Vibrance. You may want to tweak the Recovery slider a tad to compensate for any blown-out Christmas lights from the long exposure.

While I recommend shooting your Christmas tree photos at night, depending upon the situation, decent results can be achieved during the day. The wall of windows behind the tree here made daytime shots pretty much impossible. However, waiting until dusk I got this shot which was pretty nice:
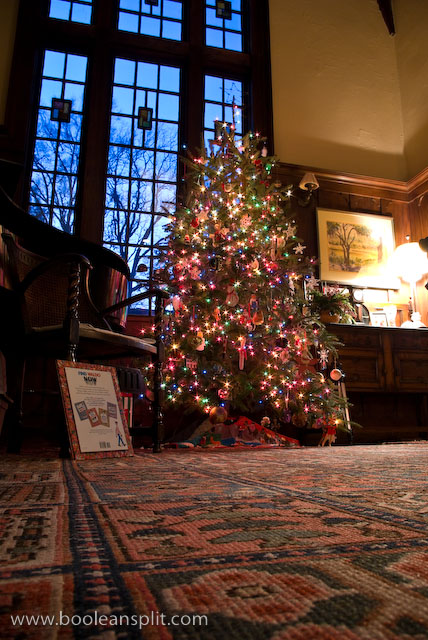
Christmas tree at dusk

Step 5: Share!

my Christmas tree

This is a picture of my Christmas tree I took last week using the small aperture/long exposure technique described above. The photos for this tutorial were shot at my in-laws house. When you travel to visit friends and family this Christmas be sure to pack your camera and tripod. Take pictures of your non-photographer friends’ trees and send them a copy as a Holiday treat! Tis the season of giving, right?

Merry Christmas!!

DIY Pentax DSLR cable release

[Originally posted on my personal blog on Oct. 8, 2008]

There are a number of resources out there for creating your own electronic remote shutter release for Pentax DSLRs with a 2.5mm remote port. I don’t use a remote very often as the 2 second self timer seems to work fine for 99% of my photos under 30 seconds. However, longer bulb exposures require a remote. So, I picked up a generic cellphone headset at the dollar store and wired it up to a toggle switch I had laying around. (It seems this design also works for Canon Digital Rebel cameras with 2.5mm remote ports.)

There are 3 wires inside one of these cables: white, red & black. (Four conductor versions will not work with a Pentax so make sure the 2.5mm plug has 2 silver bands and not 4). All I did was cut the cord, strip back the outer jacket to expose the 3 conductors then plugged it in to the remote port on the camera and shorted the red and white wires to the black one to figure out which controlled what function on the camera. In this case the white wire triggered the shutter and the red caused the camera to auto focus. I connected the white wire to one side of the toggle switch with a small acorn nut and the black to the other side. I drilled a couple of holes in an old pill bottle to make a housing for the assembly.

superior ergonomics of the pill bottle housing

In standard shooting mode flipping the switch to the “on” position releases the shutter. You have to return the switch to the “off” position to review the shot and take another (ie: the shutter only fires when the switch is in the “on” position). For bulb exposures you simply flip the switch to “on” to open the shutter then flip it back to “off” to close it. A momentary switch would facilitate non-bulb shutter releases but I found the toggle switch to be perfectly workable as long as you remember to turn it off after the shot. There’s no auto focus function with this set up but that’s not typically a concern for the long exposure shots I take as I usually manually focus anyway. You can add a momentary switch to the focus wire if that’s important to you. Also, you could wire in both a toggle switch and a momentary switch to the shutter release to make non-bulb shots more convenient.

1 minute exposure using DIY remote release switch

1 minute bulb exposure using DIY remote release switch

Typically I have seen these DIY releases installed in an old film canister. Seeing as how I haven’t shot film in about 10 years I didn’t have one handy and figured the pill bottle was a good substitute. All was good with the use of my $1 release during my first outing until I was stopped and questioned by a policeman while shooting long exposures in downtown Auburn, AL. Seems he was less concerned with my skulking around in shadows taking pictures and just wanted to know what was in the pill bottle :D

UPDATE:

Shot the family Christmas card photo today and needed a little more reach than the original 12″ cord provided. 50′ of old speaker wire from the garage and a couple of extra wire nuts and voila!

DIY Pentax cable release with 50' cord.

DIY Pentax cable release with 50' cord.

Make wonderland out of this concrete jungle

ISO 100, 18mm, f/20, 30 seconds, IS off

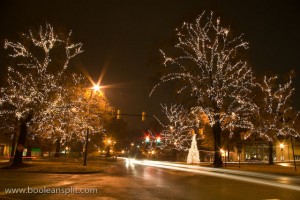
I grew up in Mountain Brook, Alabama and these Christmas decorations always put me into the holiday spirit. I took this 30 second exposure back during Thanksgiving. I used a tripod and the 2 second self timer delay to prevent camera shake. I experimented with a few settings while in manual mode to get the right balance of ISO, aperture and shutter speed. I love all the starbursts from the small aperture and the way the wet streets reflect all the lights. I had another shot with no headlight trails but I liked they way they added some motion to this otherwise static shot.

This photo is a good illustration of where shooting RAW pays the most dividends. I know that you can get wonderful JPEGs straight out of the camera (SOOC), but I hate standing around in the rain tweaking white balance presets and hoping I got it right. Here, I just played around with my WB settings in Lightroom in the heated comfort of my living room until I got the right mix of white for the twinkle lights and blue for the sky. This is especially useful when you are shooting in mixed lighting conditions like this. I hate the orange cast sodium vapor lights give to everything. It is very difficult to remove this color cast in a JPEG but one click of the Temp slider in Lightroom and it’s all gone! (This shot = 2250 on Temp and 0 on Tint).

Here’s the original unedited shot. You can also see that I had to straighten it a bit as I didn’t realize that my tripod was a little cock-eyed on the sloping sidewalk where I was shooting.

original unedited shot

original unedited RAW shot

Anything else you want to know?

About

I'm an industrial designer and an avid hobbyist photographer. People are always asking me "how'd you do that?" So, I decided to create this site as a place to share my experiences and insights about photography, the gear and what it all means to me. I'm not sure if this site will make anyone besides myself a better photographer but I figure it's worth a try. Take a look around and let me know what you think. Thanks for stopping by!

Subscribe

Recent Posts

Categories

Pages

Flickr Friends

Links

My Sites

Archives