booleansplit.com

photos, tips, tricks, and thoughts from an avid amateur photographer


Posts tagged DIY

DIY super macro DSLR lens
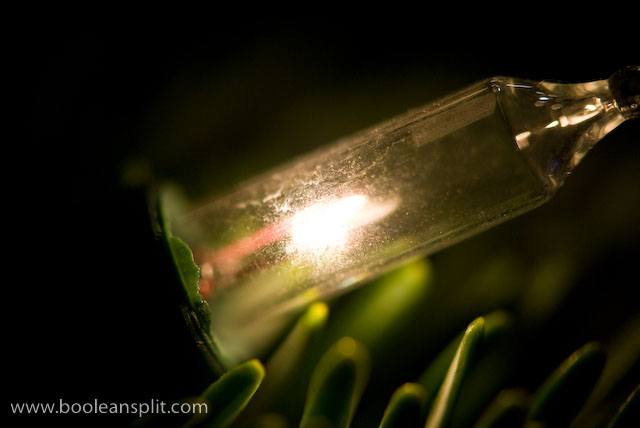
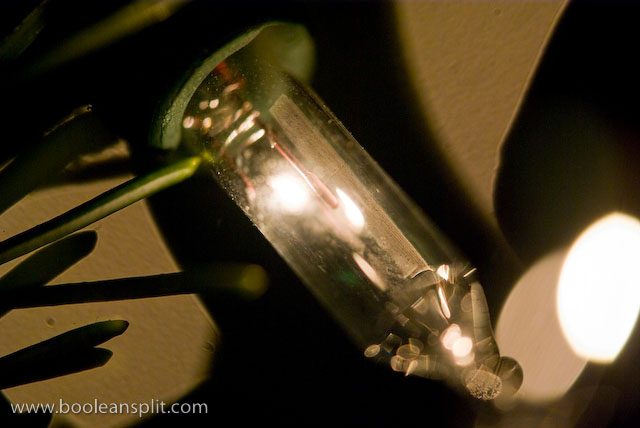
Christmas light super close-up

I got this idea from my Flickr friend Jim. I’ve played with this idea in the past but didn’t have the right combination of lenses to really make it work. Seems the kit lens on my Pentax K10D and my 20 year old Pentax-A 50mm f/1.7 make a pretty super duper super macro lens.

The trick is to shoot through a second lens, thus dramatically shortening the minimum focus distance of the combined lenses. This works best with a medium focal length primary lens (attached to the camera) and a fast secondary lens held (typically backwards) in front of the primary lens.
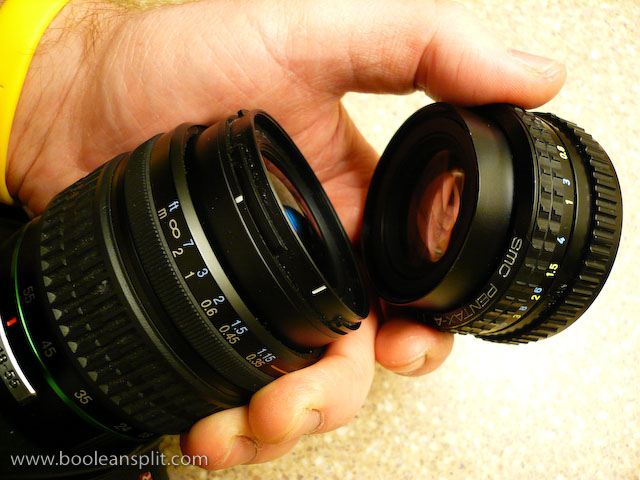
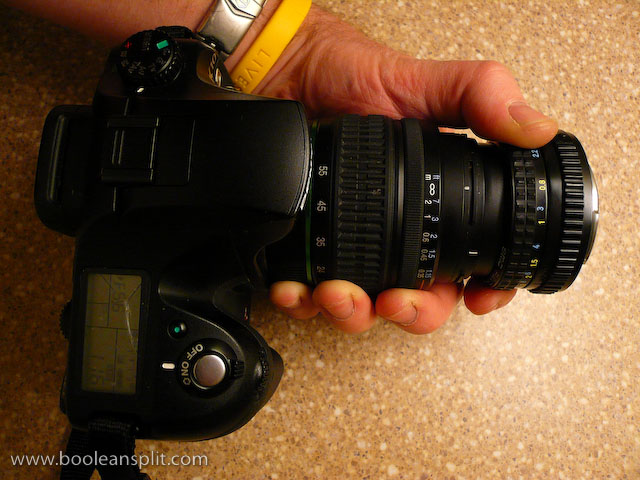
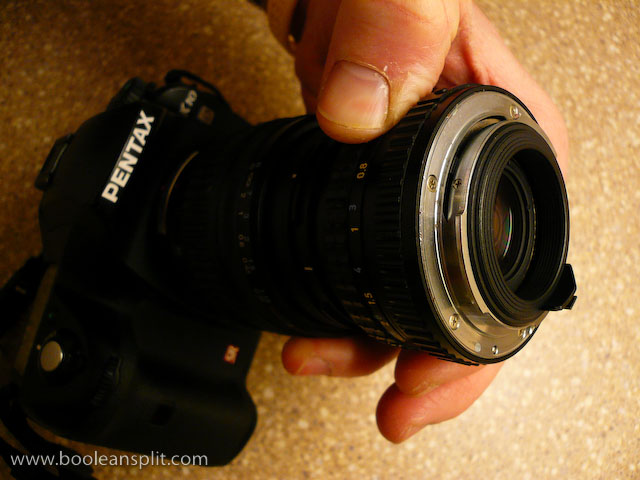
super macro lens assembly

Pentax 18-55mm kit lens with 50mm f/1.7 on front

business end

In this case, the 49mm diameter front element on the 50mm fits perfectly inside the 52mm diameter of the 18-55mm Pentax kit lens. I found that I had to zoom the kit lens all the way out to 55mm to eliminate vignetting. I tried reversing the set-up but the 18-55’s  smaller maximum aperture resulted in vignetting at all focal lengths (hence the need for a fast secondary lens). For the shot above I simply switched the camera into manual focus, dialed in a handful of positive exposure compensation and got up close on a bulb on our Christmas tree:
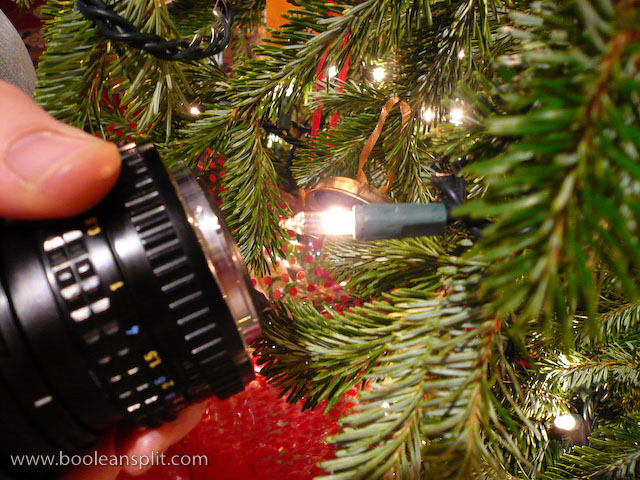
taking the shot

Depth of field is essentially non-existent- as is typically the case with all macro lenses. Changing the focus of ether lens had very little effect on the focal distance to the subject. To achieve focus you have to simply move the camera back and forth while composing through the viewfinder. The problem is that with such a micro thin slice of DOF any movement will throw off your composition. I ended up dialing up the ISO to 800 so that I could get a decently fast shutter speed (around 1/100 sec) and taking a bunch of hand held shots to get a couple of winners. Use of a tripod would have certainly helped, though holding the secondary lens in position while composing the shot on a tripod might be tricky.

A couple of additional shots taken with this set-up:
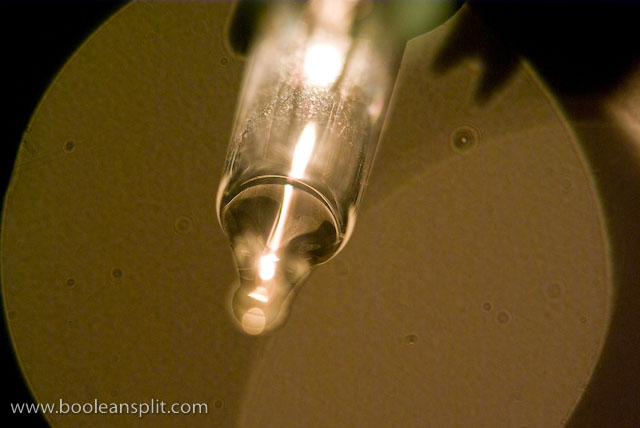
imgp6272

ISO 800, 50mm, f/5.6, 1/250sec

My understanding is that you can get similar results by simply reverse mounting certain types of lenses. There are accessories available to do this. Also, I think you may be able to use a threaded step-up adapter ring to attach the two lenses like in my set-up. The $20 screw-on close-up lens adapters (the kind that look like filters) IMO are pretty worthless unless you buy very nice quality ones but you might as well put that cash towards a dedicated macro lens.

The most popular macro accessories (besides a dedicated macro lens, of course) are extension tubes. Again, the price of entry here comes close to a decent dedicated macro lens (or zoom lens with macro capibility). There are cheaper alternatives and quality is less important if you are OK with losing auto focus and communication with your lens. I got some very nice results with my old Canon 5D and 85mm f/1.8 + 12mm Canon extension tube:

Keep in mind that all of these options will limit your focus distance to macro applications. A dedicated macro lens typically will be able to focus to infinity, making it usable as a regular lens in addition to a macro. However, if you have a couple of the right kind of lenses laying around and you want to take some close-up shots, now you know how. Thanks, Jim!

UPDATE:

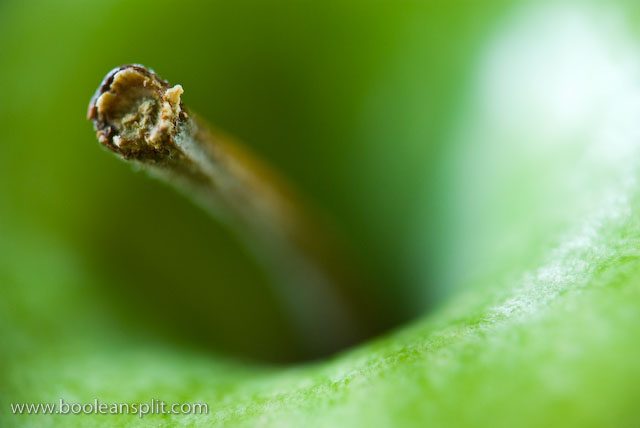
Playing around a bit more with this set-up and I got these shots:
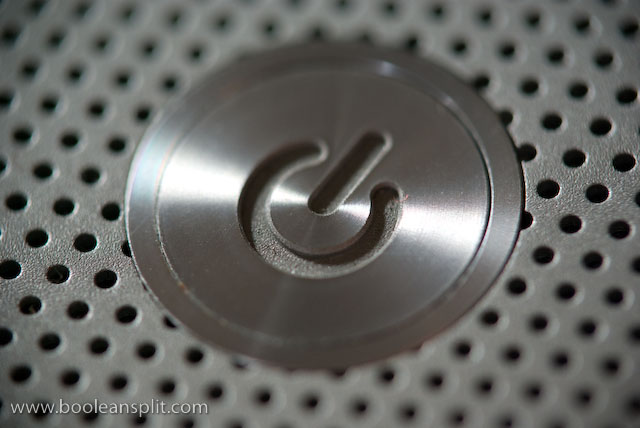
MacBook Pro power button

granny smith apple stem

It also occurred to me that one of the reasons my set-up works so well is that my old manual focus 50mm lens has an aperture ring. This means I can crank it open to f/1.7 to get a clear shot through. More modern lenses often lack an aperture ring and default to the smallest aperture when removed from the camera body. If this happens to you, look for the aperture lever on the inside face of the lens and try sliding the aperture open to get a clear view through your secondary lens.

DIY Pentax DSLR cable release

[Originally posted on my personal blog on Oct. 8, 2008]

There are a number of resources out there for creating your own electronic remote shutter release for Pentax DSLRs with a 2.5mm remote port. I don’t use a remote very often as the 2 second self timer seems to work fine for 99% of my photos under 30 seconds. However, longer bulb exposures require a remote. So, I picked up a generic cellphone headset at the dollar store and wired it up to a toggle switch I had laying around. (It seems this design also works for Canon Digital Rebel cameras with 2.5mm remote ports.)

There are 3 wires inside one of these cables: white, red & black. (Four conductor versions will not work with a Pentax so make sure the 2.5mm plug has 2 silver bands and not 4). All I did was cut the cord, strip back the outer jacket to expose the 3 conductors then plugged it in to the remote port on the camera and shorted the red and white wires to the black one to figure out which controlled what function on the camera. In this case the white wire triggered the shutter and the red caused the camera to auto focus. I connected the white wire to one side of the toggle switch with a small acorn nut and the black to the other side. I drilled a couple of holes in an old pill bottle to make a housing for the assembly.

superior ergonomics of the pill bottle housing

In standard shooting mode flipping the switch to the “on” position releases the shutter. You have to return the switch to the “off” position to review the shot and take another (ie: the shutter only fires when the switch is in the “on” position). For bulb exposures you simply flip the switch to “on” to open the shutter then flip it back to “off” to close it. A momentary switch would facilitate non-bulb shutter releases but I found the toggle switch to be perfectly workable as long as you remember to turn it off after the shot. There’s no auto focus function with this set up but that’s not typically a concern for the long exposure shots I take as I usually manually focus anyway. You can add a momentary switch to the focus wire if that’s important to you. Also, you could wire in both a toggle switch and a momentary switch to the shutter release to make non-bulb shots more convenient.

1 minute exposure using DIY remote release switch

1 minute bulb exposure using DIY remote release switch

Typically I have seen these DIY releases installed in an old film canister. Seeing as how I haven’t shot film in about 10 years I didn’t have one handy and figured the pill bottle was a good substitute. All was good with the use of my $1 release during my first outing until I was stopped and questioned by a policeman while shooting long exposures in downtown Auburn, AL. Seems he was less concerned with my skulking around in shadows taking pictures and just wanted to know what was in the pill bottle :D

UPDATE:

Shot the family Christmas card photo today and needed a little more reach than the original 12″ cord provided. 50′ of old speaker wire from the garage and a couple of extra wire nuts and voila!

DIY Pentax cable release with 50' cord.

DIY Pentax cable release with 50' cord.

About

I'm an industrial designer and an avid hobbyist photographer. People are always asking me "how'd you do that?" So, I decided to create this site as a place to share my experiences and insights about photography, the gear and what it all means to me. I'm not sure if this site will make anyone besides myself a better photographer but I figure it's worth a try. Take a look around and let me know what you think. Thanks for stopping by!

Subscribe

Recent Posts

Categories

Pages

Flickr Friends

Links

My Sites

Archives